Yamaha MD4S Owner's Manual - Page 74
Erasing a of a track Part Erase, LAST REC SEARCH [OUT] button.
 |
View all Yamaha MD4S manuals
Add to My Manuals
Save this manual to your list of manuals |
Page 74 highlights
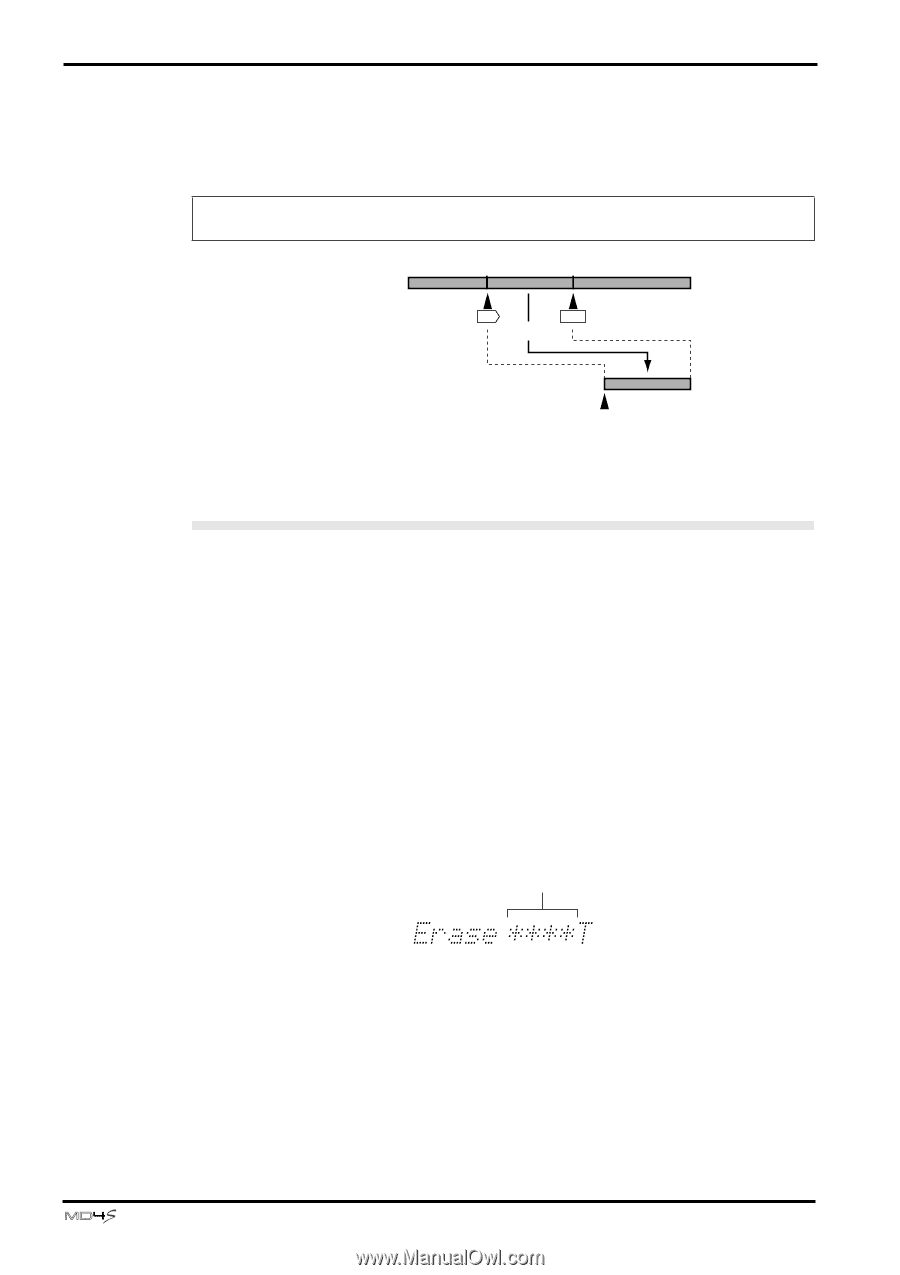
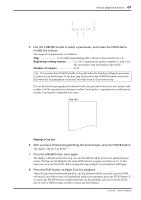
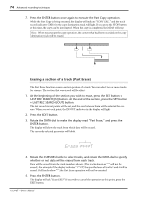
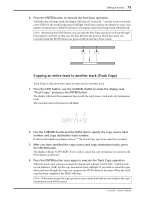
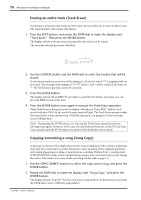
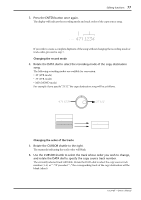
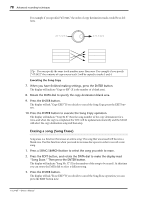
74 Advanced recording techniques 7. Press the ENTER button once again to execute the Part Copy operation. While the Part Copy is being executed, the display will indicate "COPY EXE.." and the track record indicator (DIR) for the copy destination track will light. If you press the STOP button at this time, the copy can be interrupted. When the copy is completed, the MD4S will stop. Note: When you execute the copy operation, the content that had been recorded on the copy destination track will be erased. Copy source track IN OUT Copy Copy destination track Current location where stopped/paused Erasing a section of a track (Part Erase) The Part Erase function erases a section portion of a track. You can select two or more tracks for erasure. The section that was erased will be silent. 1. At the beginning of the section you wish to erase, press the SET button + LAST REC SEARCH [IN] button. At the end of the section, press the SET button + LAST REC SEARCH [OUT] button. The last record in/out points will be set, and the area between them will be selected for erasure. When you set each point, the IN/OUT indicator in the display will light. 2. Press the EDIT button. 3. Rotate the DATA dial to make the display read "Part Erase," and press the ENTER button. The display will show the track from which data will be erased. The currently selected parameter will blink. Track to erase 4. Rotate the CURSOR shuttle to select tracks, and rotate the DATA dial to specify whether or not data will be erased from each track. Data will be erased from the track numbers shown. (The tracks shown as "*" will not be erased.) For example if the display indicates "1**4T," the specified area of tracks 1 and 4 will be erased. If all tracks show "*", the Part Erase operation will not be executed. 5. Press the ENTER button. The display will ask "Erase EXE?" If you wish to cancel the operation at this point, press the EXIT button. -Owner's Manual
-
 1
1 -
2
-
3
-
4
-
5
-
6
-
7
-
8
-
9
-
10
-
11
-
12
-
13
-
14
-
15
-
16
-
17
-
18
-
19
-
20
-
21
-
22
-
23
-
24
-
25
-
26
-
27
-
28
-
29
-
30
-
31
-
32
-
33
-
34
-
35
-
36
-
37
-
38
-
39
-
40
-
41
-
42
-
43
-
44
-
45
-
46
-
47
-
48
-
49
-
50
-
51
-
52
-
53
-
54
-
55
-
56
-
57
-
58
-
59
-
60
-
61
-
62
-
63
-
64
-
65
-
66
-
67
-
68
-
 69
69 -
 70
70 -
 71
71 -
 72
72 -
 73
73 -
 74
74 -
 75
75 -
 76
76 -
 77
77 -
 78
78 -
 79
79 -
80
-
81
-
82
-
83
-
84
-
85
-
86
-
87
-
88
-
89
-
90
-
91
-
92
-
93
-
94
-
95
-
96
-
97
-
98
-
99
-
100
-
101
-
102
-
103
-
104
-
105
-
106
-
107
-
108
-
109
-
110
-
111
-
112
-
113
-
114
-
115
 |
 |