Epson PowerLite Pro G5350 User's Guide - Page 36
Removing the USB Cable, Inserting an SD Card
 |
View all Epson PowerLite Pro G5350 manuals
Add to My Manuals
Save this manual to your list of manuals |
Page 36 highlights
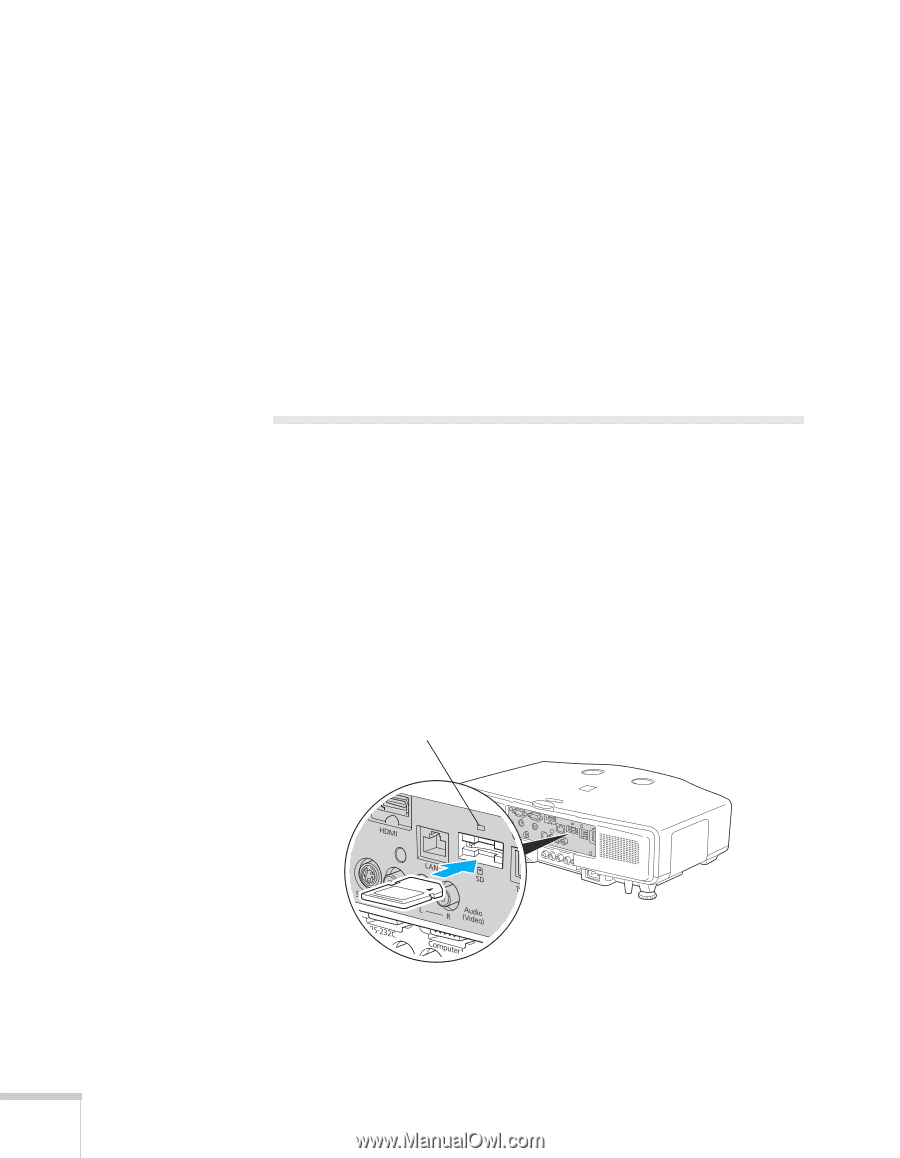
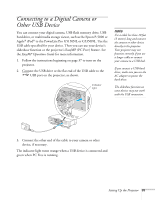
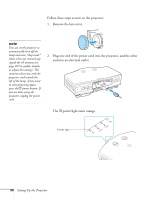
Removing the USB Cable If you're using PC Free mode to project your images, exit PC Free mode before you remove the USB device or cable from the projector. 1. Position the cursor over the Exit button in the upper right corner of the PC Free screen. 2. Press the Enter button on the remote control to close PC Free mode. 3. Turn off your digital camera or other device. 4. Disconnect the USB cable. Inserting an SD Card You can use an SD or SDHC (SD High Capacity) card to store images, movies, and Scenario files. This lets you project your files without connecting to a laptop or PC (G5150NL and G5350NL only, see the EasyMP Operation Guide). To place your files on the card, copy them from your computer to the card using a card reader. 1. Follow the instructions beginning on page 37 to turn on the projector. 2. Insert the SD card face-up into the slot as shown: Indicator light 36 Setting Up the Projector
-
 1
1 -
2
-
3
-
4
-
5
-
6
-
7
-
8
-
9
-
10
-
11
-
12
-
13
-
14
-
15
-
16
-
17
-
18
-
19
-
20
-
21
-
22
-
23
-
24
-
25
-
26
-
27
-
28
-
29
-
30
-
 31
31 -
 32
32 -
 33
33 -
 34
34 -
 35
35 -
 36
36 -
 37
37 -
 38
38 -
 39
39 -
 40
40 -
 41
41 -
42
-
43
-
44
-
45
-
46
-
47
-
48
-
49
-
50
-
51
-
52
-
53
-
54
-
55
-
56
-
57
-
58
-
59
-
60
-
61
-
62
-
63
-
64
-
65
-
66
-
67
-
68
-
69
-
70
-
71
-
72
-
73
-
74
-
75
-
76
-
77
-
78
-
79
-
80
-
81
-
82
-
83
-
84
-
85
-
86
-
87
-
88
-
89
-
90
-
91
-
92
-
93
-
94
-
95
-
96
-
97
-
98
-
99
-
100
-
101
-
102
-
103
-
104
-
105
-
106
-
107
-
108
-
109
-
110
-
111
-
112
-
113
-
114
-
115
-
116
-
117
-
118
-
119
-
120
-
121
-
122
-
123
-
124
-
125
-
126
-
127
-
128
-
129
-
130
-
131
-
132
-
133
-
134
-
135
-
136
-
137
-
138
-
139
-
140
-
141
-
142
-
143
-
144
-
145
-
146
-
147
-
148
-
149
-
150
-
151
-
152
-
153
-
154
-
155
-
156
-
157
-
158
-
159
-
160
-
161
-
162
-
163
-
164
-
165
-
166
-
167
-
168
-
169
-
170
-
171
-
172
-
173
-
174
-
175
-
176
-
177
 |
 |