Epson PowerLite Pro G5350 User's Guide - Page 61
Preparing the Projector to Present Through a Network
 |
View all Epson PowerLite Pro G5350 manuals
Add to My Manuals
Save this manual to your list of manuals |
Page 61 highlights
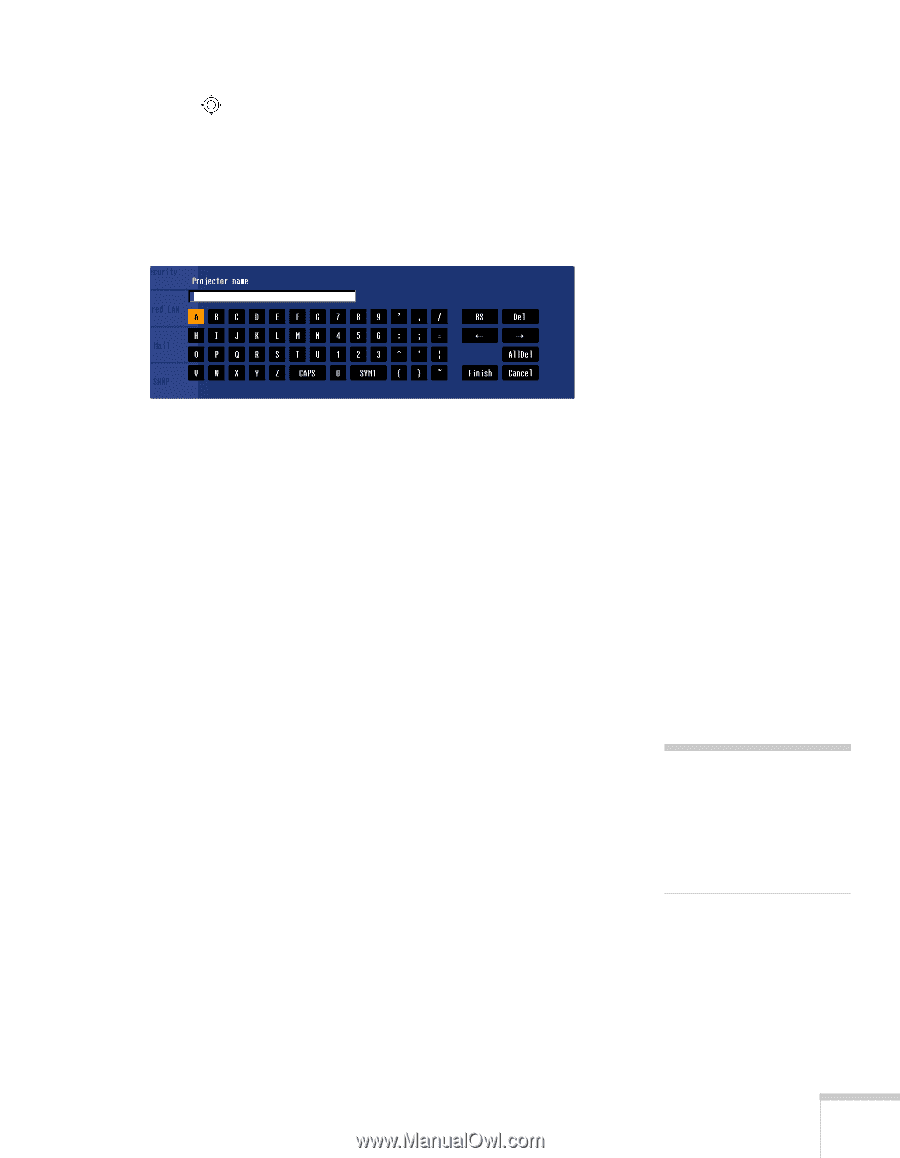
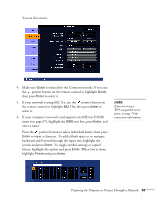
5. Press the pointer button to select individual letters; then press Enter to input a character. To add a blank space or to navigate backward and forward through the input text, highlight the arrows and press Enter. To toggle symbol settings or capital letters, highlight the option and press Enter. When you're done, highlight Finish and press Enter. 6. If you want to create a password for remote access to the projector, highlight Web Control Password, press Enter, and enter a password of up to 8 alphanumeric characters. When you're done, highlight Finish and press Enter. 7. If you want to set up a security keyword so that only people who are in the same room as the projector can access it, turn on Projector keyword. When you connect to the projector, a randomized four-digit number or "keyword" is displayed on the screen. When prompted by NS Connection, enter the keyword on your computer to connect to the projector. 8. If you want to prevent others from overwriting or deleting files on an SD card without permission, enter a password of up to 16 characters for the Network Drive Password. 9. When you're done making these settings, select Return, Setup complete, and then Yes to confirm that you want to save the changes. 10. Press Menu to exit. note You can interrupt projection even when a keyword is used. Press the Esc button on the remote control and select the Close option. Preparing the Projector to Present Through a Network 61
-
 1
1 -
2
-
3
-
4
-
5
-
6
-
7
-
8
-
9
-
10
-
11
-
12
-
13
-
14
-
15
-
16
-
17
-
18
-
19
-
20
-
21
-
22
-
23
-
24
-
25
-
26
-
27
-
28
-
29
-
30
-
31
-
32
-
33
-
34
-
35
-
36
-
37
-
38
-
39
-
40
-
41
-
42
-
43
-
44
-
45
-
46
-
47
-
48
-
49
-
50
-
51
-
52
-
53
-
54
-
55
-
 56
56 -
 57
57 -
 58
58 -
 59
59 -
 60
60 -
 61
61 -
 62
62 -
 63
63 -
 64
64 -
 65
65 -
 66
66 -
67
-
68
-
69
-
70
-
71
-
72
-
73
-
74
-
75
-
76
-
77
-
78
-
79
-
80
-
81
-
82
-
83
-
84
-
85
-
86
-
87
-
88
-
89
-
90
-
91
-
92
-
93
-
94
-
95
-
96
-
97
-
98
-
99
-
100
-
101
-
102
-
103
-
104
-
105
-
106
-
107
-
108
-
109
-
110
-
111
-
112
-
113
-
114
-
115
-
116
-
117
-
118
-
119
-
120
-
121
-
122
-
123
-
124
-
125
-
126
-
127
-
128
-
129
-
130
-
131
-
132
-
133
-
134
-
135
-
136
-
137
-
138
-
139
-
140
-
141
-
142
-
143
-
144
-
145
-
146
-
147
-
148
-
149
-
150
-
151
-
152
-
153
-
154
-
155
-
156
-
157
-
158
-
159
-
160
-
161
-
162
-
163
-
164
-
165
-
166
-
167
-
168
-
169
-
170
-
171
-
172
-
173
-
174
-
175
-
176
-
177
 |
 |