HP Portable 386 Compaq Portable 386 Personal Computer Maintenance and Service - Page 70
Slide the keyboard connector cover off of the keyboard cord and set it, aside
 |
View all HP Portable 386 manuals
Add to My Manuals
Save this manual to your list of manuals |
Page 70 highlights
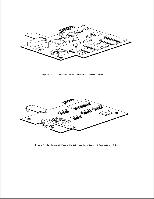
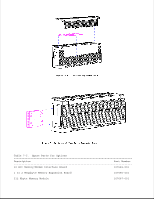
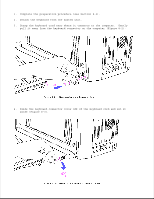
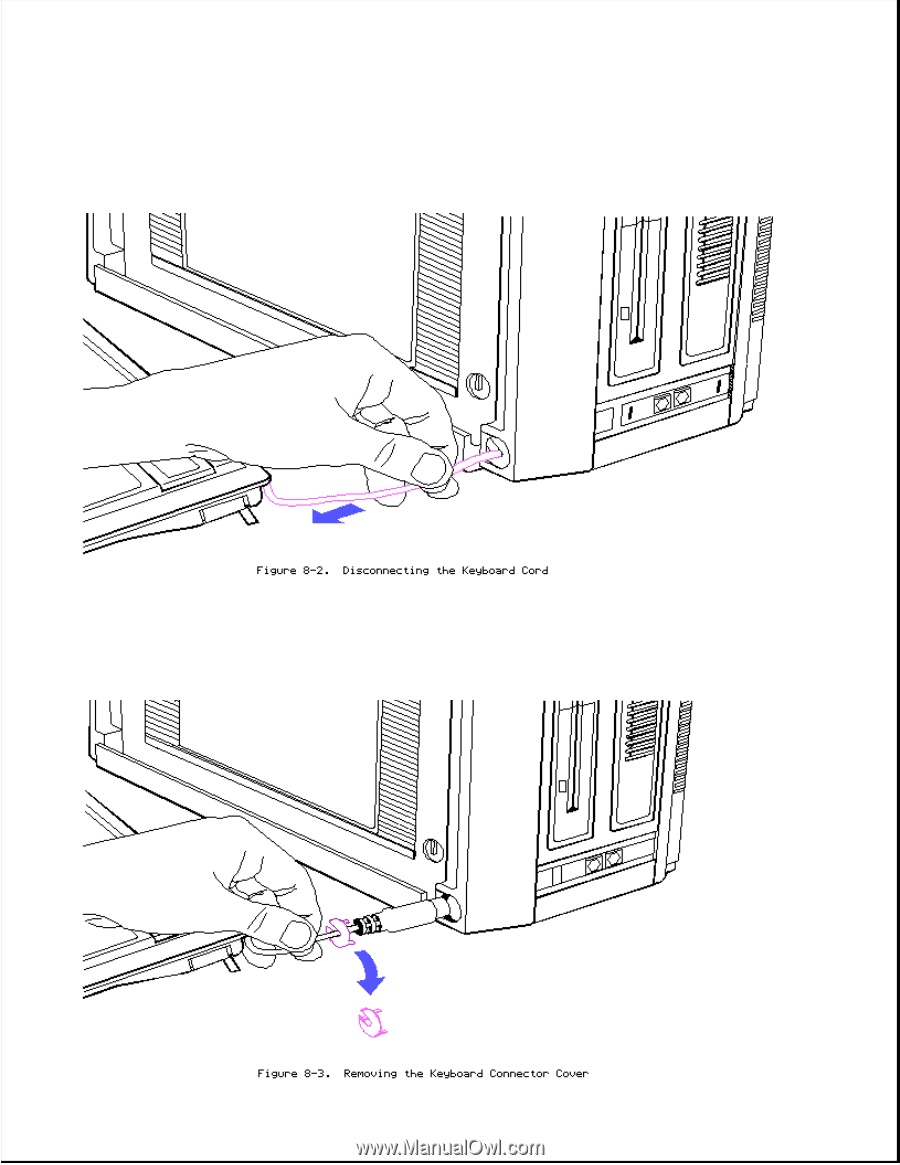
1. Complete the preparation procedure (see Section 8.2). 2. Detach the keyboard from the system unit. 3. Grasp the keyboard cord near where it connects to the computer. Gently pull it away from the keyboard connector on the computer (Figure 8-2). 4. Slide the keyboard connector cover off of the keyboard cord and set it aside (Figure 8-3).
-
 1
1 -
2
-
3
-
4
-
5
-
6
-
7
-
8
-
9
-
10
-
11
-
12
-
13
-
14
-
15
-
16
-
17
-
18
-
19
-
20
-
21
-
22
-
23
-
24
-
25
-
26
-
27
-
28
-
29
-
30
-
31
-
32
-
33
-
34
-
35
-
36
-
37
-
38
-
39
-
40
-
41
-
42
-
43
-
44
-
45
-
46
-
47
-
48
-
49
-
50
-
51
-
52
-
53
-
54
-
55
-
56
-
57
-
58
-
59
-
60
-
61
-
62
-
63
-
64
-
 65
65 -
 66
66 -
 67
67 -
 68
68 -
 69
69 -
 70
70 -
 71
71 -
 72
72 -
 73
73 -
 74
74 -
 75
75 -
76
-
77
-
78
-
79
-
80
-
81
-
82
-
83
-
84
-
85
-
86
-
87
-
88
-
89
-
90
-
91
-
92
-
93
-
94
-
95
-
96
-
97
-
98
-
99
-
100
-
101
-
102
-
103
-
104
-
105
-
106
-
107
-
108
-
109
-
110
-
111
-
112
-
113
-
114
-
115
-
116
-
117
-
118
-
119
-
120
-
121
-
122
-
123
-
124
-
125
-
126
-
127
-
128
-
129
-
130
-
131
-
132
-
133
-
134
-
135
-
136
-
137
-
138
-
139
-
140
-
141
-
142
-
143
-
144
-
145
-
146
-
147
-
148
-
149
-
150
-
151
-
152
-
153
-
154
-
155
-
156
-
157
-
158
-
159
-
160
-
161
-
162
-
163
-
164
-
165
-
166
 |
 |
1. Complete the preparation procedure (see Section 8.2).
2. Detach the keyboard from the system unit.
3. Grasp the keyboard cord near where it connects to the computer. Gently
pull it away from the keyboard connector on the computer (Figure 8-2).
4. Slide the keyboard connector cover off of the keyboard cord and set it
aside (Figure 8-3).