Lexmark X7550 User's Guide - Page 87
Editing photos, Editing photos using the control panel
 |
View all Lexmark X7550 manuals
Add to My Manuals
Save this manual to your list of manuals |
Page 87 highlights
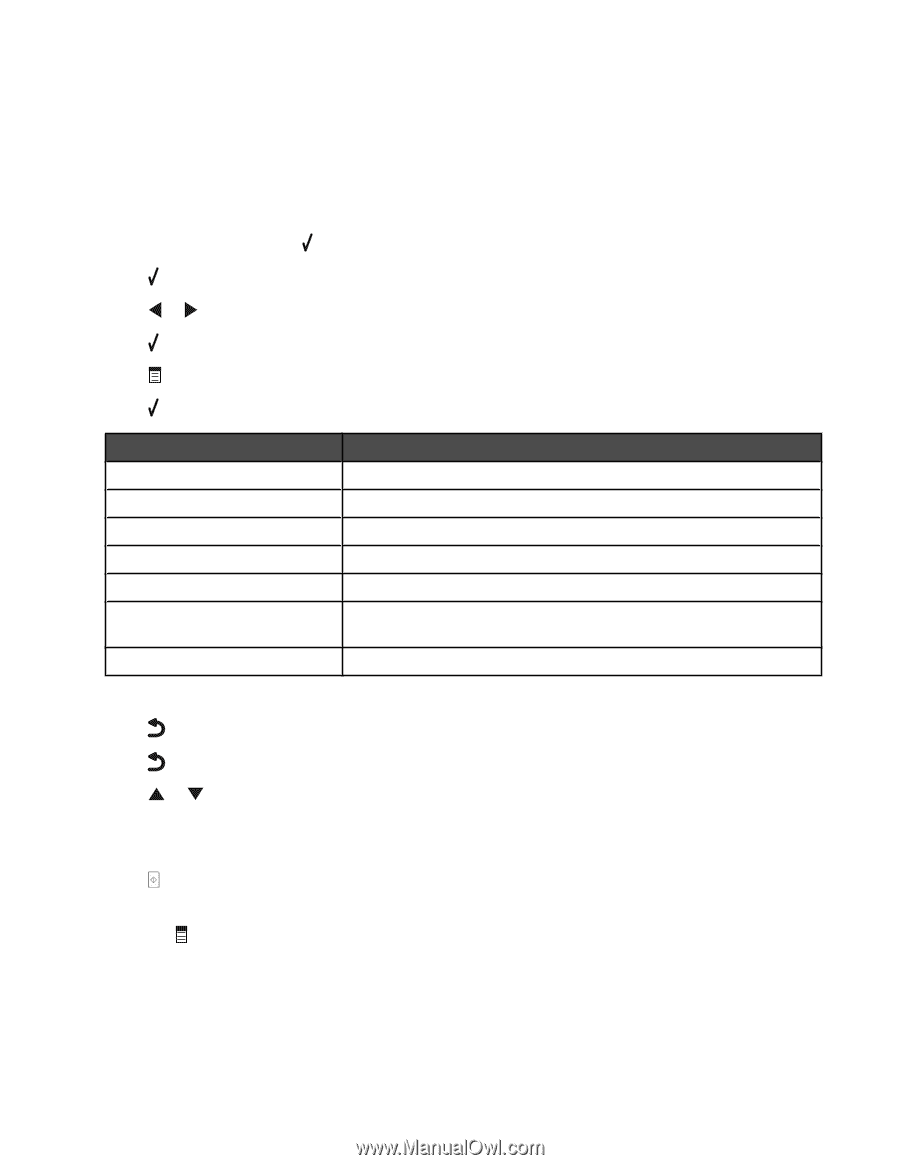
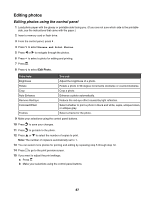
Editing photos Editing photos using the control panel 1 Load photo paper with the glossy or printable side facing you. (If you are not sure which side is the printable side, see the instructions that came with the paper.) 2 Insert a memory card or flash drive. 3 From the control panel, press . 4 Press to select Browse and Print Photos. 5 Press or to navigate through the photos. 6 Press to select a photo for editing and printing. 7 Press . 8 Press to select Edit Photo. From here Brightness Rotate Crop Auto Enhance Remove Red Eye Colorized Effect Frames You can Adjust the brightness of a photo. Rotate a photo in 90-degree increments clockwise or counterclockwise. Crop a photo. Enhance a photo automatically. Reduce the red-eye effect caused by light reflection. Select whether to print a photo in black and white, sepia, antique brown, or antique gray. Select a frame for the photo. 9 Make your selections using the control panel buttons. 10 Press to save your changes. 11 Press to go back to the photo. 12 Press or to select the number of copies to print. Note: The number of copies is automatically set to 1. 13 You can select more photos for printing and editing by repeating step 5 through step 12. 14 Press to go to the print preview screen. 15 If you want to adjust the print settings: a Press . b Make your selections using the control panel buttons. 87
-
 1
1 -
2
-
3
-
4
-
5
-
6
-
7
-
8
-
9
-
10
-
11
-
12
-
13
-
14
-
15
-
16
-
17
-
18
-
19
-
20
-
21
-
22
-
23
-
24
-
25
-
26
-
27
-
28
-
29
-
30
-
31
-
32
-
33
-
34
-
35
-
36
-
37
-
38
-
39
-
40
-
41
-
42
-
43
-
44
-
45
-
46
-
47
-
48
-
49
-
50
-
51
-
52
-
53
-
54
-
55
-
56
-
57
-
58
-
59
-
60
-
61
-
62
-
63
-
64
-
65
-
66
-
67
-
68
-
69
-
70
-
71
-
72
-
73
-
74
-
75
-
76
-
77
-
78
-
79
-
80
-
81
-
 82
82 -
 83
83 -
 84
84 -
 85
85 -
 86
86 -
 87
87 -
 88
88 -
 89
89 -
 90
90 -
 91
91 -
 92
92 -
93
-
94
-
95
-
96
-
97
-
98
-
99
-
100
-
101
-
102
-
103
-
104
-
105
-
106
-
107
-
108
-
109
-
110
-
111
-
112
-
113
-
114
-
115
-
116
-
117
-
118
-
119
-
120
-
121
-
122
-
123
-
124
-
125
-
126
-
127
-
128
-
129
-
130
-
131
-
132
-
133
-
134
-
135
-
136
-
137
-
138
-
139
-
140
-
141
-
142
-
143
-
144
-
145
-
146
-
147
-
148
-
149
-
150
-
151
-
152
-
153
-
154
-
155
-
156
-
157
-
158
-
159
-
160
-
161
-
162
-
163
-
164
-
165
-
166
-
167
-
168
-
169
-
170
-
171
-
172
-
173
-
174
-
175
-
176
-
177
-
178
-
179
-
180
-
181
-
182
-
183
-
184
-
185
-
186
-
187
-
188
-
189
-
190
-
191
-
192
-
193
-
194
-
195
-
196
-
197
-
198
-
199
-
200
-
201
-
202
-
203
-
204
-
205
-
206
-
207
-
208
-
209
-
210
-
211
-
212
-
213
-
214
-
215
-
216
-
217
-
218
-
219
-
220
-
221
-
222
-
223
-
224
-
225
-
226
-
227
-
228
-
229
 |
 |