Pioneer AVIC-D1 Owner's Manual - Page 97
Switching the automatic and, manual function, Selecting AUX as the source, AV Input AV, Selecting AV - aux input
 |
UPC - 012562739496
View all Pioneer AVIC-D1 manuals
Add to My Manuals
Save this manual to your list of manuals |
Page 97 highlights
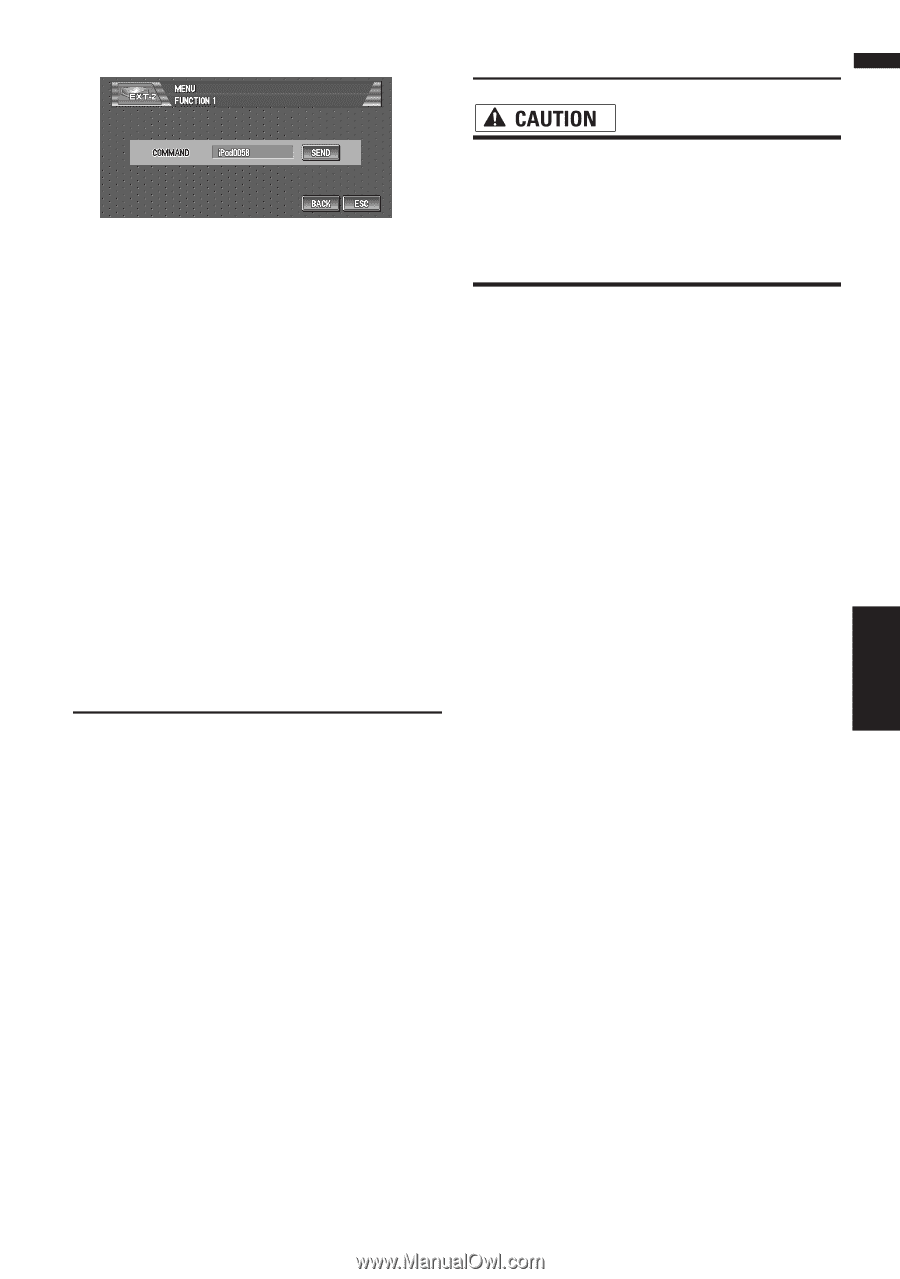
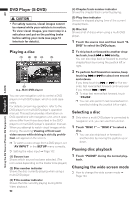
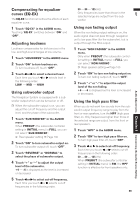
AV AUX/AV Chapter 7 Using the AV Source (Pioneer AV Equipment) 2 Touch "SEND". AV Input (AV) The operation command is transmitted to the external unit. • For safety reasons, visual images cannot be viewed while your vehicle is in motion. To view visual images, you must stop in a safe place and put on the parking brake before setting your route (see page 12 Interlock for details). Switching the automatic and manual function You can turn automatic and manual function on or off. You can switch between AUTO and MANUAL functions of the external unit connected. Initially, this function is set to AUTO. ❒ Operating commands set for AUTO and MANUAL operations vary depending on the external unit connected. 1 Touch "AUTO / MANUAL" in the FUNC- TION menu. Touching "AUTO / MANUAL" switches between "AUTO" and "MANUAL". Selecting AV as the source ➲ Switching the source ➞ Page 69 ❒ If you want to switch AV source, select "VIDEO" in the "AV INPUT". ➲ Selecting the video input ➞ Page 102 Changing the wide screen mode ➲ How to change the wide screen mode ➞ Page 104 AUX An IP-BUS-RCA Interconnector such as the CDRB20/CD-RB10 (sold separately) lets you connect your navigation unit to auxiliary equipment featuring RCA output. For more details, refer to the IP-BUS-RCA Interconnector owner's manual. Selecting AUX as the source ➲ Switching the source ➞ Page 69 ❒ If the auxiliary setting is turned off, "AUX" cannot be selected. ❒ When "AUX" is set to "ON", you can select "AUX" as a source. ➲ Switching the auxiliary setting ➞ Page 100 95
-
 1
1 -
2
-
3
-
4
-
5
-
6
-
7
-
8
-
9
-
10
-
11
-
12
-
13
-
14
-
15
-
16
-
17
-
18
-
19
-
20
-
21
-
22
-
23
-
24
-
25
-
26
-
27
-
28
-
29
-
30
-
31
-
32
-
33
-
34
-
35
-
36
-
37
-
38
-
39
-
40
-
41
-
42
-
43
-
44
-
45
-
46
-
47
-
48
-
49
-
50
-
51
-
52
-
53
-
54
-
55
-
56
-
57
-
58
-
59
-
60
-
61
-
62
-
63
-
64
-
65
-
66
-
67
-
68
-
69
-
70
-
71
-
72
-
73
-
74
-
75
-
76
-
77
-
78
-
79
-
80
-
81
-
82
-
83
-
84
-
85
-
86
-
87
-
88
-
89
-
90
-
91
-
 92
92 -
 93
93 -
 94
94 -
 95
95 -
 96
96 -
 97
97 -
 98
98 -
 99
99 -
 100
100 -
 101
101 -
 102
102 -
103
-
104
-
105
-
106
-
107
-
108
-
109
-
110
-
111
-
112
-
113
-
114
-
115
-
116
-
117
-
118
-
119
-
120
-
121
-
122
-
123
-
124
-
125
-
126
-
127
-
128
-
129
-
130
-
131
-
132
-
133
 |
 |