Samsung SCH R500 User Manual (ENGLISH) - Page 59
Editing an Existing Contact Entry
 |
View all Samsung SCH R500 manuals
Add to My Manuals
Save this manual to your list of manuals |
Page 59 highlights
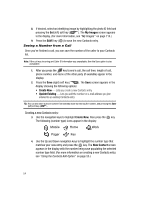
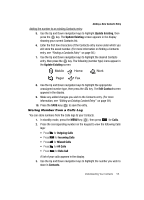
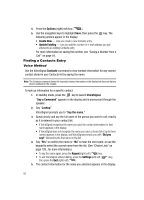
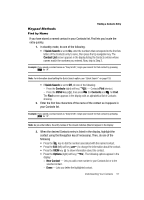
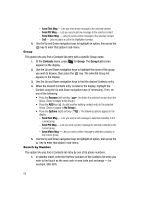
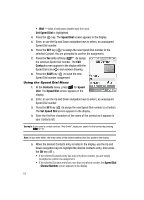
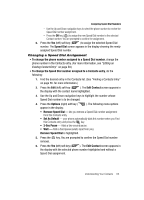
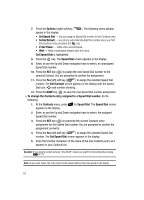
Editing an Existing Contact Entry 2. Press the Options (right) soft key ( ). The following menu options appear in the display: • Search - Lets you find Contacts list entries by their phone numbers. • 2-Sec Pause - Adds a two-second pause. • Wait - Adds a hard pause (awaits input from you). • Send Text Msg - Lets you send a text message to the entered number. • Send PIC Msg - Lets you send a picture message to the entered number. • Send Video Msg - Lets you send a video message to the entered number. 3. Use the navigation keys to highlight the Search option, then press the key. The Find screen appears in the display listing all phone numbers in your Contacts list that contain the entered digits. 4. Use the navigation keys (if necessary) to highlight the desired Contacts entry. Then do one of the following: • Press the key to dial the highlighted number. • Press the OK key ( ) to display information about the Contacts entry associated with the highlighted number. From the View Contact screen, you can erase or edit the selected Contacts entry. Editing an Existing Contact Entry Once stored in the Contacts list, an entry can be changed quite easily. 1. Find the desired entry in the Contacts list. (See "Finding a Contacts Entry" on page 56. for more information.) 2. Press the Edit (left) soft key ( ). The Edit Contact screen appears in the display with the contact name highlighted. 3. Use the navigation keys to highlight a number stored in this contact entry. 4. Press CLR to backspace and delete numbers. 5. Press and hold CLR to clear all numbers in the highlighted field. Note: You can also add numbers (such as a second Mobile number or a Fax number) to the entry, assign it to a Group, and add other information. 6. When you're finished editing the entry, press the key. Your changes are saved and a confirmation message appears in the display. Understanding Your Contacts 59
-
 1
1 -
2
-
3
-
4
-
5
-
6
-
7
-
8
-
9
-
10
-
11
-
12
-
13
-
14
-
15
-
16
-
17
-
18
-
19
-
20
-
21
-
22
-
23
-
24
-
25
-
26
-
27
-
28
-
29
-
30
-
31
-
32
-
33
-
34
-
35
-
36
-
37
-
38
-
39
-
40
-
41
-
42
-
43
-
44
-
45
-
46
-
47
-
48
-
49
-
50
-
51
-
52
-
53
-
 54
54 -
 55
55 -
 56
56 -
 57
57 -
 58
58 -
 59
59 -
 60
60 -
 61
61 -
 62
62 -
 63
63 -
 64
64 -
65
-
66
-
67
-
68
-
69
-
70
-
71
-
72
-
73
-
74
-
75
-
76
-
77
-
78
-
79
-
80
-
81
-
82
-
83
-
84
-
85
-
86
-
87
-
88
-
89
-
90
-
91
-
92
-
93
-
94
-
95
-
96
-
97
-
98
-
99
-
100
-
101
-
102
-
103
-
104
-
105
-
106
-
107
-
108
-
109
-
110
-
111
-
112
-
113
-
114
-
115
-
116
-
117
-
118
-
119
-
120
-
121
-
122
-
123
-
124
-
125
-
126
-
127
-
128
-
129
-
130
-
131
-
132
-
133
-
134
-
135
-
136
-
137
-
138
-
139
-
140
-
141
-
142
-
143
-
144
-
145
-
146
-
147
-
148
-
149
-
150
-
151
-
152
-
153
-
154
-
155
-
156
-
157
-
158
-
159
-
160
-
161
-
162
-
163
-
164
-
165
-
166
-
167
-
168
-
169
-
170
-
171
-
172
-
173
-
174
-
175
-
176
-
177
-
178
-
179
-
180
-
181
-
182
-
183
-
184
-
185
-
186
-
187
-
188
-
189
-
190
 |
 |