Sony SNCEP520 User Manual (SNC-ER/EP User Guide) - Page 21
Logging in to System, Logging in as a user, About Viewers
 |
View all Sony SNCEP520 manuals
Add to My Manuals
Save this manual to your list of manuals |
Page 21 highlights
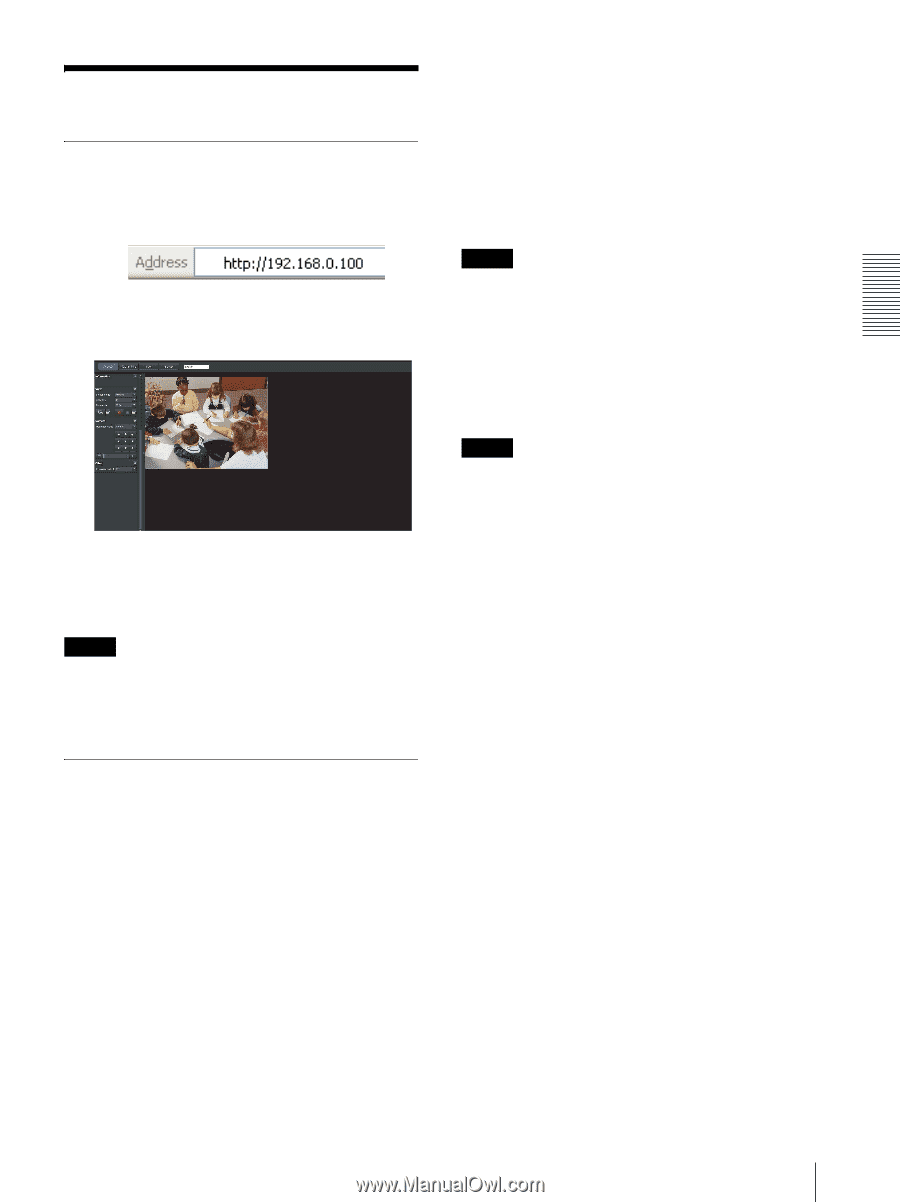
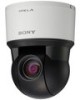
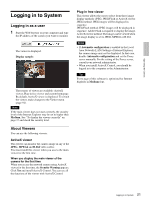
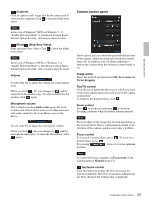
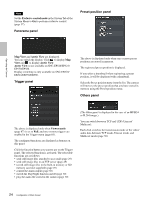
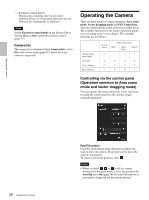
Operating the Camera Logging in to System Logging in as a user 1 Start the Web browser on your computer and type the IP address of the camera you want to monitor. The viewer is displayed. Display sample: Three types of viewer are available: ActiveX viewer, Plug-in free viewer and custom homepage. By default, ActiveX viewer is displayed. To switch the viewer, make changes to the Viewer menu (page 91). Note If the main viewer does not start correctly, the security level of the Internet Explorer may be set to higher than Medium. See "To display the viewer correctly" on page 17 and check the security level. About Viewers You can use the following viewers. ActiveX viewer This viewer can monitor the camera image in any of the JPEG, MPEG4 and H.264 video codecs. You must install this viewer when you access the main viewer for the first time. When you display the main viewer of the camera for the first time When you access the network camera using ActiveX viewer for the first time, the Security Warning appears. Click Yes and install ActiveX Control. You can use all the functions of the viewer with ActiveX Control. Plug-in free viewer This viewer allows the user to select from three image display methods: JPEG, JPEG/Flash or ActiveX viewer. JPEG method: JPEG images will be displayed in sequence. JPEG/Flash method: JPEG images will be displayed in sequence. Adobe Flash is required to display the image. ActiveX viewer method: The image can be viewed when the image display is set to JPEG, MPEG4 or H.264. Notes • If Automatic configuration is enabled in the Local Area Network (LAN) Settings of Internet Explorer, the camera image may not be displayed. In that case, disable Automatic configuration and set the Proxy server manually. For the setting of the Proxy server, consult your network administrator. • When you install ActiveX Control, you should be logged in to the computer as the Administrator. Tip Every page of this software is optimized for Internet Explorer in Medium font. 21 Logging in to System
-
 1
1 -
2
-
3
-
4
-
5
-
6
-
7
-
8
-
9
-
10
-
11
-
12
-
13
-
14
-
15
-
 16
16 -
 17
17 -
 18
18 -
 19
19 -
 20
20 -
 21
21 -
 22
22 -
 23
23 -
 24
24 -
 25
25 -
 26
26 -
27
-
28
-
29
-
30
-
31
-
32
-
33
-
34
-
35
-
36
-
37
-
38
-
39
-
40
-
41
-
42
-
43
-
44
-
45
-
46
-
47
-
48
-
49
-
50
-
51
-
52
-
53
-
54
-
55
-
56
-
57
-
58
-
59
-
60
-
61
-
62
-
63
-
64
-
65
-
66
-
67
-
68
-
69
-
70
-
71
-
72
-
73
-
74
-
75
-
76
-
77
-
78
-
79
-
80
-
81
-
82
-
83
-
84
-
85
-
86
-
87
-
88
-
89
-
90
-
91
-
92
-
93
-
94
-
95
-
96
-
97
-
98
-
99
-
100
-
101
-
102
-
103
-
104
-
105
-
106
-
107
-
108
-
109
-
110
-
111
-
112
-
113
-
114
-
115
-
116
-
117
-
118
-
119
-
120
-
121
-
122
 |
 |