Epson ActionLaser User Manual - Page 130
Changing the drum unit and drum replacement cartridge, WARNING, Maintenance and Transportation
 |
View all Epson ActionLaser manuals
Add to My Manuals
Save this manual to your list of manuals |
Page 130 highlights
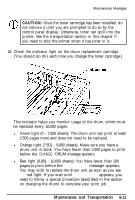
Maintenance Messages Changing the drum unit and drum replacement cartridge Note: Before changing the drum, you should locate some alcohol to use for cleaning purposes. 1. Turn off your printer. (To finish your print job first, see the instructions above on completing your print job before changing the drum.) 2. Raise the top cover of your printer by lifting up on the latch. WARNING: Opening the printer exposes the fusing unit, the orange area marked with a caution label. This unit is very hot, so be careful not to touch it. 3. Remove the basket and place it on a flat surface. 6-14 Maintenance and Transportation
-
 1
1 -
2
-
3
-
4
-
5
-
6
-
7
-
8
-
9
-
10
-
11
-
12
-
13
-
14
-
15
-
16
-
17
-
18
-
19
-
20
-
21
-
22
-
23
-
24
-
25
-
26
-
27
-
28
-
29
-
30
-
31
-
32
-
33
-
34
-
35
-
36
-
37
-
38
-
39
-
40
-
41
-
42
-
43
-
44
-
45
-
46
-
47
-
48
-
49
-
50
-
51
-
52
-
53
-
54
-
55
-
56
-
57
-
58
-
59
-
60
-
61
-
62
-
63
-
64
-
65
-
66
-
67
-
68
-
69
-
70
-
71
-
72
-
73
-
74
-
75
-
76
-
77
-
78
-
79
-
80
-
81
-
82
-
83
-
84
-
85
-
86
-
87
-
88
-
89
-
90
-
91
-
92
-
93
-
94
-
95
-
96
-
97
-
98
-
99
-
100
-
101
-
102
-
103
-
104
-
105
-
106
-
107
-
108
-
109
-
110
-
111
-
112
-
113
-
114
-
115
-
116
-
117
-
118
-
119
-
120
-
121
-
122
-
123
-
124
-
 125
125 -
 126
126 -
 127
127 -
 128
128 -
 129
129 -
 130
130 -
 131
131 -
 132
132 -
 133
133 -
 134
134 -
 135
135 -
136
-
137
-
138
-
139
-
140
-
141
-
142
-
143
-
144
-
145
-
146
-
147
-
148
-
149
-
150
-
151
-
152
-
153
-
154
-
155
-
156
-
157
-
158
-
159
-
160
-
161
-
162
-
163
-
164
-
165
-
166
-
167
-
168
-
169
-
170
-
171
-
172
-
173
-
174
-
175
-
176
-
177
-
178
-
179
-
180
-
181
-
182
-
183
-
184
-
185
-
186
-
187
-
188
-
189
-
190
-
191
-
192
-
193
-
194
-
195
-
196
-
197
-
198
-
199
-
200
-
201
-
202
-
203
-
204
-
205
-
206
-
207
-
208
-
209
-
210
-
211
-
212
-
213
-
214
-
215
-
216
-
217
-
218
-
219
 |
 |
Maintenance Messages
Changing the drum unit and drum replacement cartridge
Note:
Before changing the drum, you should locate some alcohol
to use for cleaning purposes.
1.
Turn off your printer. (To finish your print job first, see the
instructions above on completing your print job before changing
the drum.)
2.
Raise the top cover of your printer by lifting up on the latch.
WARNING:
Opening the printer exposes the fusing unit,
the orange area marked with a caution label. This unit is
very hot, so be careful not to touch it.
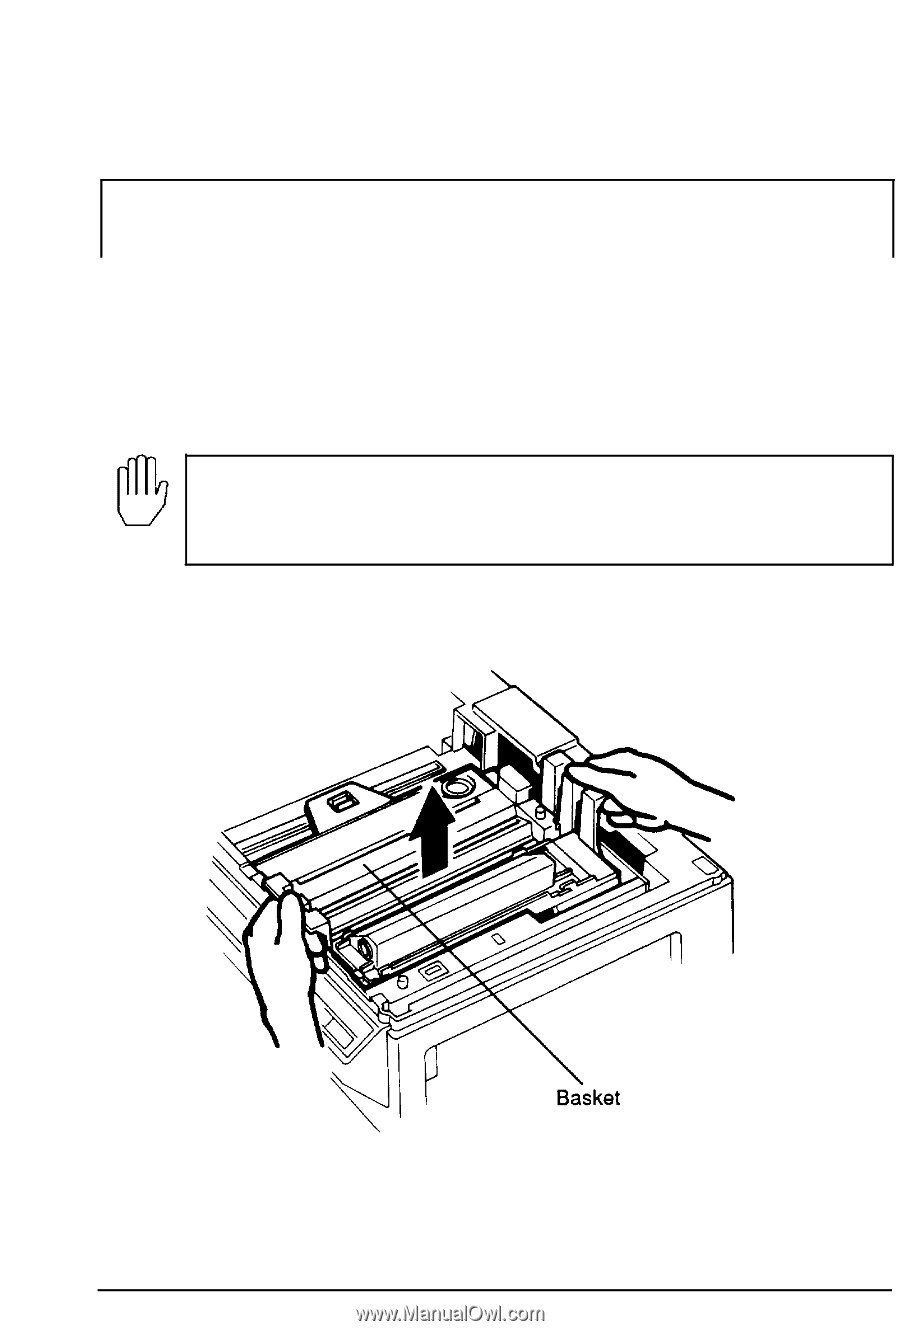
3.
Remove the basket and place it on a flat surface.
6-14
Maintenance and Transportation