HP Deskjet 460 User's Guide - Page 74
Aligning the print cartridges - drivers for windows 7
 |
View all HP Deskjet 460 manuals
Add to My Manuals
Save this manual to your list of manuals |
Page 74 highlights
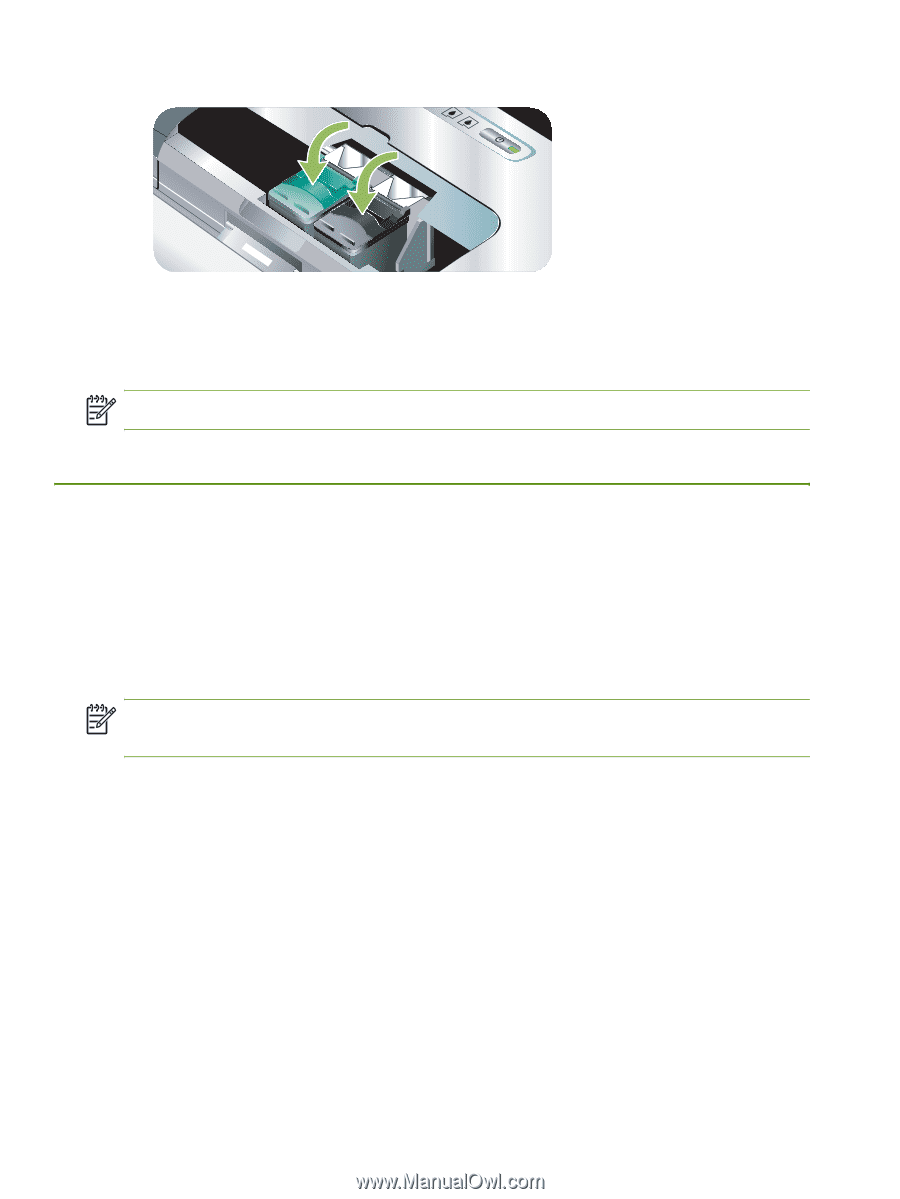
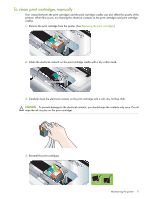
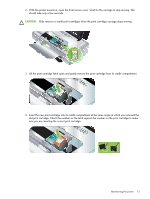
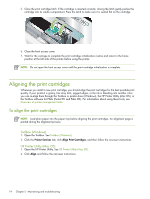
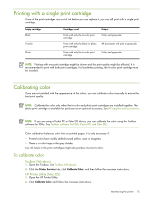
5. Close the print cartridge latch. If the cartridge is inserted correctly, closing the latch gently pushes the cartridge into its cradle compartment. Press the latch to make sure it is seated flat on the cartridge. 6. Close the front access cover. 7. Wait for the carriage to complete the print cartridge initialization routine and return to the home position at the left side of the printer before using the printer. NOTE: Do not open the front access cover until the print cartridge initialization is complete. Aligning the print cartridges Whenever you install a new print cartridge, you should align the print cartridges for the best possible print quality. If your printout is grainy, has stray dots, jagged edges, or the ink is bleeding into another color, you can re-align them through the Toolbox or printer driver (Windows), the HP Printer Utility (Mac OS), or the Toolbox software for PDAs (Pocket PC and Palm OS). For information about using these tools, see Overview of printer management tasks. To align the print cartridges NOTE: Load plain paper into the paper tray before aligning the print cartridges. An alignment page is printed during the alignment process. Toolbox (Windows) 1. Open the Toolbox. See Toolbox (Windows). 2. Click the Printer Services tab, click Align Print Cartridges, and then follow the onscreen instructions. HP Printer Utility (Mac OS) 1. Open the HP Printer Utility. See HP Printer Utility (Mac OS). 2. Click Align and follow the onscreen instructions. 74 Chapter 5 - Maintaining and troubleshooting
-
 1
1 -
2
-
3
-
4
-
5
-
6
-
7
-
8
-
9
-
10
-
11
-
12
-
13
-
14
-
15
-
16
-
17
-
18
-
19
-
20
-
21
-
22
-
23
-
24
-
25
-
26
-
27
-
28
-
29
-
30
-
31
-
32
-
33
-
34
-
35
-
36
-
37
-
38
-
39
-
40
-
41
-
42
-
43
-
44
-
45
-
46
-
47
-
48
-
49
-
50
-
51
-
52
-
53
-
54
-
55
-
56
-
57
-
58
-
59
-
60
-
61
-
62
-
63
-
64
-
65
-
66
-
67
-
68
-
 69
69 -
 70
70 -
 71
71 -
 72
72 -
 73
73 -
 74
74 -
 75
75 -
 76
76 -
 77
77 -
 78
78 -
 79
79 -
80
-
81
-
82
-
83
-
84
-
85
-
86
-
87
-
88
-
89
-
90
-
91
-
92
-
93
-
94
-
95
-
96
-
97
-
98
-
99
-
100
-
101
-
102
-
103
-
104
-
105
-
106
-
107
-
108
-
109
-
110
-
111
-
112
-
113
-
114
-
115
-
116
-
117
-
118
-
119
-
120
-
121
-
122
-
123
-
124
-
125
-
126
-
127
-
128
-
129
-
130
-
131
-
132
 |
 |