HP Deskjet 460 User's Guide - Page 90
To avoid jams, Make sure the paper path is not blocked.
 |
View all HP Deskjet 460 manuals
Add to My Manuals
Save this manual to your list of manuals |
Page 90 highlights
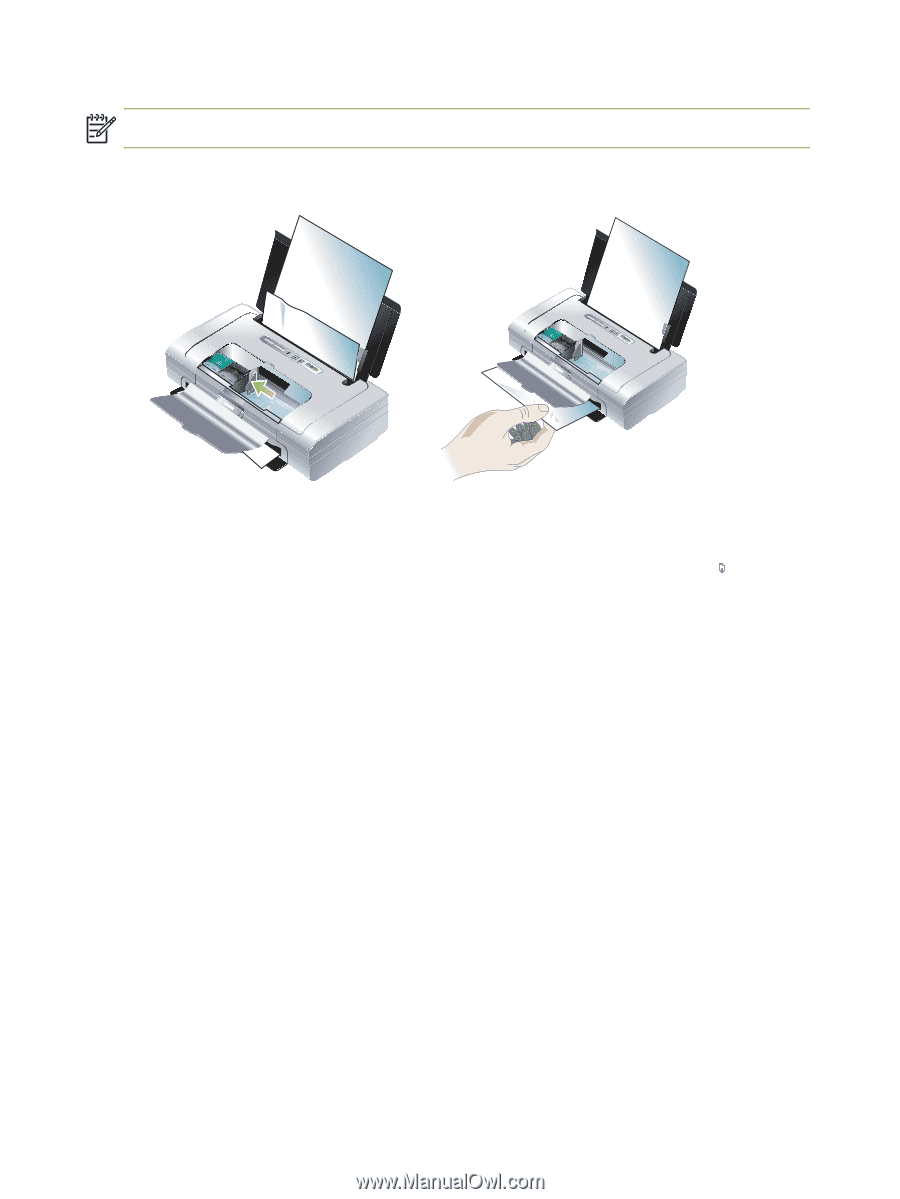
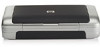
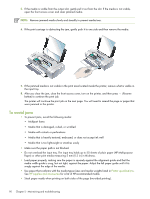
5. If the media is visible from the output slot, gently pull it out from the slot. If the media is not visible, open the front access cover and clear jammed media. NOTE: Remove jammed media slowly and steadily to prevent media tear. 6. If the print carriage is obstructing the jam, gently push it to one side and then remove the media. 7. If the jammed media is not visible in the print area located inside the printer, remove what is visible in the input tray. 8. After you clear the jam, close the front access cover, turn on the printer, and then press (Resume button) to continue the print job. The printer will continue the print job on the next page. You will need to resend the page or pages that were jammed in the printer. To avoid jams • To prevent jams, avoid the following media: • Multipart forms • Media that is damaged, curled, or wrinkled • Media with cutouts or perforations • Media that is heavily textured, embossed, or does not accept ink well • Media that is too lightweight or stretches easily • Make sure the paper path is not blocked. • Do not overload the input tray. The input tray holds up to 50 sheets of plain paper (HP Multipurpose Paper) or other print media measuring 5 mm (0.2 in) in thickness. • Load paper properly, making sure the paper is squarely against the alignment guide and that the media width guide is snug, but not tight, against the paper. Adjust the left paper guide until it fits snugly against the edge of the media. • Use paper that conforms with the media types/sizes and media weights listed in Printer specifications. See HP supplies and accessories for a list of HP-recommended media. • Stack paper neatly when printing on both sides of the page (two-sided printing). 90 Chapter 5 - Maintaining and troubleshooting
-
 1
1 -
2
-
3
-
4
-
5
-
6
-
7
-
8
-
9
-
10
-
11
-
12
-
13
-
14
-
15
-
16
-
17
-
18
-
19
-
20
-
21
-
22
-
23
-
24
-
25
-
26
-
27
-
28
-
29
-
30
-
31
-
32
-
33
-
34
-
35
-
36
-
37
-
38
-
39
-
40
-
41
-
42
-
43
-
44
-
45
-
46
-
47
-
48
-
49
-
50
-
51
-
52
-
53
-
54
-
55
-
56
-
57
-
58
-
59
-
60
-
61
-
62
-
63
-
64
-
65
-
66
-
67
-
68
-
69
-
70
-
71
-
72
-
73
-
74
-
75
-
76
-
77
-
78
-
79
-
80
-
81
-
82
-
83
-
84
-
 85
85 -
 86
86 -
 87
87 -
 88
88 -
 89
89 -
 90
90 -
 91
91 -
 92
92 -
 93
93 -
 94
94 -
 95
95 -
96
-
97
-
98
-
99
-
100
-
101
-
102
-
103
-
104
-
105
-
106
-
107
-
108
-
109
-
110
-
111
-
112
-
113
-
114
-
115
-
116
-
117
-
118
-
119
-
120
-
121
-
122
-
123
-
124
-
125
-
126
-
127
-
128
-
129
-
130
-
131
-
132
 |
 |