Hitachi DZ-MV270A Owners Guide - Page 64
Turning Record LED On or Off, Changing Display Language
 |
View all Hitachi DZ-MV270A manuals
Add to My Manuals
Save this manual to your list of manuals |
Page 64 highlights
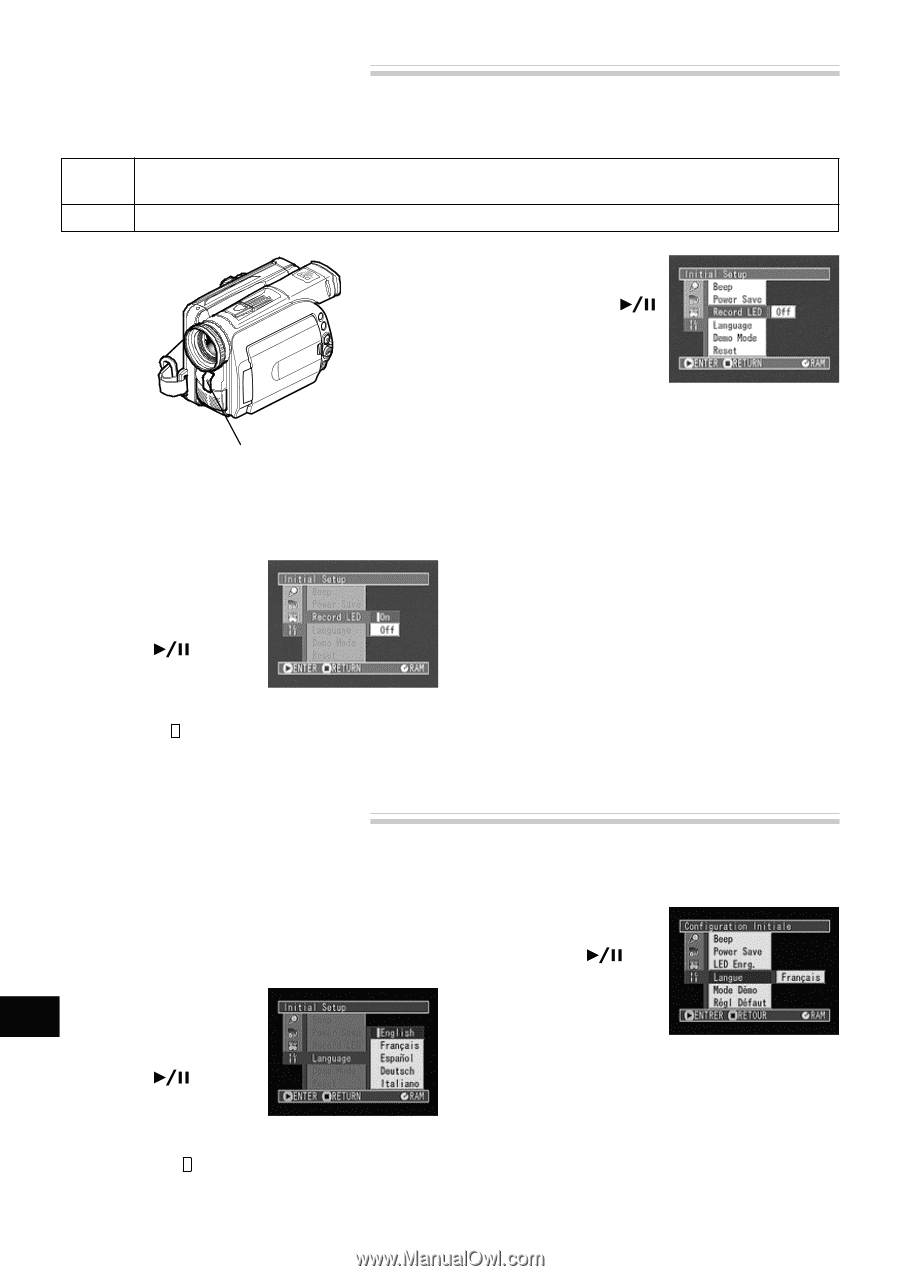
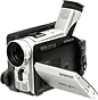
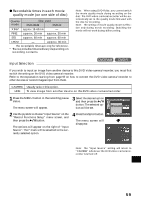
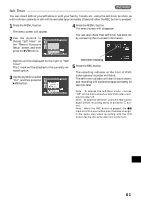
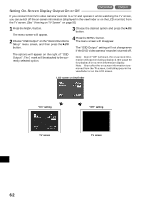
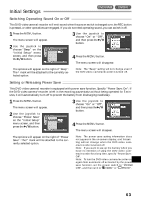
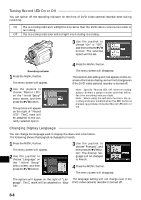
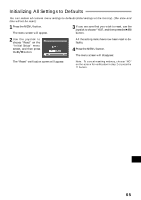
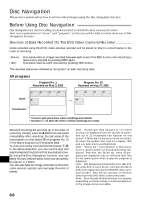
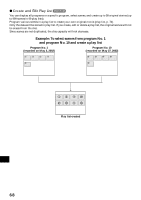
Turning Record LED On or Off You can switch off the recording indicator on the front of DVD video camera/recorder even during recording. On The recording indicator will light red to show that the DVD video camera/recorder is recording. Off The recording indicator will not light even during recording. 3 Use the joystick to choose "On" or "Off", and then press the button: The selected option will be set. Recording indicator 1 Press the MENU button. The menu screen will appear. 2 Use the joystick to choose "Record LED" on the "Initial Setup" menu screen, and then press the button. The options will appear on the right of "Record LED": The mark will be attached to the currently selected option. 4 Press the MENU button. The menu screen will disappear. The Record LED setting will not appear on the onscreen information display, and will not change even if the DVD video camera/recorder is turned off. Note: Specify "Record LED: Off" when recording subject behind a glass or water tank that will reflect the recording indicator light. Note: When using the self-timer function, the recording indicator will blink when the REC button is pressed regardless of whether Record LED is On or Off. Changing Display Language You can change the language used to display the menu and information. The following shows that English is changed to French. 1 Press the MENU button. The menu screen will appear. 2 Use the joystick to English choose "Language" on the "Initial Setup" menu screen, and then press the button. 3 Use the joystick to choose "Français", and then press the button: The display language will be changed to French. 4 Press the MENU button. The menu screen will disappear. The options will appear on the right of "Language": The mark will be attached to "English". The language setting will not change even if the DVD video camera/recorder is turned off. 64
-
 1
1 -
2
-
3
-
4
-
5
-
6
-
7
-
8
-
9
-
10
-
11
-
12
-
13
-
14
-
15
-
16
-
17
-
18
-
19
-
20
-
21
-
22
-
23
-
24
-
25
-
26
-
27
-
28
-
29
-
30
-
31
-
32
-
33
-
34
-
35
-
36
-
37
-
38
-
39
-
40
-
41
-
42
-
43
-
44
-
45
-
46
-
47
-
48
-
49
-
50
-
51
-
52
-
53
-
54
-
55
-
56
-
57
-
58
-
 59
59 -
 60
60 -
 61
61 -
 62
62 -
 63
63 -
 64
64 -
 65
65 -
 66
66 -
 67
67 -
 68
68 -
 69
69 -
70
-
71
-
72
-
73
-
74
-
75
-
76
-
77
-
78
-
79
-
80
-
81
-
82
-
83
-
84
-
85
-
86
-
87
-
88
-
89
-
90
-
91
-
92
-
93
-
94
-
95
-
96
-
97
-
98
-
99
-
100
-
101
-
102
-
103
-
104
-
105
-
106
-
107
-
108
-
109
-
110
-
111
-
112
-
113
-
114
 |
 |