Sony HDR-FX1 Operating Instructions - Page 23
Recording in mirror mode
 |
UPC - 027242654815
View all Sony HDR-FX1 manuals
Add to My Manuals
Save this manual to your list of manuals |
Page 23 highlights
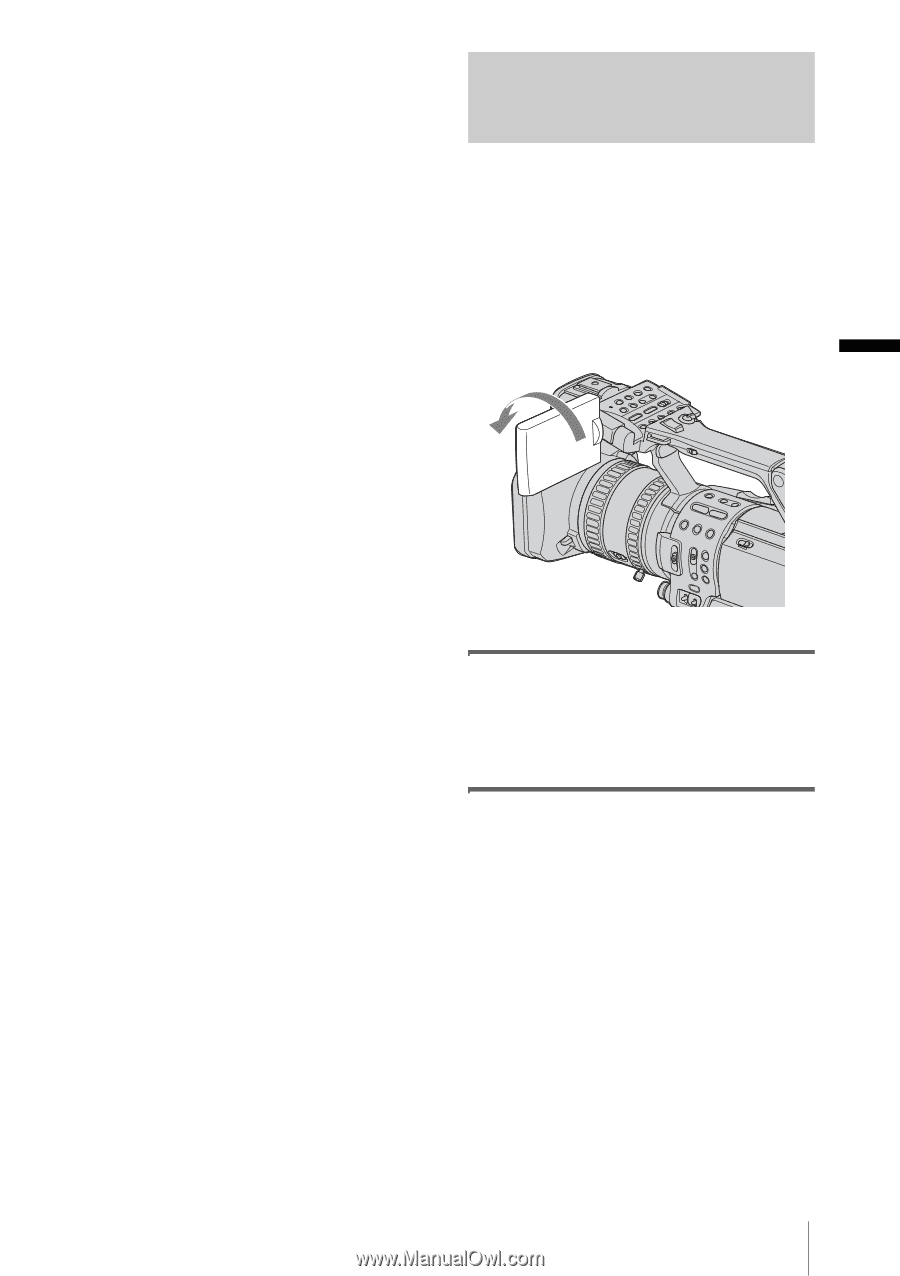
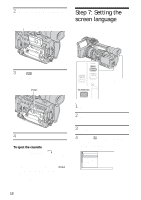
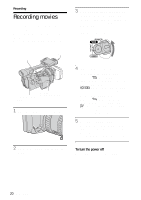
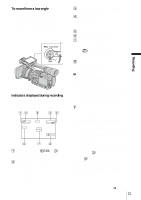
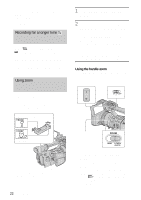
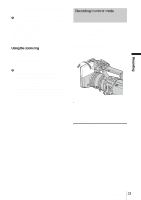
Recording 3 Press the handle zoom lever to zoom in or out. b Note • You cannot adjust the zoom speed by pressing the handle zoom lever. Change the zoom speed by setting [HANDLE ZOOM] (p. 54). • You cannot use the handle zoom lever when the handle zoom switch is set to OFF. • You cannot change the zoom speed of the power zoom lever on the camera itself by switching the handle zoom switch. Using the zoom ring You can zoom at the desired speed. Fine adjustment is also possible. 1 Set the ZOOM switch to RING. 2 Rotate the zoom ring to zoom. b Note • Rotate the zoom ring at an appropriate speed. Zooming may not be able to catch up the rotating speed of the ring if it is rotated too fast. • When you zoom using the Remote Commander, set the ZOOM switch to LEVER/REMOTE. • Zoomed position and picture angle change when the ZOOM switch is switched from LEVER/REMOTE to RING. • If you rotate the zoom ring fast, motor noise will become louder as the zoom motor rotates at high speeds. If the motor noise is so loud that can be recorded, use the zoom lever or the Remote Commander. Recording in mirror mode You can turn the LCD panel towards the subject so that you and your subject can share the image being recorded. You can also utilize this function when recording yourself, or to keep the attention of small children attracted to the camcorder while you record them. Up to about 100 degrees Open the LCD panel 180 degrees, then rotate it towards the subject until it clicks. A mirror-image of the subject appears on the LCD screen, but the picture will be normal when recorded. Recording 23
-
 1
1 -
2
-
3
-
4
-
5
-
6
-
7
-
8
-
9
-
10
-
11
-
12
-
13
-
14
-
15
-
16
-
17
-
 18
18 -
 19
19 -
 20
20 -
 21
21 -
 22
22 -
 23
23 -
 24
24 -
 25
25 -
 26
26 -
 27
27 -
 28
28 -
29
-
30
-
31
-
32
-
33
-
34
-
35
-
36
-
37
-
38
-
39
-
40
-
41
-
42
-
43
-
44
-
45
-
46
-
47
-
48
-
49
-
50
-
51
-
52
-
53
-
54
-
55
-
56
-
57
-
58
-
59
-
60
-
61
-
62
-
63
-
64
-
65
-
66
-
67
-
68
-
69
-
70
-
71
-
72
-
73
-
74
-
75
-
76
-
77
-
78
-
79
-
80
-
81
-
82
-
83
-
84
-
85
-
86
-
87
-
88
-
89
-
90
-
91
-
92
-
93
-
94
-
95
-
96
-
97
-
98
-
99
-
100
-
101
-
102
-
103
-
104
-
105
-
106
-
107
-
108
-
109
-
110
-
111
-
112
 |
 |