Sony HDR-FX1 Operating Instructions - Page 35
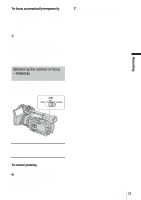
Recording, To cancel the picture profile recording, other picture profiles - cineframe
 |
UPC - 027242654815
View all Sony HDR-FX1 manuals
Add to My Manuals
Save this manual to your list of manuals |
Page 35 highlights
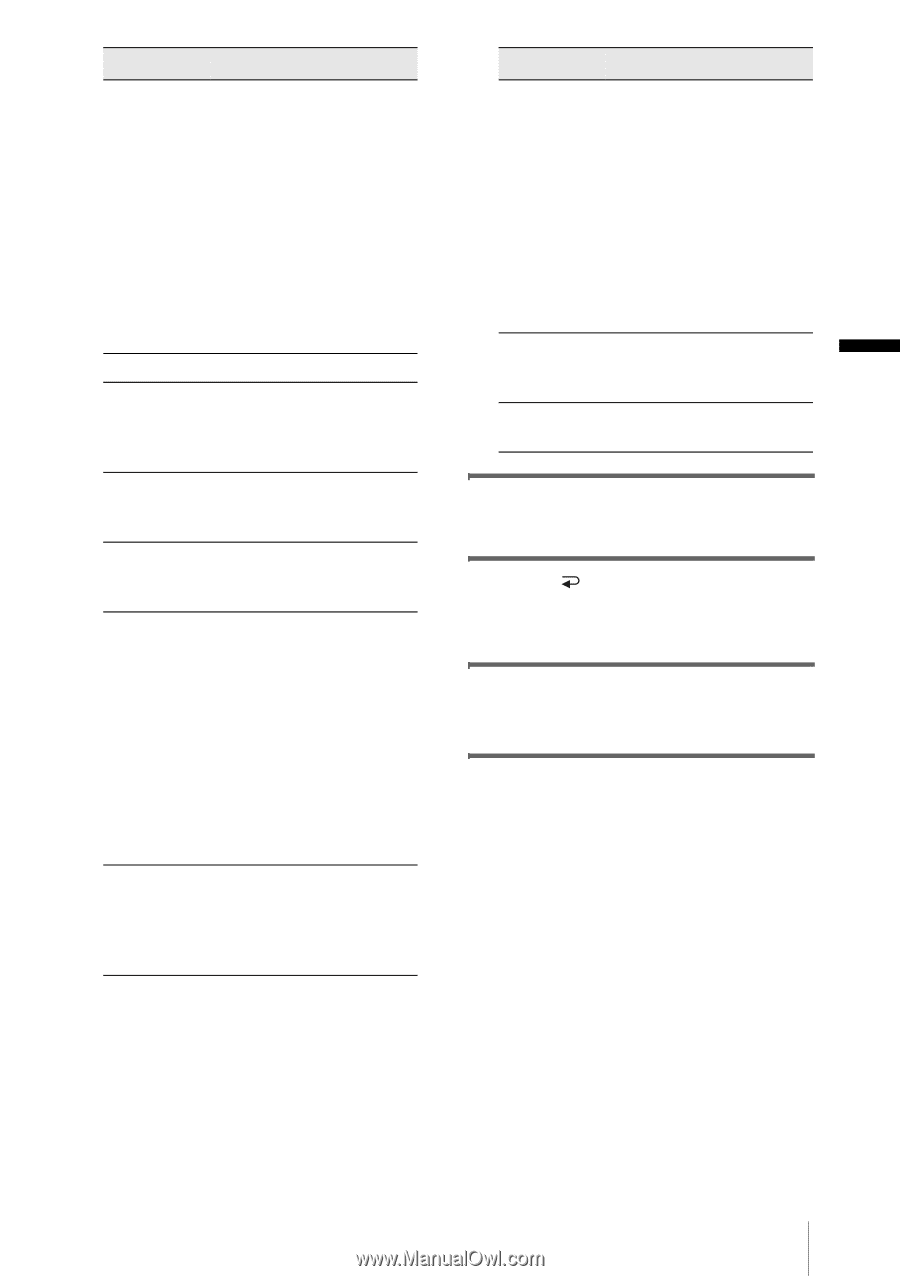
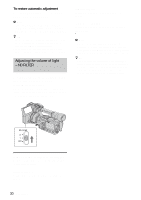
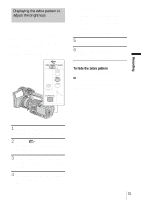
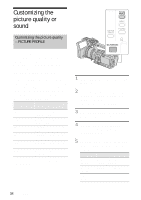
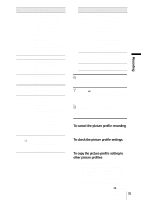
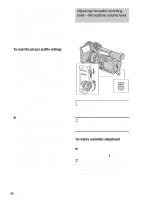
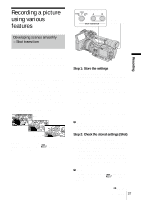
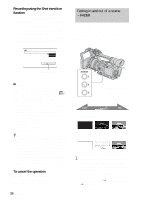
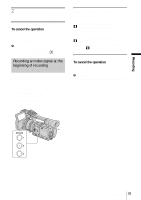
Item Adjustment [SKINTONE DTL] To make wrinkles less noticeable by suppressing the outlines on the part of skin color to be enhanced. [TYPE1] (the color range recognized as a skin color is narrow) to [TYPE3] (the color range recognized as a skin color is wide) In the case of [TYPE3], the effect may also be applied to a color that is not a skin color. [OFF]: no adjustment [AE SHIFT] -7 (darker) to +7 (lighter) [AGC LIMIT] Select the upper limit for the gain ([OFF], 12dB, 6dB, 0dB). [OFF] is 18dB. [AT IRIS LMT] Select the highest aperture value for the automatic adjustment (F11, F6.8, F4). [WB SHIFT] -7 (to make white parts bluish) to +7 (to make white parts reddish) [AWB SENS] To set the auto white balance operation under a reddish light source such as an incandescent lamp or candle, or under a blueish light source such as in outdoor shade. [HIGH] (reddishness or blueishness is reduced) to [LOW] (reddishness or blueishness is increased) [AWB SENS] is not effective under a clear sky or the sun. [CINEMATONE γ] [ON]: Pictures are recorded with the gamma curve that reproduces the natural gradation sequence, similar to that of film cameras. Item [CINEFRAME] [COPY] [RESET] Adjustment [CINEFRAME 30]: Pictures are recorded with a cinema-like atmosphere. This produces the feel of smoothness better than [CINEFRAME 24]. [CINEFRAME 24]: Pictures are recorded with the atmosphere of 24 frames per second adopted by film recording. [OFF]: normal recording To copy a picture profile setting to other picture profiles. To restore the default setting of the picture profile. 6 Repeat steps 4 and 5 to adjust other items. 7 Select [ RETURN] by turning the SEL/PUSH EXEC dial, then press the dial. 8 Select [OK] by turning the SEL/PUSH EXEC dial, then press the dial. A picture profile indicator appears. To cancel the picture profile recording Select [OFF] in step 2, then press the SEL/ PUSH EXEC dial. To check the picture profile settings During recording or in the standby mode, press STATUS CHECK (p. 24). To copy the picture profile setting to other picture profiles 1 Press PICTURE PROFILE. 2 Select the number of the picture profile to be copied from by turning the SEL/ PUSH EXEC dial, then press the dial. 3 Select [SETTING] by turning the SEL/ PUSH EXEC dial, then press the dial. ,continued Recording 35 Recording
-
 1
1 -
2
-
3
-
4
-
5
-
6
-
7
-
8
-
9
-
10
-
11
-
12
-
13
-
14
-
15
-
16
-
17
-
18
-
19
-
20
-
21
-
22
-
23
-
24
-
25
-
26
-
27
-
28
-
29
-
 30
30 -
 31
31 -
 32
32 -
 33
33 -
 34
34 -
 35
35 -
 36
36 -
 37
37 -
 38
38 -
 39
39 -
 40
40 -
41
-
42
-
43
-
44
-
45
-
46
-
47
-
48
-
49
-
50
-
51
-
52
-
53
-
54
-
55
-
56
-
57
-
58
-
59
-
60
-
61
-
62
-
63
-
64
-
65
-
66
-
67
-
68
-
69
-
70
-
71
-
72
-
73
-
74
-
75
-
76
-
77
-
78
-
79
-
80
-
81
-
82
-
83
-
84
-
85
-
86
-
87
-
88
-
89
-
90
-
91
-
92
-
93
-
94
-
95
-
96
-
97
-
98
-
99
-
100
-
101
-
102
-
103
-
104
-
105
-
106
-
107
-
108
-
109
-
110
-
111
-
112
 |
 |