Canon PIXMA iP5200R iP5200R Setup Guide - Page 51
Replacing an Ink Tank
 |
View all Canon PIXMA iP5200R manuals
Add to My Manuals
Save this manual to your list of manuals |
Page 51 highlights
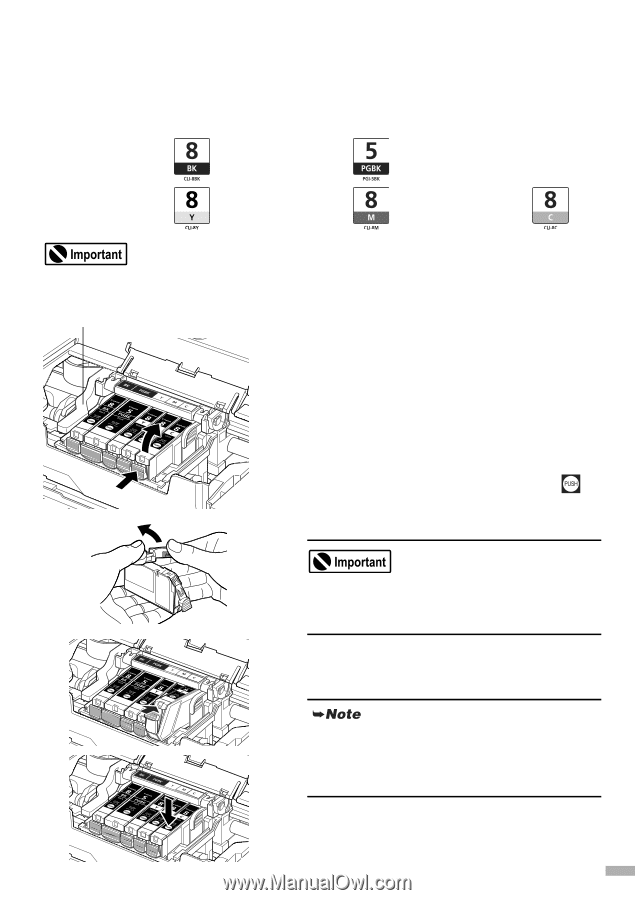
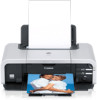
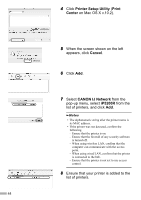
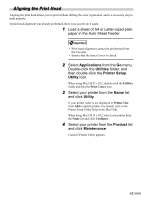
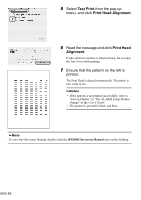
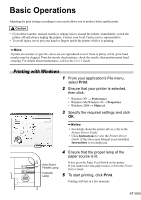
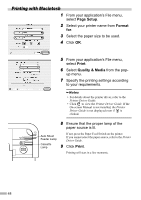
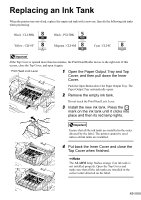
Replacing an Ink Tank When the printer runs out of ink, replace the empty ink tank with a new one. Specify the following ink tanks when purchasing. Black : CLI-8BK Black : PGI-5BK Yellow : CLI-8Y Magenta : CLI-8M Cyan : CLI-8C If the Top Cover is opened more than ten minutes, the Print Head Holder moves to the right side. If this occurs, close the Top Cover, and open it again. Print Head Lock Lever 1 Open the Paper Output Tray and Top Cover, and then pull down the Inner Cover. Push the Open Button above the Paper Output Tray. The Paper Output Tray automatically opens. 2 Remove the empty ink tank. Do not touch the Print Head Lock Lever. 3 Install the new ink tank. Press the mark on the ink tank until it clicks into place and then its red lamp lights. Ensure that all the ink tanks are installed in the order directed by the label. The printer cannot be used unless all ink tanks are installed. 4 Put back the Inner Cover and close the Top Cover when finished. The ALARM lamp flashes orange if an ink tank is not installed properly. Open the Top Cover and make sure that all the ink tanks are installed in the correct order directed on the label. 49
-
 1
1 -
2
-
3
-
4
-
5
-
6
-
7
-
8
-
9
-
10
-
11
-
12
-
13
-
14
-
15
-
16
-
17
-
18
-
19
-
20
-
21
-
22
-
23
-
24
-
25
-
26
-
27
-
28
-
29
-
30
-
31
-
32
-
33
-
34
-
35
-
36
-
37
-
38
-
39
-
40
-
41
-
42
-
43
-
44
-
45
-
 46
46 -
 47
47 -
 48
48 -
 49
49 -
 50
50 -
 51
51 -
 52
52 -
 53
53 -
 54
54 -
 55
55 -
 56
56 -
57
-
58
-
59
-
60
-
61
-
62
-
63
-
64
-
65
-
66
-
67
-
68
-
69
-
70
-
71
-
72
-
73
-
74
-
75
-
76
 |
 |