Canon PowerShot SX60 HS User Guide - Page 115
Tagging Images as Favorites
 |
View all Canon PowerShot SX60 HS manuals
Add to My Manuals
Save this manual to your list of manuals |
Page 115 highlights
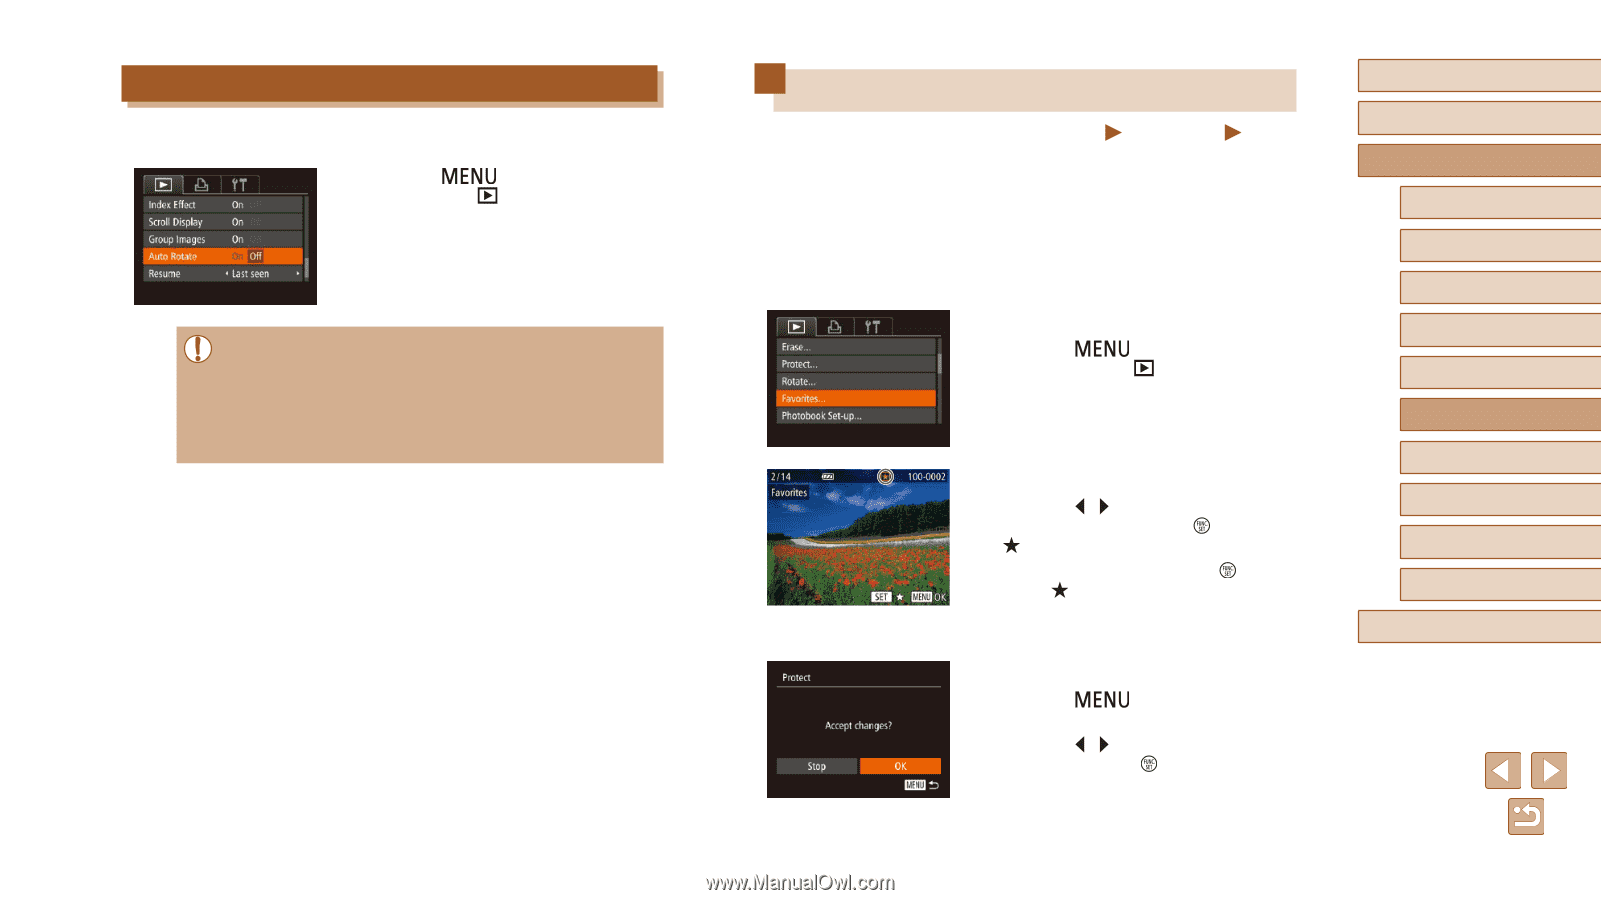
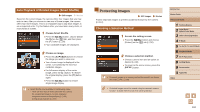
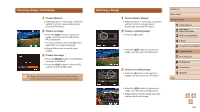
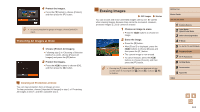
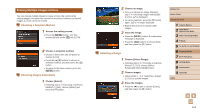
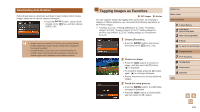
Deactivating Auto Rotation Follow these steps to deactivate automatic image rotation, which rotates images based on the current camera orientation. ●●Press the [ ] button, choose [Auto Rotate] on the [ ] tab, and then choose [Off] (=30). ●● Images cannot be rotated (=114) when you set [Auto Rotate] to [Off]. Additionally, images already rotated will be displayed in the original orientation. ●● In Smart Shuffle (=110) mode, even if [Auto Rotate] is set to [Off], images shot vertically will be displayed vertically, and rotated images will be displayed in the rotated orientation. Tagging Images as Favorites Still Images Movies You can organize images by tagging them as favorites. By choosing a category in filtered playback, you can restrict the following operations to all of those images. ●● "Viewing" (= 101), "Viewing Slideshows" (= 109), "Protecting Images" (= 110), "Erasing Images" (= 112), "Adding Images to the Print List (DPOF)" (= 170), "Adding Images to a Photobook" (= 172) 1 Choose [Favorites]. ●●Press the [ ] button and choose [Favorites] on the [ ] tab (=30). 2 Choose an image. ●●Press the [ ][ ] buttons to choose an image, and then press the [ ] button. [ ] is displayed. ●●To untag the image, press the [ ] button again. [ ] is no longer displayed. ●●Repeat this process to choose additional images. 3 Finish the setup process. ●●Press the [ ] button. A confirmation message is displayed. ●●Press the [ ][ ] buttons to choose [OK], and then press the [ ] button. Before Use Basic Guide Advanced Guide 1 Camera Basics 2 Auto Mode / Hybrid Auto Mode 3 Other Shooting Modes 4 P Mode 5 Tv, Av, M, C1, and C2 Mode 6 Playback Mode 7 Wi-Fi Functions 8 Setting Menu 9 Accessories 10 Appendix Index 115
-
 1
1 -
2
-
3
-
4
-
5
-
6
-
7
-
8
-
9
-
10
-
11
-
12
-
13
-
14
-
15
-
16
-
17
-
18
-
19
-
20
-
21
-
22
-
23
-
24
-
25
-
26
-
27
-
28
-
29
-
30
-
31
-
32
-
33
-
34
-
35
-
36
-
37
-
38
-
39
-
40
-
41
-
42
-
43
-
44
-
45
-
46
-
47
-
48
-
49
-
50
-
51
-
52
-
53
-
54
-
55
-
56
-
57
-
58
-
59
-
60
-
61
-
62
-
63
-
64
-
65
-
66
-
67
-
68
-
69
-
70
-
71
-
72
-
73
-
74
-
75
-
76
-
77
-
78
-
79
-
80
-
81
-
82
-
83
-
84
-
85
-
86
-
87
-
88
-
89
-
90
-
91
-
92
-
93
-
94
-
95
-
96
-
97
-
98
-
99
-
100
-
101
-
102
-
103
-
104
-
105
-
106
-
107
-
108
-
109
-
 110
110 -
 111
111 -
 112
112 -
 113
113 -
 114
114 -
 115
115 -
 116
116 -
 117
117 -
 118
118 -
 119
119 -
 120
120 -
121
-
122
-
123
-
124
-
125
-
126
-
127
-
128
-
129
-
130
-
131
-
132
-
133
-
134
-
135
-
136
-
137
-
138
-
139
-
140
-
141
-
142
-
143
-
144
-
145
-
146
-
147
-
148
-
149
-
150
-
151
-
152
-
153
-
154
-
155
-
156
-
157
-
158
-
159
-
160
-
161
-
162
-
163
-
164
-
165
-
166
-
167
-
168
-
169
-
170
-
171
-
172
-
173
-
174
-
175
-
176
-
177
-
178
-
179
-
180
-
181
-
182
-
183
-
184
-
185
-
186
-
187
-
188
-
189
-
190
-
191
-
192
-
193
-
194
-
195
-
196
-
197
-
198
-
199
-
200
-
201
-
202
-
203
 |
 |