Canon PowerShot SX60 HS User Guide - Page 151
Checking Certification Logos
 |
View all Canon PowerShot SX60 HS manuals
Add to My Manuals
Save this manual to your list of manuals |
Page 151 highlights
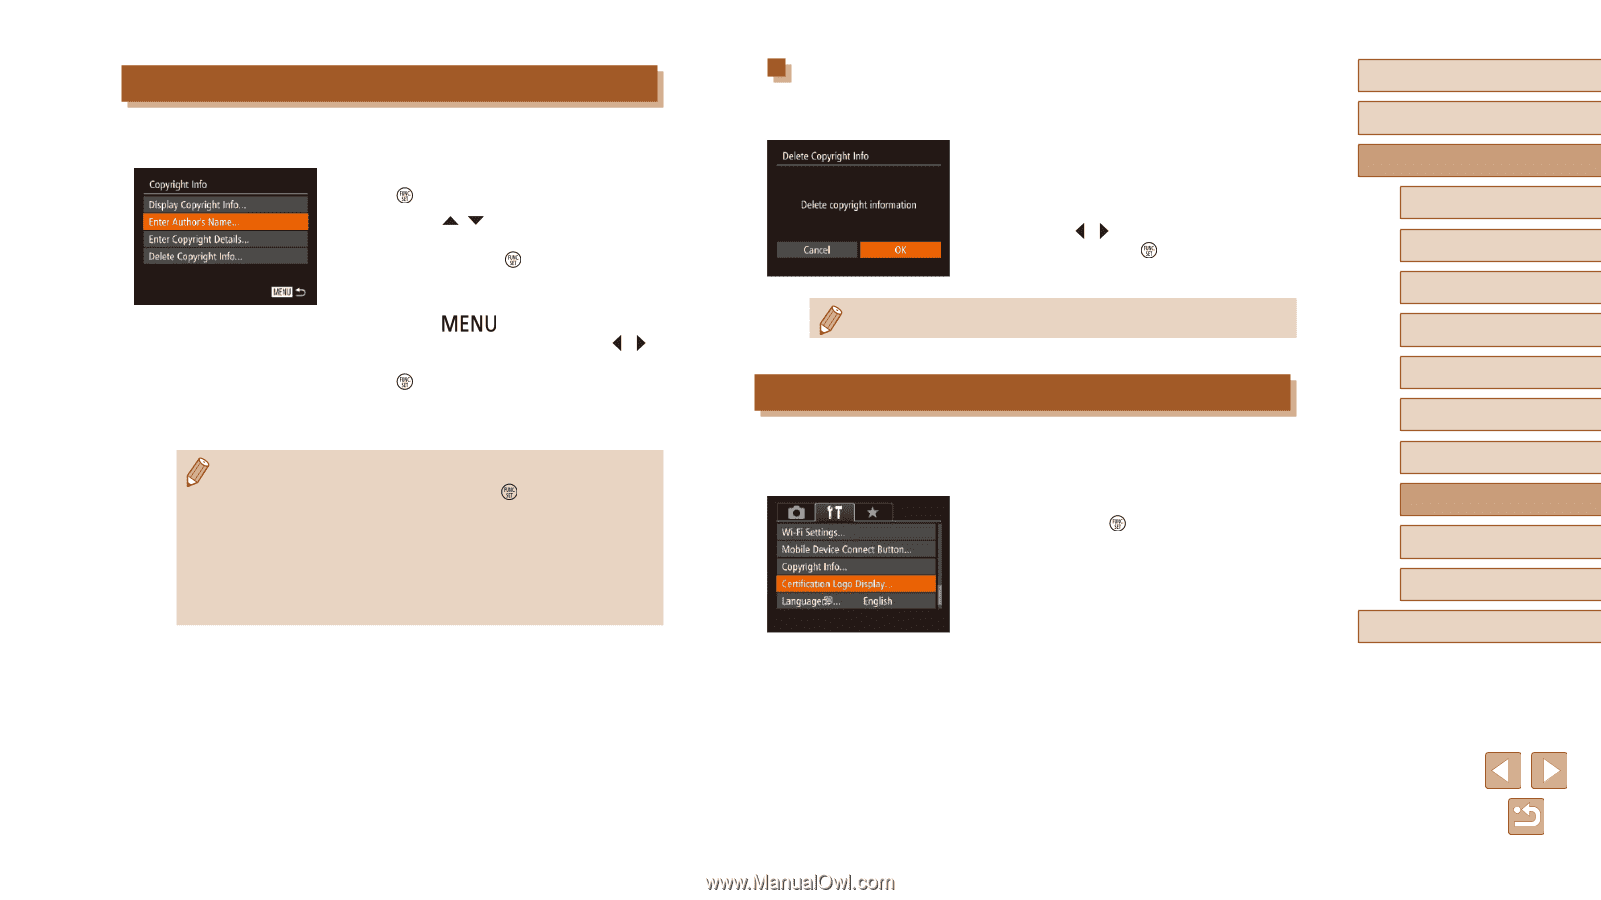
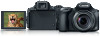
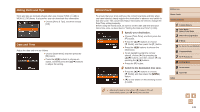
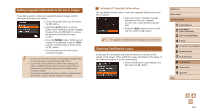
Setting Copyright Information to Record in Images To record the author's name and copyright details in images, set this information beforehand as follows. ●●Choose [Copyright Info], and then press the [ ] button. ●●Press the [ ][ ] buttons to choose [Enter Author's Name] or [Enter Copyright Details]. Press the [ ] button to access the keyboard, and enter the name (= 31). ●●Press the [ ] button. When [Accept changes?] is displayed, press the [ ][ ] buttons to choose [Yes], and then press the [ ] button. ●●The information set here will now be recorded in images. ●● To check the information entered, choose [Display Copyright Info] on the screen above, and then press the [ ] button. ●● You can also use the software (=164) to enter, change, and delete copyright information. Some characters entered with the software may not display on the camera, but will be correctly recorded in images. ●● You can check copyright information recorded in images by using the software, once you save the images to a computer. Deleting All Copyright Information You can delete both the author's name and copyright details at the same time as follows. ●●Follow the steps in "Setting Copyright Information to Record in Images" (= 151) and choose [Delete Copyright Info]. ●●Press the [ ][ ] buttons to choose [OK], and then press the [ ] button. ●● The copyright info already recorded in images will not be deleted. Checking Certification Logos Some logos for certification requirements met by the camera can be viewed on the screen. Other certification logos are printed in this guide, on the camera packaging, or on the camera body. ●●Choose [Certification Logo Display], and then press the [ ] button. Before Use Basic Guide Advanced Guide 1 Camera Basics 2 Auto Mode / Hybrid Auto Mode 3 Other Shooting Modes 4 P Mode 5 Tv, Av, M, C1, and C2 Mode 6 Playback Mode 7 Wi-Fi Functions 8 Setting Menu 9 Accessories 10 Appendix Index 151
-
 1
1 -
2
-
3
-
4
-
5
-
6
-
7
-
8
-
9
-
10
-
11
-
12
-
13
-
14
-
15
-
16
-
17
-
18
-
19
-
20
-
21
-
22
-
23
-
24
-
25
-
26
-
27
-
28
-
29
-
30
-
31
-
32
-
33
-
34
-
35
-
36
-
37
-
38
-
39
-
40
-
41
-
42
-
43
-
44
-
45
-
46
-
47
-
48
-
49
-
50
-
51
-
52
-
53
-
54
-
55
-
56
-
57
-
58
-
59
-
60
-
61
-
62
-
63
-
64
-
65
-
66
-
67
-
68
-
69
-
70
-
71
-
72
-
73
-
74
-
75
-
76
-
77
-
78
-
79
-
80
-
81
-
82
-
83
-
84
-
85
-
86
-
87
-
88
-
89
-
90
-
91
-
92
-
93
-
94
-
95
-
96
-
97
-
98
-
99
-
100
-
101
-
102
-
103
-
104
-
105
-
106
-
107
-
108
-
109
-
110
-
111
-
112
-
113
-
114
-
115
-
116
-
117
-
118
-
119
-
120
-
121
-
122
-
123
-
124
-
125
-
126
-
127
-
128
-
129
-
130
-
131
-
132
-
133
-
134
-
135
-
136
-
137
-
138
-
139
-
140
-
141
-
142
-
143
-
144
-
145
-
 146
146 -
 147
147 -
 148
148 -
 149
149 -
 150
150 -
 151
151 -
 152
152 -
 153
153 -
 154
154 -
 155
155 -
 156
156 -
157
-
158
-
159
-
160
-
161
-
162
-
163
-
164
-
165
-
166
-
167
-
168
-
169
-
170
-
171
-
172
-
173
-
174
-
175
-
176
-
177
-
178
-
179
-
180
-
181
-
182
-
183
-
184
-
185
-
186
-
187
-
188
-
189
-
190
-
191
-
192
-
193
-
194
-
195
-
196
-
197
-
198
-
199
-
200
-
201
-
202
-
203
 |
 |