Canon PowerShot SX60 HS User Guide - Page 45
Adding a Date Stamp - software
 |
View all Canon PowerShot SX60 HS manuals
Add to My Manuals
Save this manual to your list of manuals |
Page 45 highlights
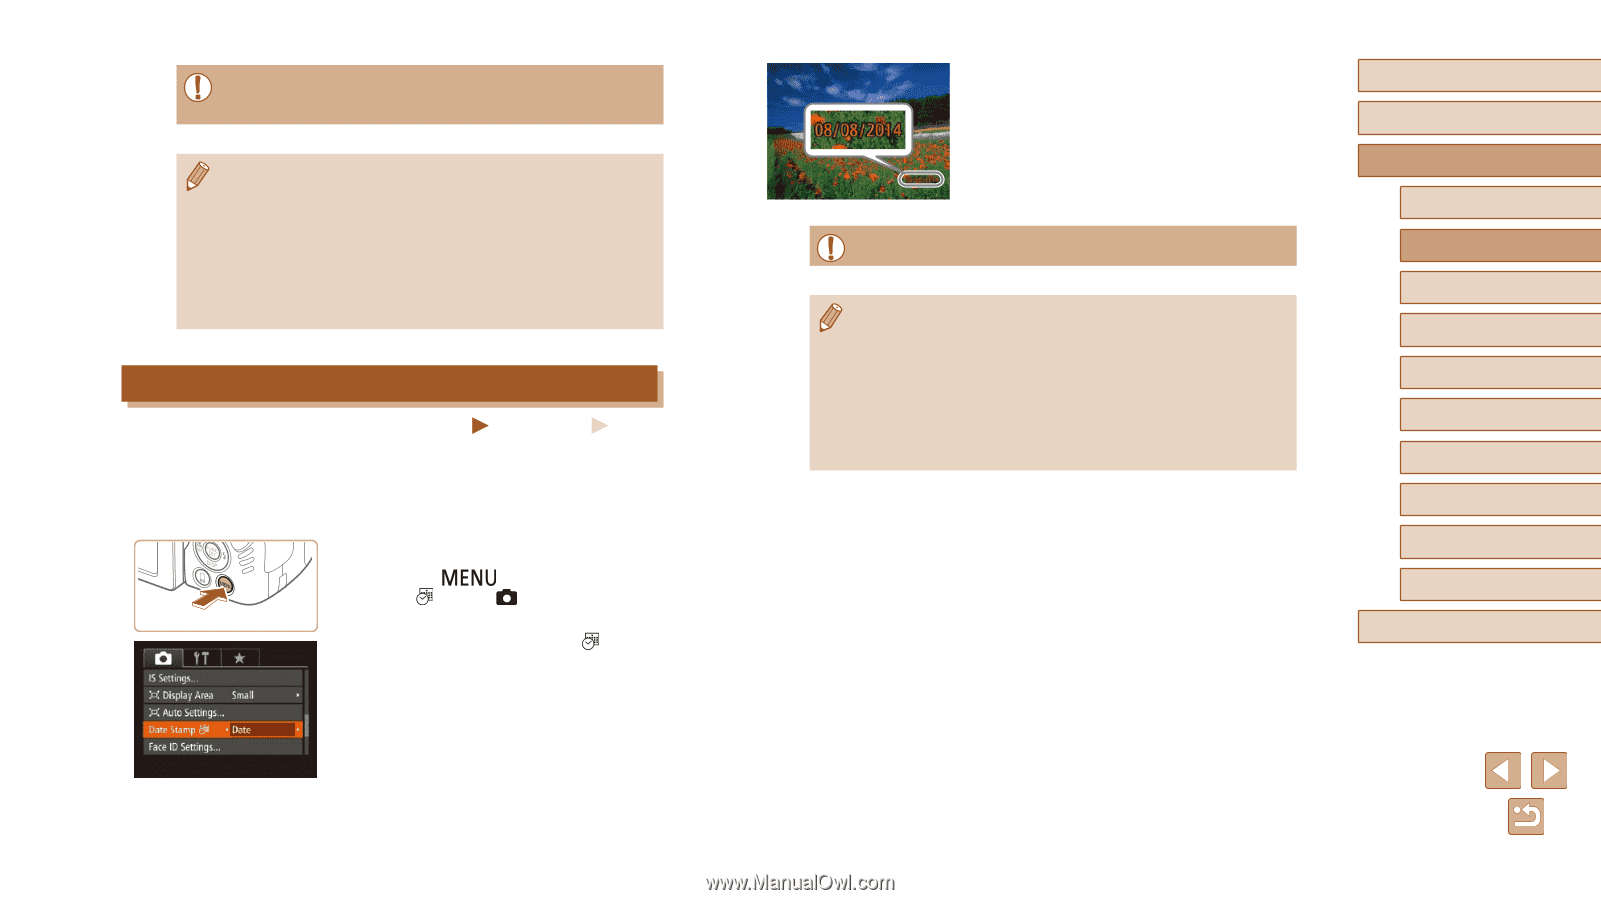
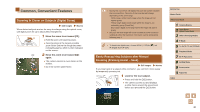
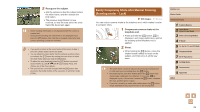
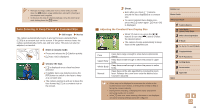
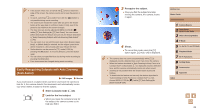
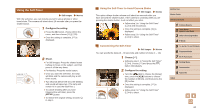
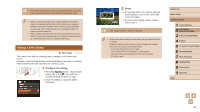
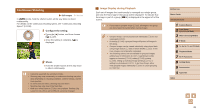
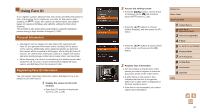
●● For movies shot using the self-timer, [Delay] represents the delay before recording begins, but the [Shots] setting has no effect. ●● When you specify multiple shots, image brightness and white balance are determined by the first shot. More time is required between shots when the flash fires or when you have specified to take many shots. Shooting will stop automatically when the memory card becomes full. ●● When a delay longer than two seconds is specified, two seconds before the shot, the lamp blinking and self-timer sound will speed up. (The lamp will remain lit in case the flash fires.) Adding a Date Stamp Still Images Movies The camera can add the shooting date to images, in the lower-right corner. However, note that date stamps cannot be edited or removed, so confirm beforehand that the date and time are correct (=20). 1 Configure the setting. ●●Press the [ ] button, choose [Date Stamp ] on the [ ] tab, and then choose the desired option (=30). ●●Once the setting is complete, [ ] is displayed. 2 Shoot. ●●As you take shots, the camera adds the shooting date or time to the lower-right corner of images. ●●To restore the original setting, choose [Off] in step 1. ●● Date stamps cannot be edited or removed. ●● Shots taken without adding a date stamp can be printed with one as follows. However, adding a date stamp this way to images that already have one may cause it to be printed twice. -- Print using printer functions (=166) -- Use camera DPOF print settings (=170) to print -- Use the software downloaded from the Canon website (=164) to print Before Use Basic Guide Advanced Guide 1 Camera Basics 2 Auto Mode / Hybrid Auto Mode 3 Other Shooting Modes 4 P Mode 5 Tv, Av, M, C1, and C2 Mode 6 Playback Mode 7 Wi-Fi Functions 8 Setting Menu 9 Accessories 10 Appendix Index 45
-
 1
1 -
2
-
3
-
4
-
5
-
6
-
7
-
8
-
9
-
10
-
11
-
12
-
13
-
14
-
15
-
16
-
17
-
18
-
19
-
20
-
21
-
22
-
23
-
24
-
25
-
26
-
27
-
28
-
29
-
30
-
31
-
32
-
33
-
34
-
35
-
36
-
37
-
38
-
39
-
 40
40 -
 41
41 -
 42
42 -
 43
43 -
 44
44 -
 45
45 -
 46
46 -
 47
47 -
 48
48 -
 49
49 -
 50
50 -
51
-
52
-
53
-
54
-
55
-
56
-
57
-
58
-
59
-
60
-
61
-
62
-
63
-
64
-
65
-
66
-
67
-
68
-
69
-
70
-
71
-
72
-
73
-
74
-
75
-
76
-
77
-
78
-
79
-
80
-
81
-
82
-
83
-
84
-
85
-
86
-
87
-
88
-
89
-
90
-
91
-
92
-
93
-
94
-
95
-
96
-
97
-
98
-
99
-
100
-
101
-
102
-
103
-
104
-
105
-
106
-
107
-
108
-
109
-
110
-
111
-
112
-
113
-
114
-
115
-
116
-
117
-
118
-
119
-
120
-
121
-
122
-
123
-
124
-
125
-
126
-
127
-
128
-
129
-
130
-
131
-
132
-
133
-
134
-
135
-
136
-
137
-
138
-
139
-
140
-
141
-
142
-
143
-
144
-
145
-
146
-
147
-
148
-
149
-
150
-
151
-
152
-
153
-
154
-
155
-
156
-
157
-
158
-
159
-
160
-
161
-
162
-
163
-
164
-
165
-
166
-
167
-
168
-
169
-
170
-
171
-
172
-
173
-
174
-
175
-
176
-
177
-
178
-
179
-
180
-
181
-
182
-
183
-
184
-
185
-
186
-
187
-
188
-
189
-
190
-
191
-
192
-
193
-
194
-
195
-
196
-
197
-
198
-
199
-
200
-
201
-
202
-
203
 |
 |