HP Workstation xw3100 HP Workstation xw3100 - Service and Technical Reference - Page 79
Primary Hard Drive
 |
View all HP Workstation xw3100 manuals
Add to My Manuals
Save this manual to your list of manuals |
Page 79 highlights
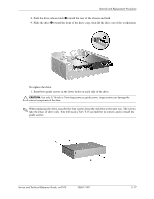
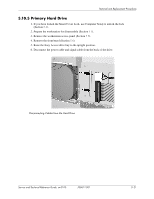
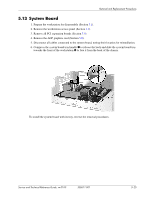
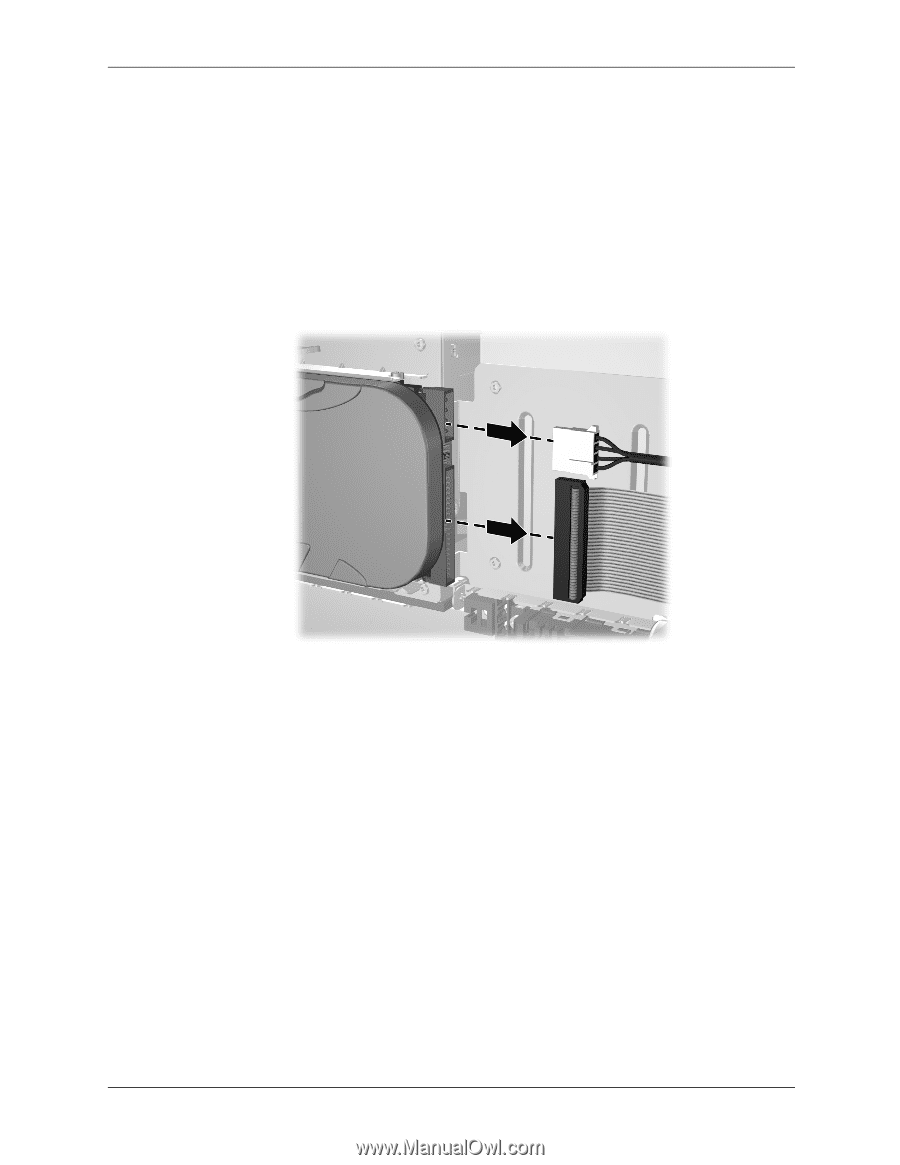
Removal and Replacement Procedures 5.10.5 Primary Hard Drive 1. If you have locked the Smart Cover Lock, use Computer Setup to unlock the lock (Section 5.2). 2. Prepare the workstation for disassembly (Section 5.1). 3. Remove the workstation access panel (Section 5.5). 4. Remove the front bezel (Section 5.6). 5. Raise the Easy Access drive bay to the upright position. 6. Disconnect the power cable and signal cable from the back of the drive. Disconnecting Cables from the Hard Drive Service and Technical Reference Guide, xw3100 338611-001 5-21
-
 1
1 -
2
-
3
-
4
-
5
-
6
-
7
-
8
-
9
-
10
-
11
-
12
-
13
-
14
-
15
-
16
-
17
-
18
-
19
-
20
-
21
-
22
-
23
-
24
-
25
-
26
-
27
-
28
-
29
-
30
-
31
-
32
-
33
-
34
-
35
-
36
-
37
-
38
-
39
-
40
-
41
-
42
-
43
-
44
-
45
-
46
-
47
-
48
-
49
-
50
-
51
-
52
-
53
-
54
-
55
-
56
-
57
-
58
-
59
-
60
-
61
-
62
-
63
-
64
-
65
-
66
-
67
-
68
-
69
-
70
-
71
-
72
-
73
-
 74
74 -
 75
75 -
 76
76 -
 77
77 -
 78
78 -
 79
79 -
 80
80 -
 81
81 -
 82
82 -
 83
83 -
 84
84 -
85
-
86
-
87
-
88
-
89
-
90
-
91
-
92
-
93
-
94
-
95
-
96
-
97
-
98
-
99
-
100
-
101
-
102
-
103
-
104
-
105
-
106
-
107
-
108
-
109
-
110
-
111
-
112
-
113
-
114
-
115
-
116
-
117
-
118
-
119
-
120
-
121
-
122
-
123
-
124
-
125
-
126
-
127
-
128
-
129
-
130
-
131
-
132
-
133
-
134
-
135
-
136
-
137
-
138
-
139
-
140
-
141
-
142
-
143
-
144
-
145
-
146
-
147
-
148
 |
 |
Service and Technical Reference Guide, xw3100
338611-001
5–21
Removal and Replacement Procedures
5.10.5 Primary Hard Drive
1. If you have locked the Smart Cover Lock, use Computer Setup to unlock the lock
(Section
5.2
).
2. Prepare the workstation for disassembly (Section
5.1
).
3. Remove the workstation access panel (Section
5.5
).
4. Remove the front bezel (Section
5.6
).
5. Raise the Easy Access drive bay to the upright position.
6. Disconnect the power cable and signal cable from the back of the drive.
Disconnecting Cables from the Hard Drive