Samsung SPH-A523 User Manual (user Manual) (ver.f2) (English) - Page 150
Sending an Email Message
 |
View all Samsung SPH-A523 manuals
Add to My Manuals
Save this manual to your list of manuals |
Page 150 highlights
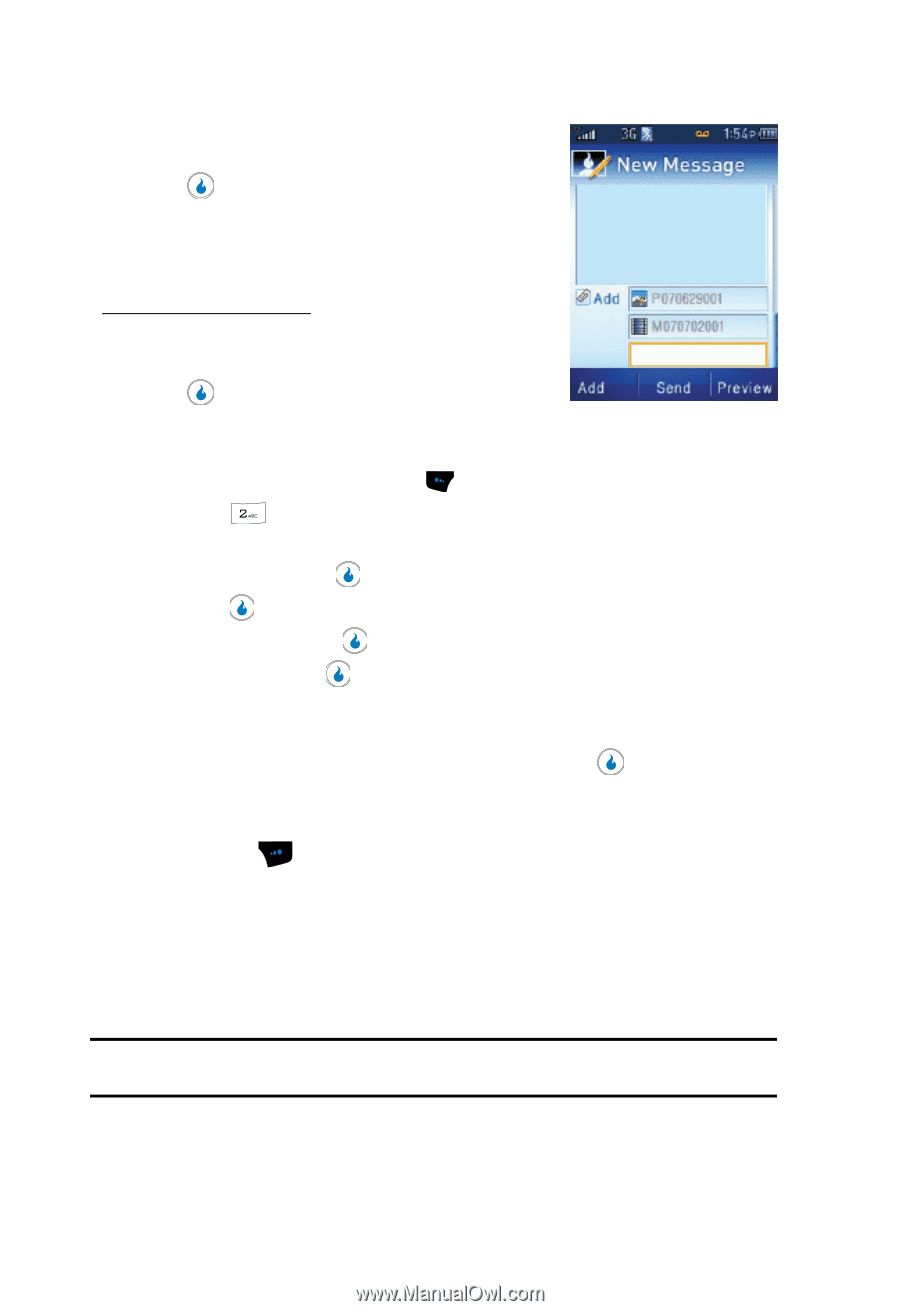
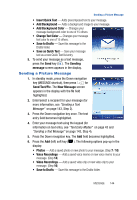
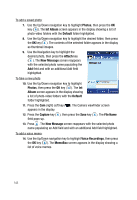
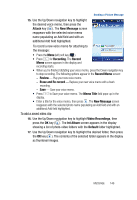
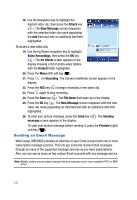
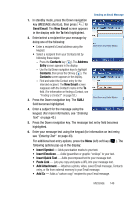
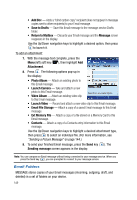
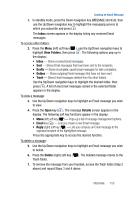
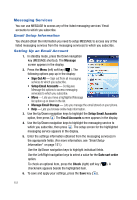
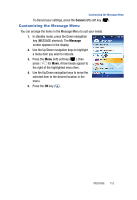
18. Use the Navigation key to highlight the desired video clip, then press the Attach key ( ). The New Message screen reappears with the selected video clip name populating the Add field and with an additional Add field highlighted. To record a new video clip: 19. Use the Up/Down navigation key to highlight Video Recordings, then press the OK key ( ). The Int Album screen appears in the display showing a list of photo-video folders with the Default folder highlighted. 20. Press the Menu (left) soft key ( ). 21. Press for Recording. The Camera viewfinder screen appears in the display. 22. Press the REC key ( ) to begin recording a new video clip. 23. Press again to stop recording. 24. Press the Save key ( ). The File Name field pops-up in the display. 25. Press the OK key ( ). The New Message screen reappears with the new video clip name populating an Add field and with an additional Add field highlighted. 26. To send your picture message, press the Send key ( ). The Sending message screen appears in the display. To view your picture message before sending it, press the Preview (right) soft key ( ). Sending an Email Message When setup, MESSAGE provides an interface to your Email account with one or more subscription message services. This lets you send and receive Email messages through as many of the supported message services as you have subscriptions. Also, you can use as many as two custom Email accounts with any message service. Note: Multiple custom account support requires that your message service uses a standard POP3 or IMAP server. 147
-
 1
1 -
2
-
3
-
4
-
5
-
6
-
7
-
8
-
9
-
10
-
11
-
12
-
13
-
14
-
15
-
16
-
17
-
18
-
19
-
20
-
21
-
22
-
23
-
24
-
25
-
26
-
27
-
28
-
29
-
30
-
31
-
32
-
33
-
34
-
35
-
36
-
37
-
38
-
39
-
40
-
41
-
42
-
43
-
44
-
45
-
46
-
47
-
48
-
49
-
50
-
51
-
52
-
53
-
54
-
55
-
56
-
57
-
58
-
59
-
60
-
61
-
62
-
63
-
64
-
65
-
66
-
67
-
68
-
69
-
70
-
71
-
72
-
73
-
74
-
75
-
76
-
77
-
78
-
79
-
80
-
81
-
82
-
83
-
84
-
85
-
86
-
87
-
88
-
89
-
90
-
91
-
92
-
93
-
94
-
95
-
96
-
97
-
98
-
99
-
100
-
101
-
102
-
103
-
104
-
105
-
106
-
107
-
108
-
109
-
110
-
111
-
112
-
113
-
114
-
115
-
116
-
117
-
118
-
119
-
120
-
121
-
122
-
123
-
124
-
125
-
126
-
127
-
128
-
129
-
130
-
131
-
132
-
133
-
134
-
135
-
136
-
137
-
138
-
139
-
140
-
141
-
142
-
143
-
144
-
 145
145 -
 146
146 -
 147
147 -
 148
148 -
 149
149 -
 150
150 -
 151
151 -
 152
152 -
 153
153 -
 154
154 -
 155
155 -
156
-
157
-
158
-
159
-
160
-
161
-
162
-
163
-
164
-
165
-
166
-
167
-
168
-
169
-
170
-
171
-
172
-
173
-
174
-
175
-
176
-
177
-
178
-
179
-
180
-
181
-
182
-
183
-
184
-
185
-
186
-
187
 |
 |