Epson Equity LT User Manual - Page 85
Replacing the Backlit Screen Element
 |
View all Epson Equity LT manuals
Add to My Manuals
Save this manual to your list of manuals |
Page 85 highlights
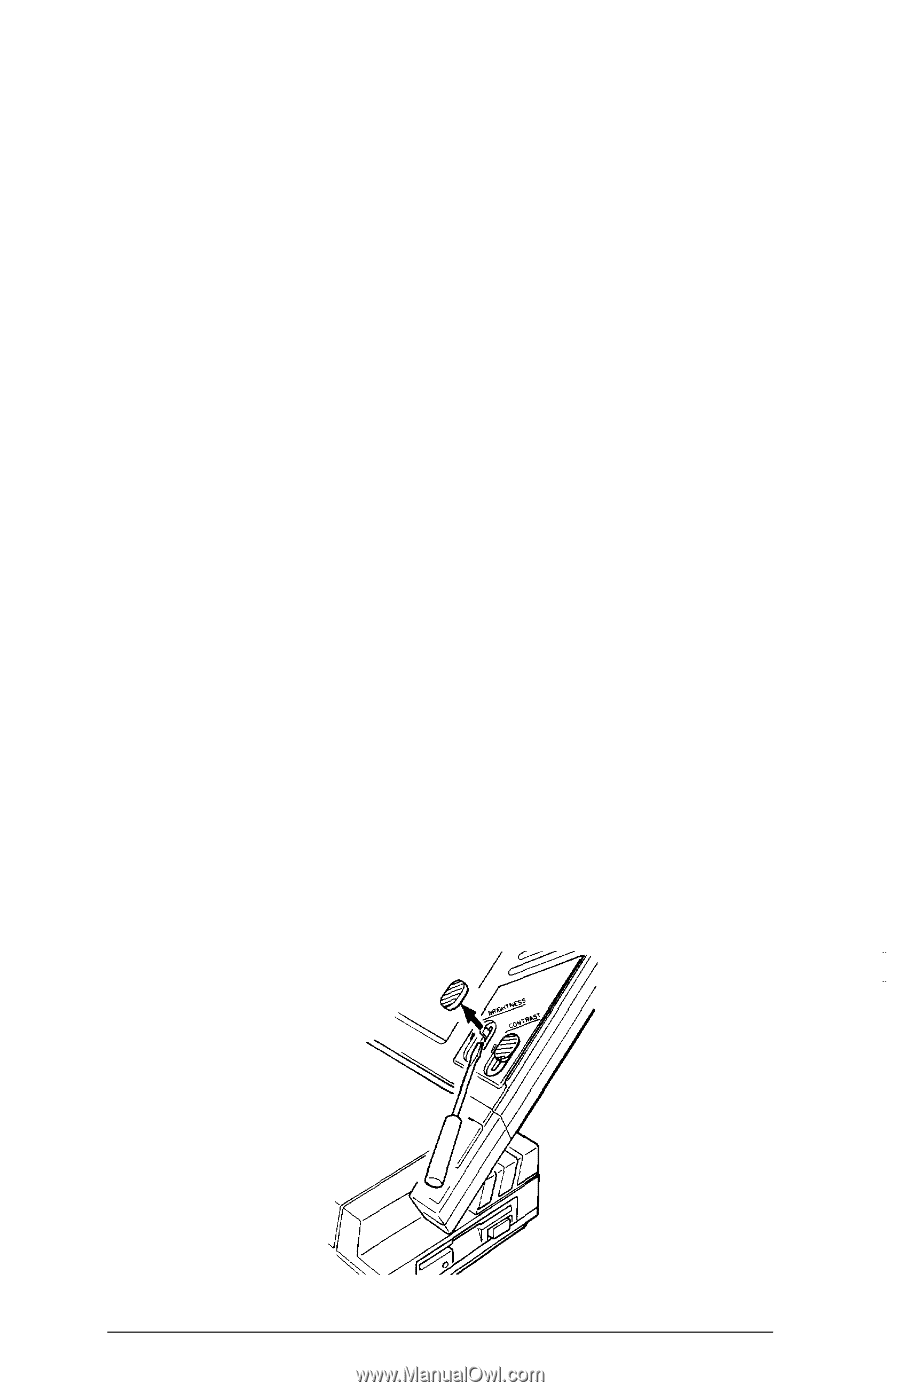
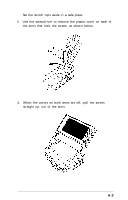
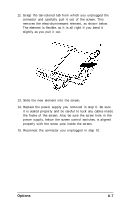
If the plug has retaining screws, tighten them with a screwdriver. 5. If necessary, plug the monitor's power cable first into the power inlet on the monitor. (Some monitors come with permanently attached power cables.) Then plug the power cable into an electrical outlet. 6. Turn off DIP switch 4 above the keyboard to let the computer know you will be using a monitor instead of the LCD screen. (See "Setting the DIP Switches" in Chapter 1.) When you are ready to use the computer, turn on the monitor and any other peripherals, and then turn on the computer. Text will be displayed on the monitor screen instead of the computer screen. Replacing the Backlit Screen Element If you need to replace the electroluminescent element in the backlit screen, follow the instructions below. The procedure has many steps, but they are not difficult. Still, you must be very careful not to damage any components on or inside the screen. If you have any reservations about doing this yourself, ask your dealer to install it for you. 1. Turn off all peripherals and the computer before you begin. 2. Use a flat blade screwdriver to remove the plastic tops of the brightness and contrast switches. A-2 Options and Maintenance
-
 1
1 -
2
-
3
-
4
-
5
-
6
-
7
-
8
-
9
-
10
-
11
-
12
-
13
-
14
-
15
-
16
-
17
-
18
-
19
-
20
-
21
-
22
-
23
-
24
-
25
-
26
-
27
-
28
-
29
-
30
-
31
-
32
-
33
-
34
-
35
-
36
-
37
-
38
-
39
-
40
-
41
-
42
-
43
-
44
-
45
-
46
-
47
-
48
-
49
-
50
-
51
-
52
-
53
-
54
-
55
-
56
-
57
-
58
-
59
-
60
-
61
-
62
-
63
-
64
-
65
-
66
-
67
-
68
-
69
-
70
-
71
-
72
-
73
-
74
-
75
-
76
-
77
-
78
-
79
-
 80
80 -
 81
81 -
 82
82 -
 83
83 -
 84
84 -
 85
85 -
 86
86 -
 87
87 -
 88
88 -
 89
89 -
 90
90 -
91
-
92
-
93
-
94
-
95
-
96
-
97
-
98
-
99
-
100
-
101
-
102
-
103
-
104
-
105
-
106
-
107
-
108
-
109
-
110
-
111
-
112
-
113
-
114
-
115
-
116
-
117
-
118
-
119
-
120
-
121
-
122
-
123
-
124
-
125
-
126
-
127
-
128
-
129
-
130
-
131
-
132
-
133
-
134
-
135
-
136
-
137
-
138
-
139
-
140
-
141
-
142
-
143
-
144
-
145
-
146
-
147
-
148
-
149
-
150
-
151
 |
 |