HP t310 PCoIP Management Console User Manual - Page 22
Predefined Options and Values
 |
View all HP t310 manuals
Add to My Manuals
Save this manual to your list of manuals |
Page 22 highlights
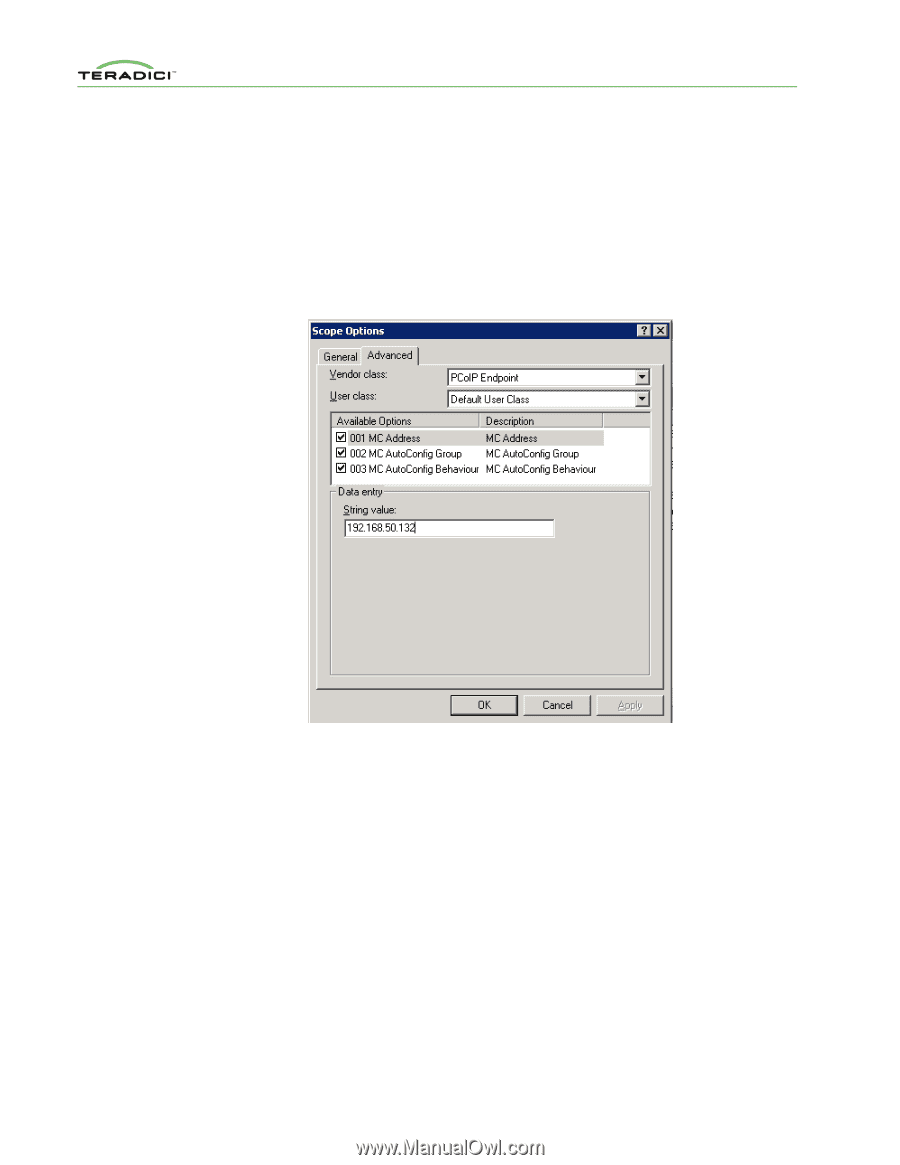
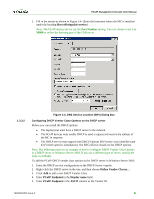
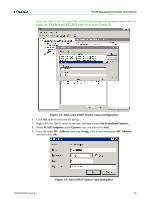
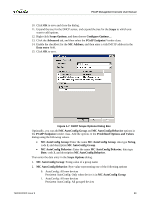
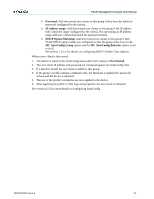
PCoIP Management Console User Manual 10. Click OK to save and close the dialog. 11. Expand the tree for the DHCP server, and expand the tree for the Scope to which you want to add options. 12. Right-click Scope Options, and then choose Configure Options... 13. Click the Advanced tab, and then select the PCoIP Endpoint Vendor class. 14. Enable the checkbox for the MC Address, and then enter a valid MC IP address in the Data entry field. 15. Click OK to save. Figure 1-7: DHCP Scope Options Dialog Box Optionally, you can add MC AutoConfig Group and MC AutoConfig Behavior options in the PCoIP Endpoint vendor class. Add the options in the Predefined Options and Values dialog using the following values. • MC AutoConfig Group: Enter the name MC AutoConfig Group, data type String, code 2, and description MC AutoConfig Group. • MC AutoConfig Behavior: Enter the name MC AutoConfig Behavior, data type Byte, code 3, and description MC AutoConfig Behavior. Then enter the data entry in the Scope Options dialog. 1. MC AutoConfig Group: String value of a group name 2. MC AutoConfig Behavior: Byte value representing one of the following options 0. AutoConfig: All new devices Persistent AutoConfig: Only when device is in MC AutoConfig Group 1. AutoConfig: All new devices Persistent AutoConfig: All grouped devices TER0812002 Issue 9 23
-
 1
1 -
2
-
3
-
4
-
5
-
6
-
7
-
8
-
9
-
10
-
11
-
12
-
13
-
14
-
15
-
16
-
 17
17 -
 18
18 -
 19
19 -
 20
20 -
 21
21 -
 22
22 -
 23
23 -
 24
24 -
 25
25 -
 26
26 -
 27
27 -
28
-
29
-
30
-
31
-
32
-
33
-
34
-
35
-
36
-
37
-
38
-
39
-
40
-
41
-
42
-
43
-
44
-
45
-
46
-
47
-
48
-
49
-
50
-
51
-
52
-
53
-
54
-
55
-
56
-
57
-
58
-
59
-
60
-
61
-
62
-
63
-
64
-
65
-
66
-
67
-
68
-
69
-
70
-
71
-
72
-
73
-
74
-
75
-
76
-
77
-
78
-
79
-
80
-
81
-
82
-
83
-
84
-
85
-
86
-
87
 |
 |