Kyocera TASKalfa 181 Scan System (F) B Operation Guide (Functions Edition) - Page 15
Continuous Scan, Output Per Placing originals in the optional document processor
 |
View all Kyocera TASKalfa 181 manuals
Add to My Manuals
Save this manual to your list of manuals |
Page 15 highlights
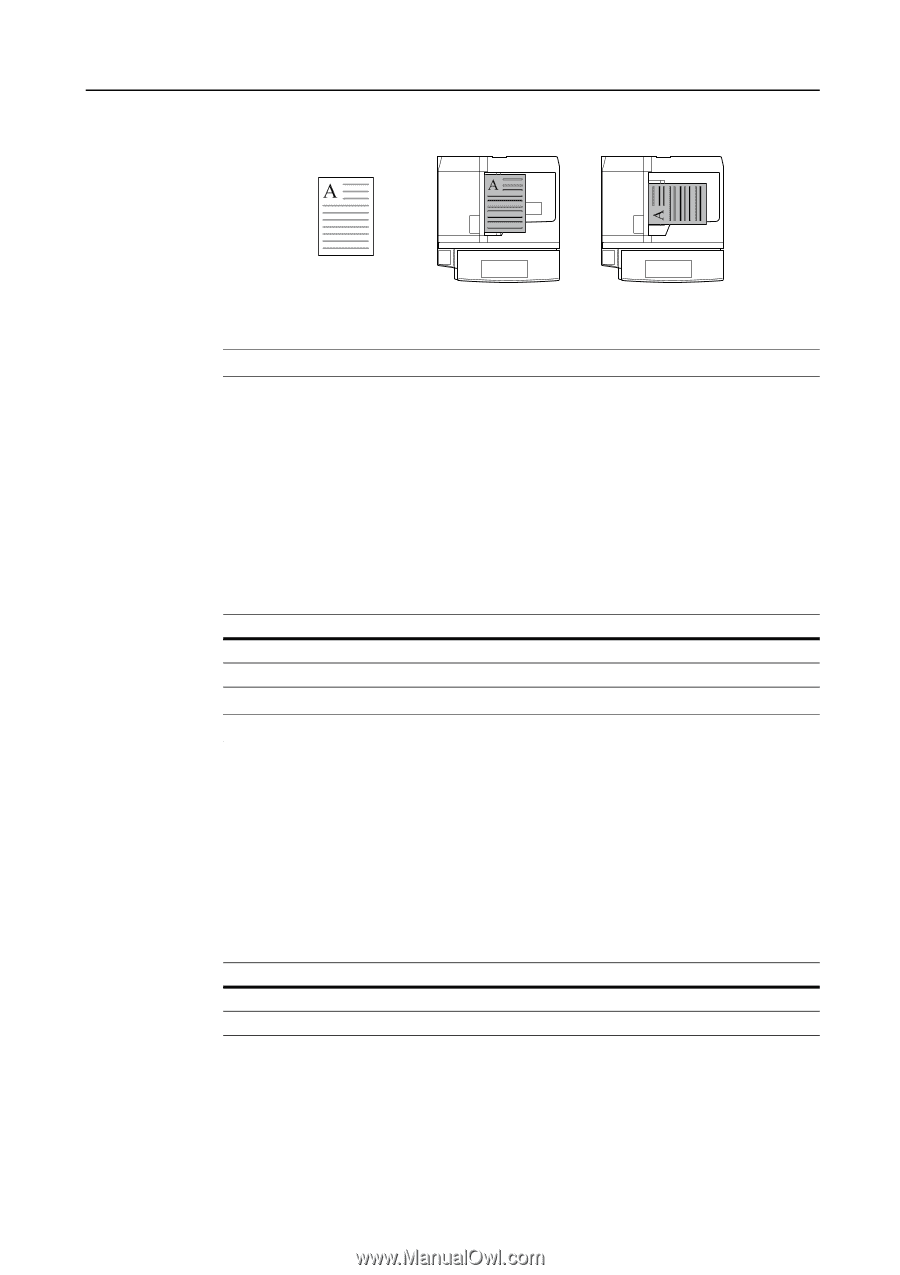
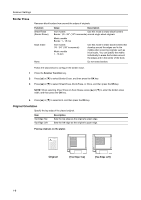
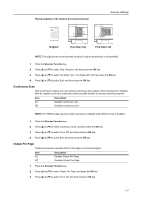
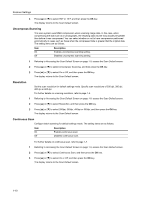
Placing originals in the optional document processor Scanner Settings Original [Top Edge Top] [Top Edge Left] NOTE: The original may not be scanned correctly if original set direction is not specified. 1 Press the Scanner Function key. 2 Press [S] or [T] to select Orig. Direction, and then press the OK key. 3 Press [S] or [T] to select Top Edge Top or Top Edge Left, and then press the OK key. 4 Press [S] or [T] to select End, and then press the OK key. Continuous Scan After scanning an original, you can continue scanning a new original. When this feature is enabled, after an original is scanned, a selection screen prompts whether to continue scanning originals. Item On Off Description Enables continuous scan. Disables continuous scan. NOTE: For TWAIN image scanning, batch scanning is available when Wait for Scan is enabled. 1 Press the Scanner Function key. 2 Press [S] or [T] to select Continuous Scan, and then press the OK key. 3 Press [S] or [T] to select On or Off, and then press the OK key. 4 Press [S] or [T] to select End, and then press the OK key. Output Per Page Creates and sends a separate file for each page of a scanned original. Item On Off Description Enables Output Per Page. Disables Output Per Page. 1 Press the Scanner Function key. 2 Press [S] or [T] to select Output Per Page, and press the OK key. 3 Press [S] or [T] to select On or Off, and then press the OK key. 1-7
-
 1
1 -
2
-
3
-
4
-
5
-
6
-
7
-
8
-
9
-
 10
10 -
 11
11 -
 12
12 -
 13
13 -
 14
14 -
 15
15 -
 16
16 -
 17
17 -
 18
18 -
 19
19 -
 20
20 -
21
-
22
-
23
-
24
-
25
-
26
-
27
-
28
-
29
-
30
-
31
-
32
-
33
-
34
-
35
-
36
-
37
-
38
-
39
-
40
-
41
-
42
-
43
-
44
-
45
-
46
-
47
-
48
-
49
-
50
-
51
-
52
-
53
-
54
-
55
-
56
-
57
-
58
-
59
-
60
-
61
-
62
-
63
-
64
-
65
-
66
-
67
-
68
-
69
-
70
-
71
-
72
-
73
-
74
-
75
-
76
-
77
-
78
-
79
-
80
-
81
-
82
-
83
-
84
-
85
-
86
-
87
-
88
-
89
-
90
-
91
-
92
-
93
-
94
-
95
-
96
-
97
-
98
-
99
-
100
-
101
-
102
-
103
-
104
-
105
-
106
-
107
-
108
 |
 |