Kyocera TASKalfa 181 Scan System (F) B Operation Guide (Functions Edition) - Page 54
File Save Feature, System Connection Program, Setup, Folder, Delete, Start
 |
View all Kyocera TASKalfa 181 manuals
Add to My Manuals
Save this manual to your list of manuals |
Page 54 highlights
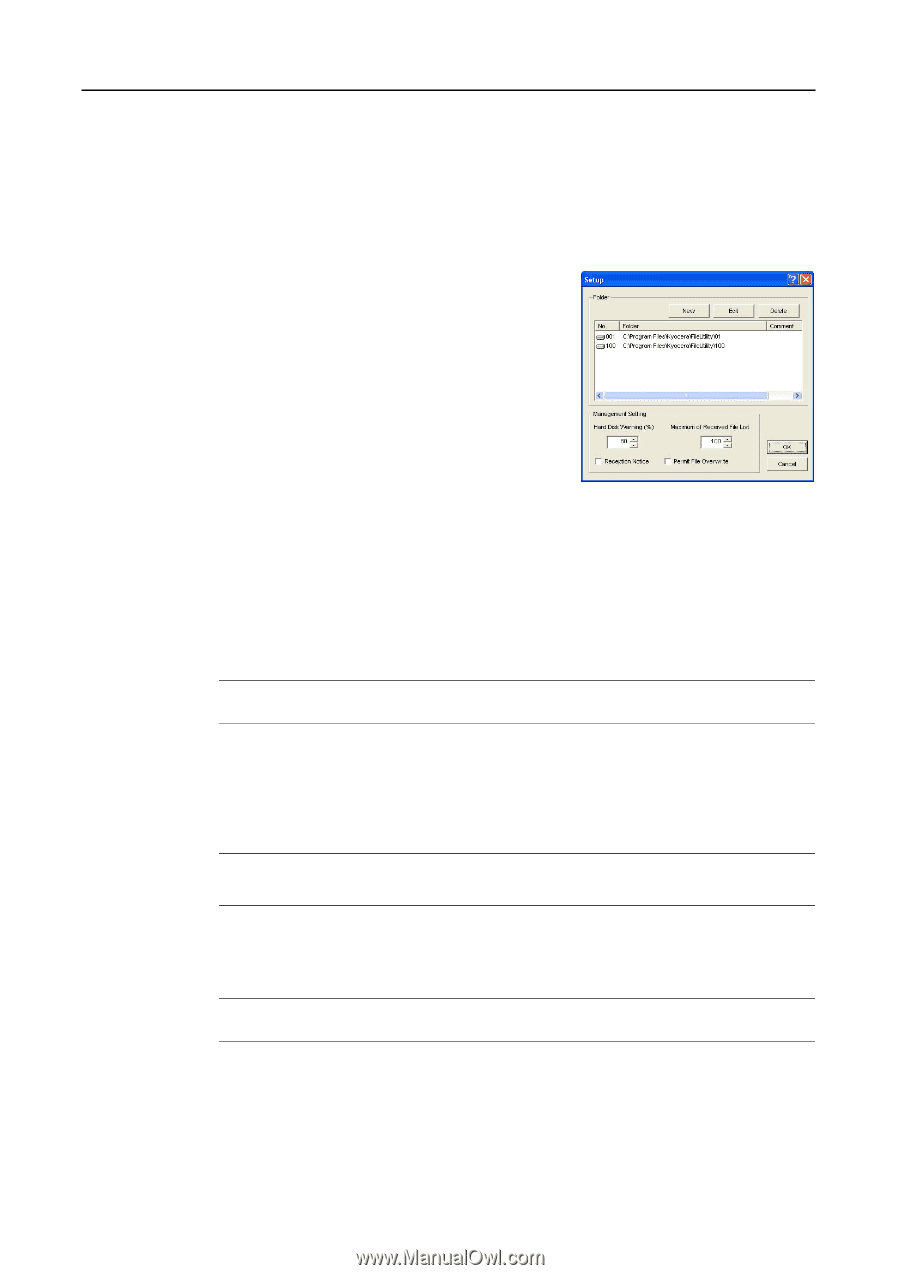
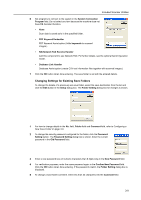
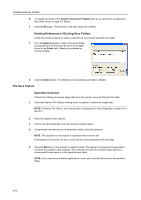
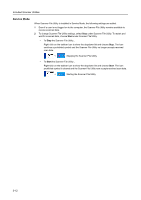
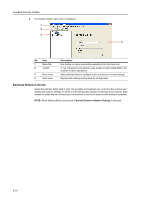
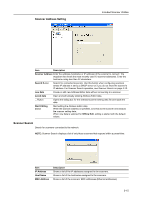
Included Scanner Utilities 6 To change the details of the System Connection Program field, do so referring to Configuring a New Save Folder on page 3-8, Step 6. 7 Click the OK button. The settings for the save folder are modified. Deleting References to Existing Save Folders Follow the procedure below to delete a reference to a previously specified save folder. 1 From the Setup dialog box, click to choose the folder you would like to remove from the list of save folders shown in the Folder field. Selection is indicated by reversed display. 2 Click the Delete button. The reference to the selected save folder is deleted. File Save Feature Operation Overview Perform the following to receive image data from the scanner using the Scanner File Utility. 1 Verify that Scanner File Utility is running on the computer to receive the image data. NOTE: If Scanner File Utility is not running, refer to Displaying the Start Dialog Box on page 3-6 to launch it. 2 Place the original on the scanner. 3 Choose the send destination from the scanner operation panel. 4 If a password has been set for the destination folder, enter the password. NOTE: This operation is not required if a password has not been set. If the password is incorrect, an error occurs and you cannot proceed to the next step. 5 Press the Start key on the scanner's operation panel. The original is scanned and image data is sent from the scanner to the computer. The computer converts the received image data into a compressed file and saves it in the specified save folder. NOTE: Use a commercial software application to view, edit or mail the file saved in the specified folder. 3-10
-
 1
1 -
2
-
3
-
4
-
5
-
6
-
7
-
8
-
9
-
10
-
11
-
12
-
13
-
14
-
15
-
16
-
17
-
18
-
19
-
20
-
21
-
22
-
23
-
24
-
25
-
26
-
27
-
28
-
29
-
30
-
31
-
32
-
33
-
34
-
35
-
36
-
37
-
38
-
39
-
40
-
41
-
42
-
43
-
44
-
45
-
46
-
47
-
48
-
 49
49 -
 50
50 -
 51
51 -
 52
52 -
 53
53 -
 54
54 -
 55
55 -
 56
56 -
 57
57 -
 58
58 -
 59
59 -
60
-
61
-
62
-
63
-
64
-
65
-
66
-
67
-
68
-
69
-
70
-
71
-
72
-
73
-
74
-
75
-
76
-
77
-
78
-
79
-
80
-
81
-
82
-
83
-
84
-
85
-
86
-
87
-
88
-
89
-
90
-
91
-
92
-
93
-
94
-
95
-
96
-
97
-
98
-
99
-
100
-
101
-
102
-
103
-
104
-
105
-
106
-
107
-
108
 |
 |