Kyocera TASKalfa 181 Scan System (F) B Operation Guide (Functions Edition) - Page 17
Scanner Default Settings, Default Settings, Accessing the Scan Default Screen, Original Image
 |
View all Kyocera TASKalfa 181 manuals
Add to My Manuals
Save this manual to your list of manuals |
Page 17 highlights
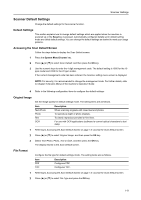
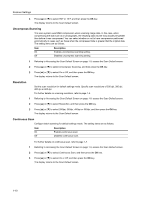
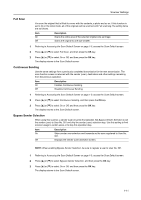
Scanner Settings Scanner Default Settings Change the default settings for the scanner function. Default Settings This section explains how to change default settings which are applied when the machine is powered up or the Reset key is pressed. Automatically configured details set in default setting mode are called default settings. You can change the default settings as desired to meet your usage patterns. Accessing the Scan Default Screen Follow the steps below to display the Scan Default screen. 1 Press the System Menu/Counter key. 2 Press [S] or [T] to select Scan Default, and then press the OK key. 3 Use the numeric keys to enter the 4 digit management code. The default setting is 1800 for the 18 ppm model and 2200 for the 22 ppm model. If the correct management code has been entered, the Scanner setting menu screen is displayed. NOTE: For security, it is recommended to change the management code. For further details, refer to Chapter 6 (System Menu) of the machine's Operation Guide. 4 Refer to the following configuration items to configure the default settings. Original Image Set the image quality for default settings mode. The setting items are as follows. Item Text+Photo Photo Text OCR Description When scanning originals with mixed text and photos. To reproduce depth of photo originals. To clearly reproduce penciled or fine lines. For use with OCR applications (software to convert optical characters to text data). 1 Referring to Accessing the Scan Default Screen on page 1-9, access the Scan Default screen. 2 Press [S] or [T] to select Original Image, and then press the OK key. 3 Select Text+Photo, Photo, Text or OCR, and then press the OK key. The display returns to the Scan Default screen. File Format Configure the file type for default settings mode. The setting items are as follows. Item PDF TIFF Description Configures PDF. Configures TIFF. 1 Referring to Accessing the Scan Default Screen on page 1-9, access the Scan Default screen. 2 Press [S] or [T] to select File Type and press the OK key. 1-9
-
 1
1 -
2
-
3
-
4
-
5
-
6
-
7
-
8
-
9
-
10
-
11
-
 12
12 -
 13
13 -
 14
14 -
 15
15 -
 16
16 -
 17
17 -
 18
18 -
 19
19 -
 20
20 -
 21
21 -
 22
22 -
23
-
24
-
25
-
26
-
27
-
28
-
29
-
30
-
31
-
32
-
33
-
34
-
35
-
36
-
37
-
38
-
39
-
40
-
41
-
42
-
43
-
44
-
45
-
46
-
47
-
48
-
49
-
50
-
51
-
52
-
53
-
54
-
55
-
56
-
57
-
58
-
59
-
60
-
61
-
62
-
63
-
64
-
65
-
66
-
67
-
68
-
69
-
70
-
71
-
72
-
73
-
74
-
75
-
76
-
77
-
78
-
79
-
80
-
81
-
82
-
83
-
84
-
85
-
86
-
87
-
88
-
89
-
90
-
91
-
92
-
93
-
94
-
95
-
96
-
97
-
98
-
99
-
100
-
101
-
102
-
103
-
104
-
105
-
106
-
107
-
108
 |
 |