Lexmark C524 User's Guide - Page 115
Using the security lock feature, Setting security using the Embedded Web Server (EWS)
 |
View all Lexmark C524 manuals
Add to My Manuals
Save this manual to your list of manuals |
Page 115 highlights
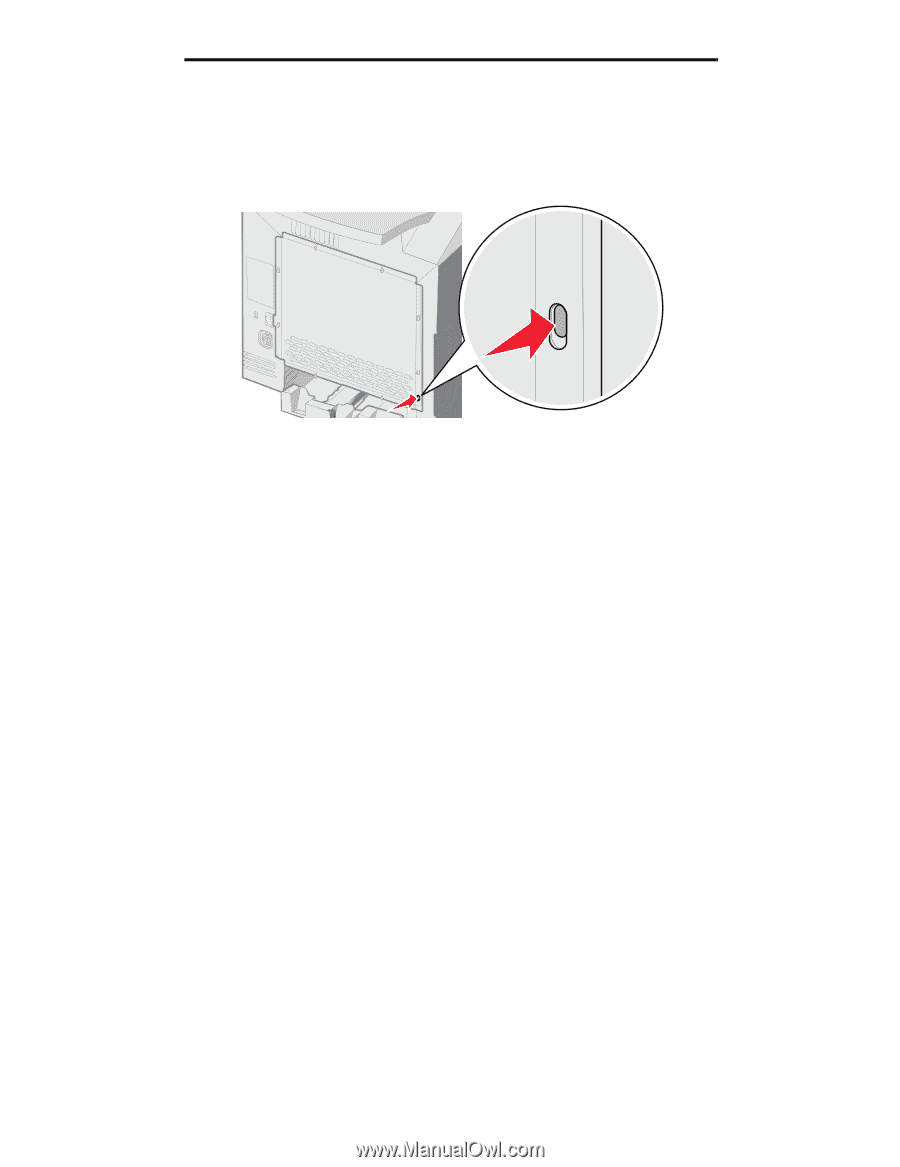
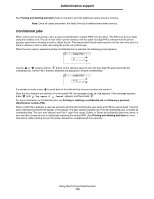
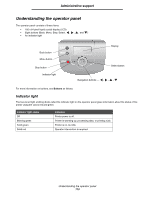
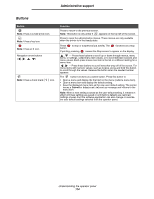
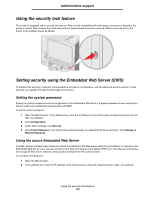
Administrative support Using the security lock feature The printer is equipped with a security lock feature. When a lock compatible with most laptop computers is attached, the printer is locked. Once locked, the metal plate and the system board cannot be removed. Attach a security lock to the printer in the location shown as follows. Setting security using the Embedded Web Server (EWS) To enhance the security of network communications and device configuration, use the advanced security options. These features are available through the Web page of the device. Setting the system password Setting the system password protects configuration of the Embedded Web Server. A system password is also required for Secure mode and confidential communication with MVP. To set the system password: 1 Open the Web browser. In the address line, enter the IP address of the printer being configured using the format: http: //ip_address/. 2 Click Configuration. 3 Under Other Settings, click Security. 4 Click Create Password, if one has not been set previously. If a password has been set before, click Change or Remove Password. Using the secure Embedded Web Server The SSL (Secure Sockets Layer) allows for secure connections to the Web server within the print device. To connect to the Embedded Web Server more securely connect to the SSL port instead of the default HTTP port. The SSL port connection will encrypt all Web server network communications between the PC and the printer. To connect to the SSL port: 1 Open the Web browser. 2 In the address line, enter the IP address of the printer being configured using the format: https: //ip_address/. Using the security lock feature 115
-
 1
1 -
2
-
3
-
4
-
5
-
6
-
7
-
8
-
9
-
10
-
11
-
12
-
13
-
14
-
15
-
16
-
17
-
18
-
19
-
20
-
21
-
22
-
23
-
24
-
25
-
26
-
27
-
28
-
29
-
30
-
31
-
32
-
33
-
34
-
35
-
36
-
37
-
38
-
39
-
40
-
41
-
42
-
43
-
44
-
45
-
46
-
47
-
48
-
49
-
50
-
51
-
52
-
53
-
54
-
55
-
56
-
57
-
58
-
59
-
60
-
61
-
62
-
63
-
64
-
65
-
66
-
67
-
68
-
69
-
70
-
71
-
72
-
73
-
74
-
75
-
76
-
77
-
78
-
79
-
80
-
81
-
82
-
83
-
84
-
85
-
86
-
87
-
88
-
89
-
90
-
91
-
92
-
93
-
94
-
95
-
96
-
97
-
98
-
99
-
100
-
101
-
102
-
103
-
104
-
105
-
106
-
107
-
108
-
109
-
 110
110 -
 111
111 -
 112
112 -
 113
113 -
 114
114 -
 115
115 -
 116
116 -
 117
117 -
 118
118 -
 119
119 -
 120
120 -
121
-
122
-
123
-
124
-
125
-
126
-
127
-
128
-
129
-
130
-
131
-
132
-
133
-
134
-
135
-
136
-
137
-
138
-
139
-
140
-
141
-
142
-
143
-
144
-
145
-
146
 |
 |