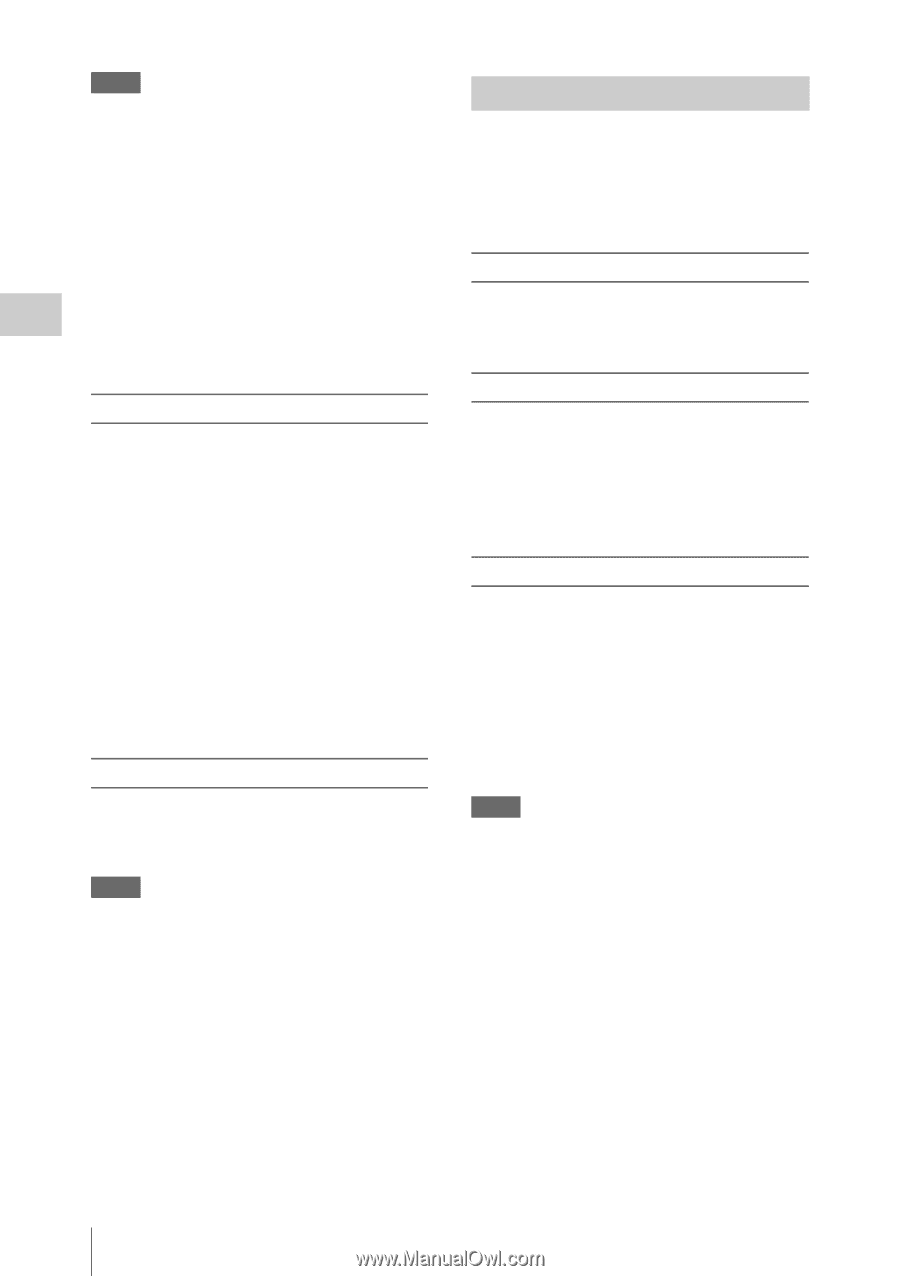
Sony PMW200 User Manual (PMW-100 Memory Camcorder Operation Manual for Firmwar - Page 52
Freeze Mix: Image Alignment, Preparatory settings, Recording in Slow & Quick Motion Mode
 |
View all Sony PMW200 manuals
Add to My Manuals
Save this manual to your list of manuals |
Page 52 highlights
Recording Notes • Slow & Quick Motion recording cannot be used in SD Mode. • Slow & Quick Motion cannot be set to "On" simultaneously with Frame Recording, Interval Recording, Picture Cache Recording, or Clip Continuous Recording. When you set Slow & Quick Motion to "On," these other functions are forcibly set to "Off." • Slow & Quick Motion mode cannot be used while recording, or while using Recording Review or Freeze Mix. • Slow & Quick Motion mode cannot be used when "SLS/EX SLS" (page 83) in the CAMERA SET menu is set to other than OFF. • Audio cannot be recorded when the recording and playback frame rates differ. Preparatory settings Before starting Slow & Quick Motion recording, set "S&Q Motion" (page 85) in the CAMERA SET menu. When the special recording mode indication on the screen is active, "S&Q Motion" is displayed on the screen (page 19). Setting the recording frame rate with the Direct menu When the special recording mode indication on the screen is active, [Recording frame rate]/ [Playback frame rate fps] is displayed under "S&Q Motion." You can change the recording frame rate with the Direct menu (page 20). Recording in Slow & Quick Motion Mode When the preparatory settings are completed, you can start recording. Press the REC START/STOP button. Notes • You cannot change the Frame Rate settings while Slow & Quick Motion recording is in progress. To change them, pause the recording. • The timecode is recorded in Rec Run mode during Slow & Quick Motion recording (page 94). • When recording at a low-speed frame rate, it may take time until recording stops after you press the REC START/STOP button. • Slow & Quick Motion mode is automatically set to "Off" when you set the camcorder's power switch to OFF. However, the Frame Rate setting is saved. Freeze Mix: Image Alignment In UDF HD Mode or FAT HD Mode, an image (still picture) of a recorded clip can be temporarily superimposed on the current camera picture, permitting you to easily align images for your next recording. To use the Freeze Mix function While standing by to record, assign the Freeze Mix function to one of the assignable buttons (page 49). Superimposing a Freeze Mix image While recording or reviewing images by pressing the REC REVIEW button, press the ASSIGN button to which you assigned "Freeze Mix" at the image with which you want to align. The image is displayed as a still picture over the current camera picture. Canceling Freeze Mix status You can cancel it with the ASSIGN button to which you assigned "Freeze Mix" or the REC START/STOP button. When you cancel Freeze Mix status by pressing the ASSIGN button, the normal camera picture is displayed. When you cancel Freeze Mix status by pressing the REC START/STOP button, normal recording begins. Notes • The Freeze Mix function cannot be used in SD Mode. • Freeze Mix cannot be used when "Format" in "System" (page 99) in the OTHERS menu is set to "HD420 HQ/720/23.98P" (in UDF HD Mode) or "SP 1440/23.98P" (in FAT HD Mode). • If the "Format" setting of the recorded picture and the current camera picture differ, the Freeze Mix display cannot be achieved. • The Freeze Mix display cannot be obtained in Slow & Quick Motion mode or Slow Shutter mode. • You cannot operate the Setup menus and PICTURE PROFILE menu in Freeze Mix status. 52 Useful Functions
-
 1
1 -
2
-
3
-
4
-
5
-
6
-
7
-
8
-
9
-
10
-
11
-
12
-
13
-
14
-
15
-
16
-
17
-
18
-
19
-
20
-
21
-
22
-
23
-
24
-
25
-
26
-
27
-
28
-
29
-
30
-
31
-
32
-
33
-
34
-
35
-
36
-
37
-
38
-
39
-
40
-
41
-
42
-
43
-
44
-
45
-
46
-
 47
47 -
 48
48 -
 49
49 -
 50
50 -
 51
51 -
 52
52 -
 53
53 -
 54
54 -
 55
55 -
 56
56 -
 57
57 -
58
-
59
-
60
-
61
-
62
-
63
-
64
-
65
-
66
-
67
-
68
-
69
-
70
-
71
-
72
-
73
-
74
-
75
-
76
-
77
-
78
-
79
-
80
-
81
-
82
-
83
-
84
-
85
-
86
-
87
-
88
-
89
-
90
-
91
-
92
-
93
-
94
-
95
-
96
-
97
-
98
-
99
-
100
-
101
-
102
-
103
-
104
-
105
-
106
-
107
-
108
-
109
-
110
-
111
-
112
-
113
-
114
-
115
-
116
-
117
-
118
-
119
-
120
-
121
-
122
-
123
-
124
-
125
-
126
-
127
-
128
-
129
-
130
-
131
-
132
-
133
-
134
-
135
-
136
-
137
-
138
-
139
-
140
-
141
-
142
 |
 |