Dell A960 All In One Personal Printer User's Guide - Page 44
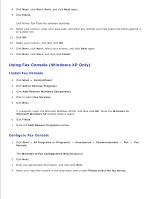
Receive Faxes, Using Dell Printer Fax Tools Fax Software, Receiving Faxes Through the Printer
 |
View all Dell A960 All In One Personal Printer manuals
Add to My Manuals
Save this manual to your list of manuals |
Page 44 highlights
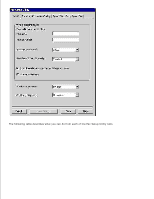
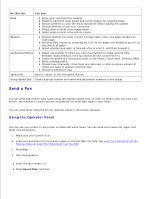
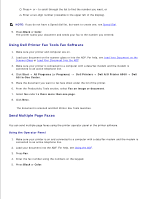
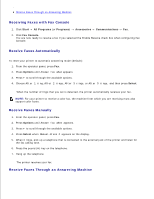
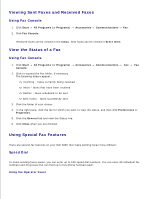
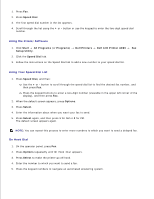
5. NOTE: In order to send a color fax from your printer, the machine to which you are sending the fax must also support color faxes. Using Dell Printer Fax Tools Fax Software 1. Click Start All Programs (or Programs) Dell Printers All-In-One Center. Dell AIO Printer A960 2. Click See More Scan Settings. 3. Click Advanced. 4. Click to select Scan multiple items before output (flatbed scanner only). 5. Click OK. 6. Select Fax from the Send scanned image to drop-down menu. 7. Place the document you want to fax face down under the lid of the printer. 8. Click Preview Now. Dell A preview of your document appears. Adjust your document and repeat if necessary. NOTE: If the size of the scan (found in the lower right of the preview window) appears in red, you do not have the system resources available to perform the scan at the resolution or size you have selected. To correct this problem, either reduce your resolution or the size of your scan area. 9. Click Scan Now. 10. Click Yes until all pages you want to fax are scanned, and then click No. 11. Follow the instructions on your computer screen to send your fax. Receive Faxes NOTE: Your printer cannot receive soft copy faxes, it can only send them. All incoming faxes print from your printer. You can receive faxes using the printer operator panel or the printer software. You can choose to receive faxes automatically, manually, or through an answering machine. Receiving Faxes Through the Printer For information on receiving faxes through the printer, see the following sections. Receive Faxes Automatically Receive Faxes Manually
-
 1
1 -
2
-
3
-
4
-
5
-
6
-
7
-
8
-
9
-
10
-
11
-
12
-
13
-
14
-
15
-
16
-
17
-
18
-
19
-
20
-
21
-
22
-
23
-
24
-
25
-
26
-
27
-
28
-
29
-
30
-
31
-
32
-
33
-
34
-
35
-
36
-
37
-
38
-
 39
39 -
 40
40 -
 41
41 -
 42
42 -
 43
43 -
 44
44 -
 45
45 -
 46
46 -
 47
47 -
 48
48 -
 49
49 -
50
-
51
-
52
-
53
-
54
-
55
-
56
-
57
-
58
-
59
-
60
-
61
-
62
-
63
-
64
-
65
-
66
-
67
-
68
-
69
-
70
-
71
-
72
-
73
-
74
-
75
-
76
-
77
-
78
-
79
-
80
-
81
-
82
-
83
-
84
-
85
-
86
-
87
-
88
-
89
-
90
-
91
-
92
-
93
-
94
-
95
 |
 |