Epson PowerLite 8150i Administrator's Manual - Page 51
Using the Software Keyboard, Use DHCP
 |
View all Epson PowerLite 8150i manuals
Add to My Manuals
Save this manual to your list of manuals |
Page 51 highlights
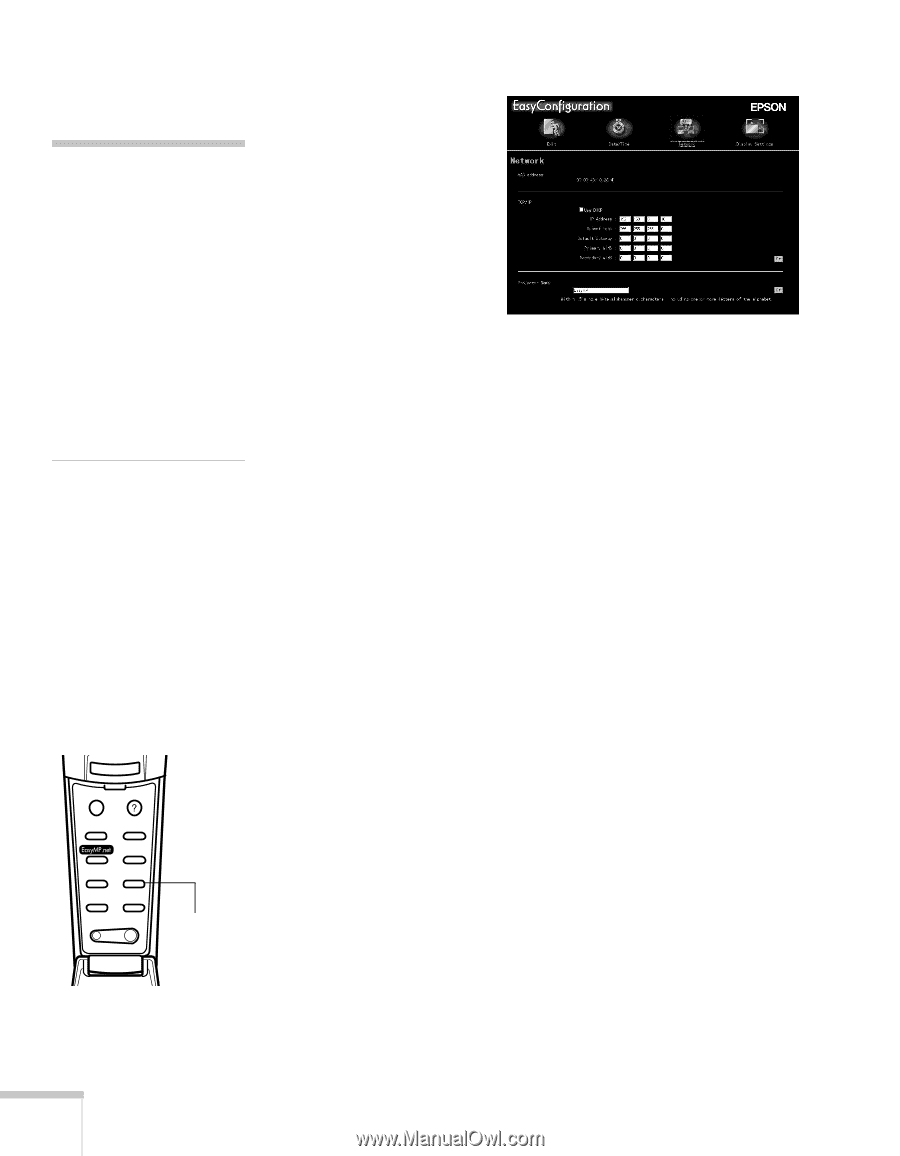
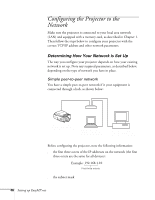
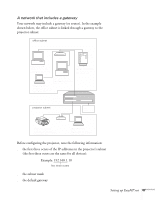
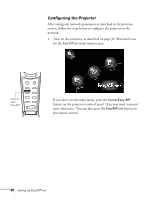
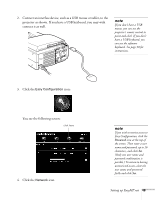
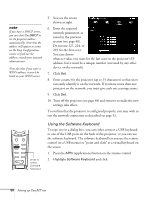
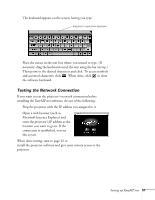
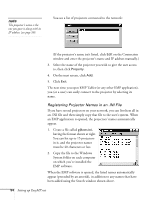
note If you have a DHCP server, you can click Use DHCP to set the projector address automatically. Note that the address will appear as zeroes on the Easy Configuration screen; to find out the address, consult your network administrator. Note also that if you enter a WINS address, it won't be listed on your WINS server. 5. You see the screen shown at right. 6. Enter the required network parameters, as noted in the previous section (see page 46). Do not use 127, 224, or 225 for the first octet. You can choose whatever value you want for the last octet in the projector's IP address, but it must be a unique number (not used by any other device on the network). 7. Click Set. 8. Enter a name for the projector (up to 15 characters) so that users can easily identify it on the network. If you have more than one projector on the network, you must give each one a unique name. 9. Click Set. 10. Turn off the projector (see page 44) and restart it to make the new settings take effect. To confirm that the projector is configured properly, you may wish to test the network connection as described on page 51. Esc Menu Help Comp1 Comp2/YCbCr Capture Auto Video APPs Resize P in P Preset - Volume + press to select Software Keyboard Using the Software Keyboard To type text in a dialog box, you can either connect a USB keyboard to one of the USB ports on the back of the projector, or you can use the software keyboard. The software keyboard lets you use the remote control (or a USB mouse) to "point and click" at a virtual keyboard on the screen. 1. Press the APPs (applications) button on the remote control. 2. Highlight Software Keyboard and click. 50 Setting up EasyMP.net
-
 1
1 -
2
-
3
-
4
-
5
-
6
-
7
-
8
-
9
-
10
-
11
-
12
-
13
-
14
-
15
-
16
-
17
-
18
-
19
-
20
-
21
-
22
-
23
-
24
-
25
-
26
-
27
-
28
-
29
-
30
-
31
-
32
-
33
-
34
-
35
-
36
-
37
-
38
-
39
-
40
-
41
-
42
-
43
-
44
-
45
-
 46
46 -
 47
47 -
 48
48 -
 49
49 -
 50
50 -
 51
51 -
 52
52 -
 53
53 -
 54
54 -
 55
55 -
 56
56 -
57
-
58
-
59
-
60
-
61
-
62
-
63
-
64
-
65
-
66
-
67
-
68
-
69
-
70
-
71
-
72
-
73
-
74
-
75
-
76
-
77
-
78
-
79
-
80
-
81
-
82
-
83
-
84
-
85
-
86
-
87
-
88
-
89
-
90
-
91
-
92
-
93
-
94
-
95
-
96
-
97
-
98
-
99
-
100
-
101
-
102
-
103
-
104
-
105
-
106
-
107
-
108
-
109
-
110
-
111
-
112
-
113
-
114
-
115
-
116
-
117
-
118
-
119
-
120
-
121
-
122
-
123
-
124
-
125
-
126
-
127
-
128
-
129
-
130
-
131
-
132
-
133
-
134
-
135
 |
 |