Lexmark X5450 User's Guide - Page 102
Partial document or photo prints, Photo smudges, Copy troubleshooting, Copier does not respond
 |
View all Lexmark X5450 manuals
Add to My Manuals
Save this manual to your list of manuals |
Page 102 highlights
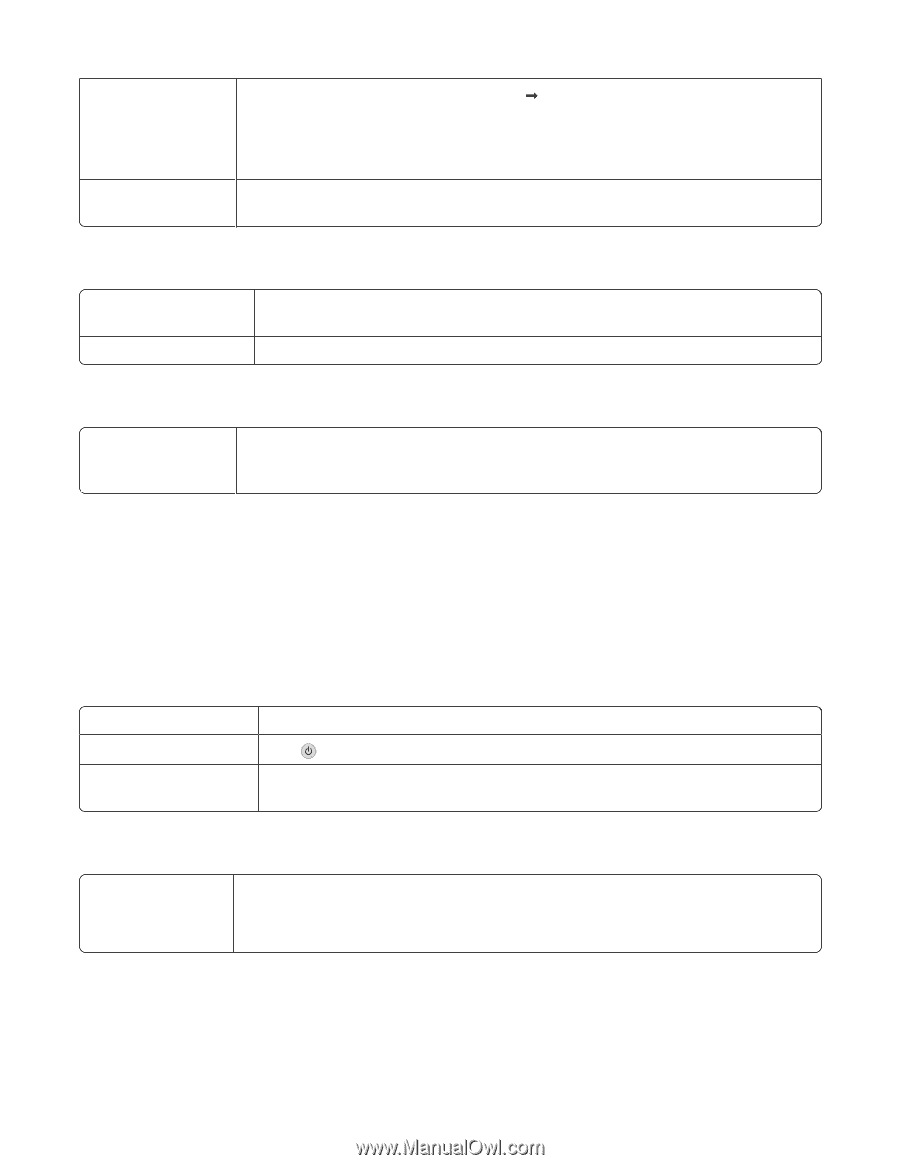
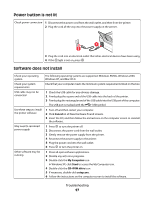
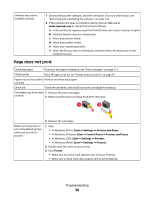
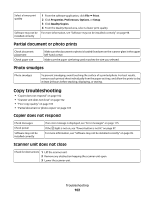
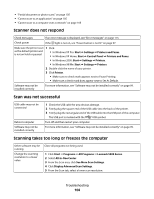
Select a lower print quality Software may not be installed correctly 1 From the software application, click File Œ Print. 2 Click Properties, Preferences, Options, or Setup. 3 Click Quality/Copies. 4 From the Quality/Speed area, select a lower print quality. For more information, see "Software may not be installed correctly" on page 98. Partial document or photo prints Check document placement Check paper size Make sure the document or photo is loaded facedown on the scanner glass in the upper left-hand corner. Make sure the paper size being used matches the size you selected. Photo smudges Photo smudges To prevent smudging, avoid touching the surface of a printed photo. For best results, remove each printed sheet individually from the paper exit tray, and allow the prints to dry at least 24 hours before stacking, displaying, or storing. Copy troubleshooting • "Copier does not respond" on page 102 • "Scanner unit does not close" on page 102 • "Poor copy quality" on page 103 • "Partial document or photo copies" on page 103 Copier does not respond Check messages Check power Software may not be installed correctly If an error message is displayed, see "Error messages" on page 115. If the light is not on, see "Power button is not lit" on page 97. For more information, see "Software may not be installed correctly" on page 99. Scanner unit does not close Check for obstructions 1 Lift the scanner unit. 2 Remove any obstruction keeping the scanner unit open. 3 Lower the scanner unit. Troubleshooting 102
-
 1
1 -
2
-
3
-
4
-
5
-
6
-
7
-
8
-
9
-
10
-
11
-
12
-
13
-
14
-
15
-
16
-
17
-
18
-
19
-
20
-
21
-
22
-
23
-
24
-
25
-
26
-
27
-
28
-
29
-
30
-
31
-
32
-
33
-
34
-
35
-
36
-
37
-
38
-
39
-
40
-
41
-
42
-
43
-
44
-
45
-
46
-
47
-
48
-
49
-
50
-
51
-
52
-
53
-
54
-
55
-
56
-
57
-
58
-
59
-
60
-
61
-
62
-
63
-
64
-
65
-
66
-
67
-
68
-
69
-
70
-
71
-
72
-
73
-
74
-
75
-
76
-
77
-
78
-
79
-
80
-
81
-
82
-
83
-
84
-
85
-
86
-
87
-
88
-
89
-
90
-
91
-
92
-
93
-
94
-
95
-
96
-
 97
97 -
 98
98 -
 99
99 -
 100
100 -
 101
101 -
 102
102 -
 103
103 -
 104
104 -
 105
105 -
 106
106 -
 107
107 -
108
-
109
-
110
-
111
-
112
-
113
-
114
-
115
-
116
-
117
-
118
-
119
-
120
-
121
-
122
-
123
-
124
-
125
-
126
-
127
-
128
-
129
-
130
-
131
-
132
-
133
-
134
-
135
-
136
-
137
 |
 |