Lexmark X5450 User's Guide - Page 119
Notes, Imaging Studio, Manage fax history or All-In-One fax settings., Dialing and Sending, After Dial - left cartridge incorrect
 |
View all Lexmark X5450 manuals
Add to My Manuals
Save this manual to your list of manuals |
Page 119 highlights
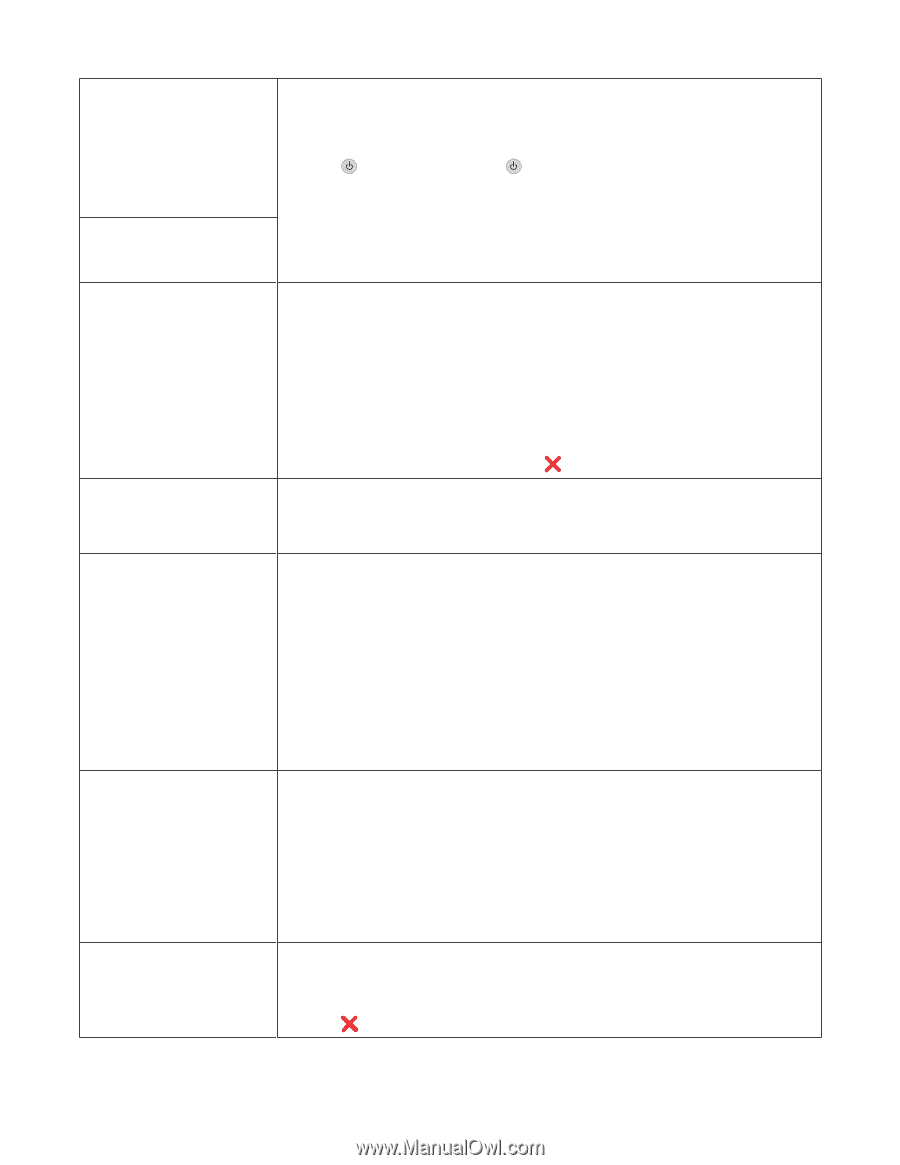
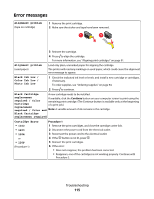
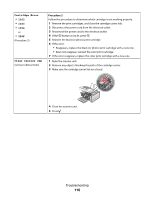
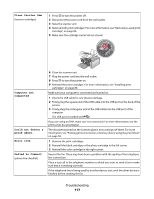
Left Cartridge Error / Right Cartridge Error Including: • 1205 (Left Cartridge) • 1206 (Right Cartridge) Left Cartridge Incorrect / Right Cartridge Incorrect 1 Remove the indicated print cartridge. 2 Disconnect the power cord from the electrical outlet. 3 Reconnect the power cord to the electrical outlet. 4 If the button is not lit, press . 5 Reinsert the print cartridge. 6 If the error: • Does not reappear, the problem has been corrected. • Reappears, replace the print cartridge with a new one. Left Cartridge Missing / Right Cartridge Missing One or both cartridges are missing or not installed properly. For more information, see "Installing print cartridges" on page 89. Notes: • You can make a color copy with only the color cartridge installed. • You can print a black-and-white document with only the black cartridge installed. • You cannot copy or print when only the photo cartridge is installed. • To remove the error message, press . Memory Full (reduce memory use) If applicable: • Print pending received faxes. • Send fewer pages. Memory Full (lower the fax resolution) 1 From the desktop, double-click the Imaging Studio icon. 2 Click Fax. 3 Click Manage fax history or All-In-One fax settings. 4 Click the Dialing and Sending tab. 5 From the "Send fax with this print quality" area, select a lower print quality. 6 Click OK. Note: The lower fax resolution becomes the default setting for all faxes you send or receive. 7 Resend the fax. Memory Full Try Setting to Scan After Dial. 1 From the desktop, double-click the Imaging Studio icon. 2 Click Fax. 3 Click Manage fax history or All-In-One fax settings. 4 Click the Dialing and Sending tab. 5 From the "When to scan document" area, select After Dial. 6 Click OK. 7 Resend the fax. No images have been selected. You have not selected any of the options on step 1 of the photo proof sheet you printed and scanned. 1 Make sure you completely fill in your selected circle or circles. 2 Press to continue. Troubleshooting 119
-
 1
1 -
2
-
3
-
4
-
5
-
6
-
7
-
8
-
9
-
10
-
11
-
12
-
13
-
14
-
15
-
16
-
17
-
18
-
19
-
20
-
21
-
22
-
23
-
24
-
25
-
26
-
27
-
28
-
29
-
30
-
31
-
32
-
33
-
34
-
35
-
36
-
37
-
38
-
39
-
40
-
41
-
42
-
43
-
44
-
45
-
46
-
47
-
48
-
49
-
50
-
51
-
52
-
53
-
54
-
55
-
56
-
57
-
58
-
59
-
60
-
61
-
62
-
63
-
64
-
65
-
66
-
67
-
68
-
69
-
70
-
71
-
72
-
73
-
74
-
75
-
76
-
77
-
78
-
79
-
80
-
81
-
82
-
83
-
84
-
85
-
86
-
87
-
88
-
89
-
90
-
91
-
92
-
93
-
94
-
95
-
96
-
97
-
98
-
99
-
100
-
101
-
102
-
103
-
104
-
105
-
106
-
107
-
108
-
109
-
110
-
111
-
112
-
113
-
 114
114 -
 115
115 -
 116
116 -
 117
117 -
 118
118 -
 119
119 -
 120
120 -
 121
121 -
 122
122 -
 123
123 -
 124
124 -
125
-
126
-
127
-
128
-
129
-
130
-
131
-
132
-
133
-
134
-
135
-
136
-
137
 |
 |