Samsung SCH R500 User Manual (ENGLISH) - Page 108
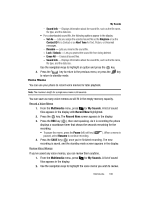
My Sounds, Rename, Unlock, Erase All, Sound Info, Set As, Ringtone, Contact ID, Alert Tone
 |
View all Samsung SCH R500 manuals
Add to My Manuals
Save this manual to your list of manuals |
Page 108 highlights
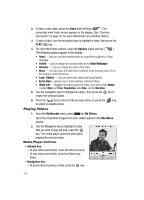
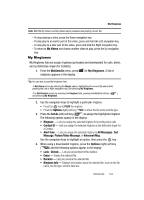
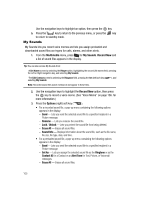
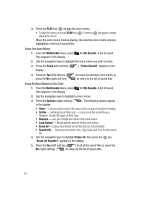
Use the navigation keys to highlight an option, then press the key. 5. Press the CLR key to return to the previous menu, or press the key to return to standby mode. My Sounds My Sounds lets you record voice memos and lets you assign preloaded and downloaded sound files as ringers for calls, alarms, and other alerts. 1. From the Multimedia menu, press pqrs for My Sounds. Record New and a list of sound files appears in the display. Tip: You can also access My Sounds from: -A Set Alarm screen by selecting the Ringer option, highlighting the second (file name) field, pressing the Left or Right navigation key, and selecting My Sounds. -The Edit Contact screen by selecting the Ringtone field, pressing the Set (left) soft key ( selecting My Sounds. ), and Note: Recorded sound files (voice memos) do not appear in these lists. 2. Use the navigation keys to highlight the Record New option, then press the key to record a voice memo. (See "Voice Memo" on page 106. for more information.) 3. Press the Options (right) soft key ( ). • For a recorded sound file, a pop-up menu containing the following options appears in the display: - Send - Lets you send the selected sound file to a specified recipient in a Picture message. - Rename - Lets you rename the sound file. - Lock / Unlock - Lets you protect the sound file from being deleted. - Erase All - Erases all sound files. - Sound Info - Displays information about the sound file, such as the file name, file size, file type, date, and time. • For a preloaded sound file, a pop-up menu containing the following options appears in the display: - Send - Lets you send the selected sound file to a specified recipient in a Picture message. - Set As - Lets you assign the selected sound file as the Ringtone or as the Contact ID for a Contact or an Alert Tone for Text, Picture, or Voicemail messages. - Erase All - Erases all sound files. 105
-
 1
1 -
2
-
3
-
4
-
5
-
6
-
7
-
8
-
9
-
10
-
11
-
12
-
13
-
14
-
15
-
16
-
17
-
18
-
19
-
20
-
21
-
22
-
23
-
24
-
25
-
26
-
27
-
28
-
29
-
30
-
31
-
32
-
33
-
34
-
35
-
36
-
37
-
38
-
39
-
40
-
41
-
42
-
43
-
44
-
45
-
46
-
47
-
48
-
49
-
50
-
51
-
52
-
53
-
54
-
55
-
56
-
57
-
58
-
59
-
60
-
61
-
62
-
63
-
64
-
65
-
66
-
67
-
68
-
69
-
70
-
71
-
72
-
73
-
74
-
75
-
76
-
77
-
78
-
79
-
80
-
81
-
82
-
83
-
84
-
85
-
86
-
87
-
88
-
89
-
90
-
91
-
92
-
93
-
94
-
95
-
96
-
97
-
98
-
99
-
100
-
101
-
102
-
 103
103 -
 104
104 -
 105
105 -
 106
106 -
 107
107 -
 108
108 -
 109
109 -
 110
110 -
 111
111 -
 112
112 -
 113
113 -
114
-
115
-
116
-
117
-
118
-
119
-
120
-
121
-
122
-
123
-
124
-
125
-
126
-
127
-
128
-
129
-
130
-
131
-
132
-
133
-
134
-
135
-
136
-
137
-
138
-
139
-
140
-
141
-
142
-
143
-
144
-
145
-
146
-
147
-
148
-
149
-
150
-
151
-
152
-
153
-
154
-
155
-
156
-
157
-
158
-
159
-
160
-
161
-
162
-
163
-
164
-
165
-
166
-
167
-
168
-
169
-
170
-
171
-
172
-
173
-
174
-
175
-
176
-
177
-
178
-
179
-
180
 |
 |