Samsung SCH R500 User Manual (ENGLISH) - Page 85
Saving Pictures and Videos, Camera Options, White Balance
 |
View all Samsung SCH R500 manuals
Add to My Manuals
Save this manual to your list of manuals |
Page 85 highlights
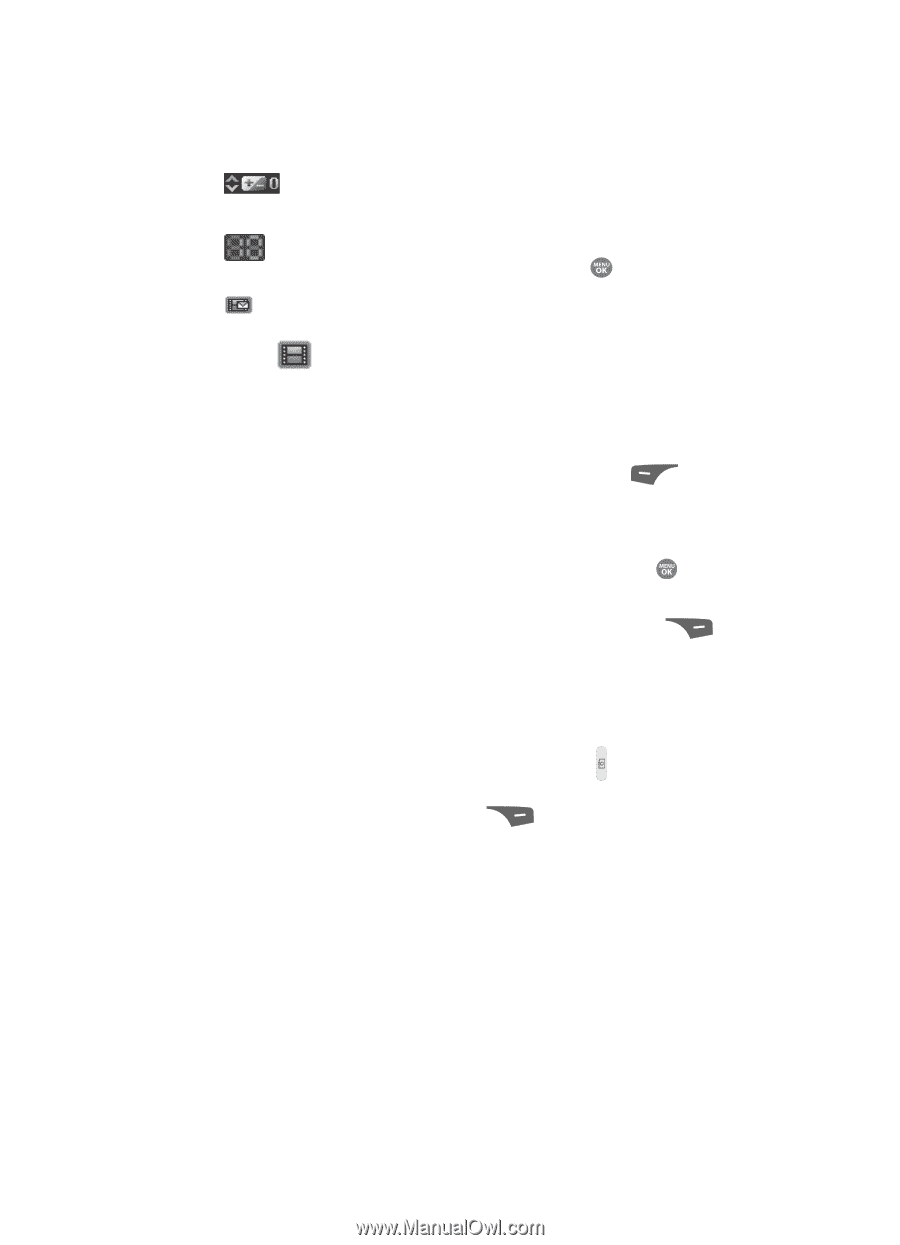
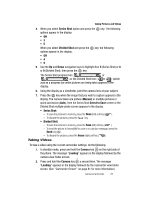
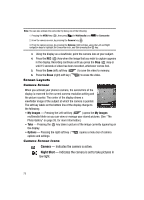
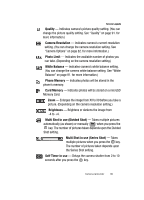
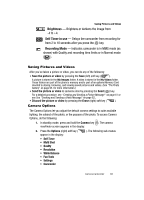
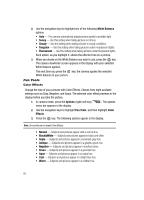
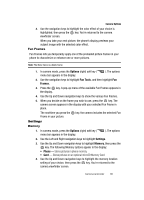
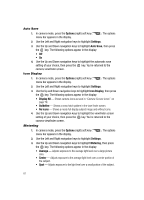
Saving Pictures and Videos Brightness - Brightens or darkens the image from -4 to +4. Self Timer in use - Delays the camcorder from recording for from 2 to 10 seconds after you press the key. Recording Mode - Indicates camcorder is in MMS mode (as shown) with Quality and recording time limits or in Normal mode ( ). Saving Pictures and Videos After you've taken a picture or video, you can do any of the following: • Save the picture or video by pressing the Save (left) soft key ( ). A picture is stored in the My Images folder. A video is stored in the My Videos folder. These folders are part of the phone's memory and/or part of an optional Memory Card devoted to storing, browsing, and viewing saved pictures and videos. (See "The Photo Gallery" on page 95. for more information.) • Send the picture or video to someone else by pressing the Send ( ) key. For a detailed procedure, see "Creating and Sending a Picture Message" on page 61 or see See "Creating and Sending a Video Message" on page 62.. • Discard the picture or video by pressing the Erase (right) soft key ( ). Camera Options The Camera Options let you adjust the default camera settings to suite available lighting, the subject of the photo, or the purpose of the photo. To access Camera Options, do the following: 1. In standby mode, press and hold the Camera key ( ). The camera viewfinder screen appears in the display. 2. Press the Options (right) soft key ( appear in the display: • Self Timer • Multi Shot • Quality • Resolution • White Balance • Fun Tools • Settings • Camcorder ). The following sub-menus Camera-Camcorder 82
-
 1
1 -
2
-
3
-
4
-
5
-
6
-
7
-
8
-
9
-
10
-
11
-
12
-
13
-
14
-
15
-
16
-
17
-
18
-
19
-
20
-
21
-
22
-
23
-
24
-
25
-
26
-
27
-
28
-
29
-
30
-
31
-
32
-
33
-
34
-
35
-
36
-
37
-
38
-
39
-
40
-
41
-
42
-
43
-
44
-
45
-
46
-
47
-
48
-
49
-
50
-
51
-
52
-
53
-
54
-
55
-
56
-
57
-
58
-
59
-
60
-
61
-
62
-
63
-
64
-
65
-
66
-
67
-
68
-
69
-
70
-
71
-
72
-
73
-
74
-
75
-
76
-
77
-
78
-
79
-
 80
80 -
 81
81 -
 82
82 -
 83
83 -
 84
84 -
 85
85 -
 86
86 -
 87
87 -
 88
88 -
 89
89 -
 90
90 -
91
-
92
-
93
-
94
-
95
-
96
-
97
-
98
-
99
-
100
-
101
-
102
-
103
-
104
-
105
-
106
-
107
-
108
-
109
-
110
-
111
-
112
-
113
-
114
-
115
-
116
-
117
-
118
-
119
-
120
-
121
-
122
-
123
-
124
-
125
-
126
-
127
-
128
-
129
-
130
-
131
-
132
-
133
-
134
-
135
-
136
-
137
-
138
-
139
-
140
-
141
-
142
-
143
-
144
-
145
-
146
-
147
-
148
-
149
-
150
-
151
-
152
-
153
-
154
-
155
-
156
-
157
-
158
-
159
-
160
-
161
-
162
-
163
-
164
-
165
-
166
-
167
-
168
-
169
-
170
-
171
-
172
-
173
-
174
-
175
-
176
-
177
-
178
-
179
-
180
 |
 |