Uniden BCD325P2 Owners Manual - Page 57
Set Lockout
 |
View all Uniden BCD325P2 manuals
Add to My Manuals
Save this manual to your list of manuals |
Page 57 highlights
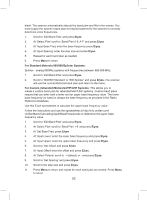
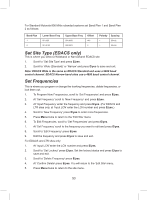
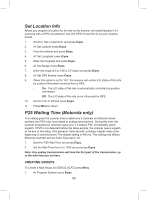
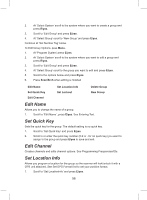
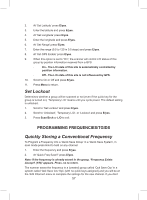
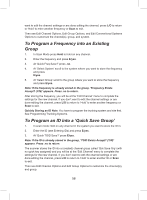
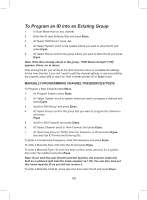
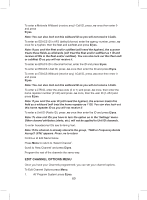
2. At 'Set Latitude' press E/yes. 3. Enter the latitude and press E/yes. 4. At 'Set Longitude' press E/yes. 5. Enter the longitude and press E/yes. 6. At 'Set Range' press E/yes. 7. Enter the range (0.5 to 125 in 0.5 steps) and press E/yes. 8. At 'Set GPS Enable' press E/yes. 9. When this option is set to "On", the scanner will control L/O status of this group by position information received from a GPS. -- On - The L/O state of this site is automatically controlled by position information. -- Off - The L/O state of this site is not influenced by GPS. 10. Scroll to On or Off and press E/yes. 11. Press Menu to return. Set Lockout Determines whether a group will be scanned or not (even if the quick key for the group is turned on). 'Temporary L/O' means until you cycle power. The default setting is unlocked. 1. Scroll to 'Set Lockout' and press E/yes. 2. Scroll to 'Unlocked', 'Temporary L/O', or 'Lockout' and press E/yes. 3. Press Scan/Srch or L/O to exit. PROGRAMMING FREQUENCIES/TGIDS Quickly Storing a Conventional Frequency To Program a Frequency into a 'Quick Save Group' in a 'Quick Save System', in scan mode press Hold to hold on any channel. 1. Enter the frequency and press E/yes. 2. At 'Quick Freq Save?' press E/yes. Note: If the frequency is already stored in the group, 'Frequency Exists Accept? (Y/N)' appears. Press .no to return. The scanner saves the frequency in a (created) group called 'Qck Save Grp' in a system called 'Qck Save Cnv Sys' (with no quick keys assigned) and you will be at the 'Edit Channel' menu to complete the settings for the new channel. If you don't 57
-
 1
1 -
2
-
3
-
4
-
5
-
6
-
7
-
8
-
9
-
10
-
11
-
12
-
13
-
14
-
15
-
16
-
17
-
18
-
19
-
20
-
21
-
22
-
23
-
24
-
25
-
26
-
27
-
28
-
29
-
30
-
31
-
32
-
33
-
34
-
35
-
36
-
37
-
38
-
39
-
40
-
41
-
42
-
43
-
44
-
45
-
46
-
47
-
48
-
49
-
50
-
51
-
 52
52 -
 53
53 -
 54
54 -
 55
55 -
 56
56 -
 57
57 -
 58
58 -
 59
59 -
 60
60 -
 61
61 -
 62
62 -
63
-
64
-
65
-
66
-
67
-
68
-
69
-
70
-
71
-
72
-
73
-
74
-
75
-
76
-
77
-
78
-
79
-
80
-
81
-
82
-
83
-
84
-
85
-
86
-
87
-
88
-
89
-
90
-
91
-
92
-
93
-
94
-
95
-
96
-
97
-
98
-
99
-
100
-
101
-
102
-
103
-
104
-
105
-
106
-
107
-
108
-
109
-
110
-
111
-
112
-
113
-
114
-
115
-
116
-
117
-
118
-
119
-
120
-
121
-
122
-
123
-
124
-
125
-
126
-
127
-
128
-
129
-
130
-
131
-
132
 |
 |
