Kyocera TASKalfa 3051ci Printing System (11),(12),(13),(14) Printing Guide (Fi - Page 14
Choose E100 from the Printer List., Printer Name list.
 |
View all Kyocera TASKalfa 3051ci manuals
Add to My Manuals
Save this manual to your list of manuals |
Page 14 highlights
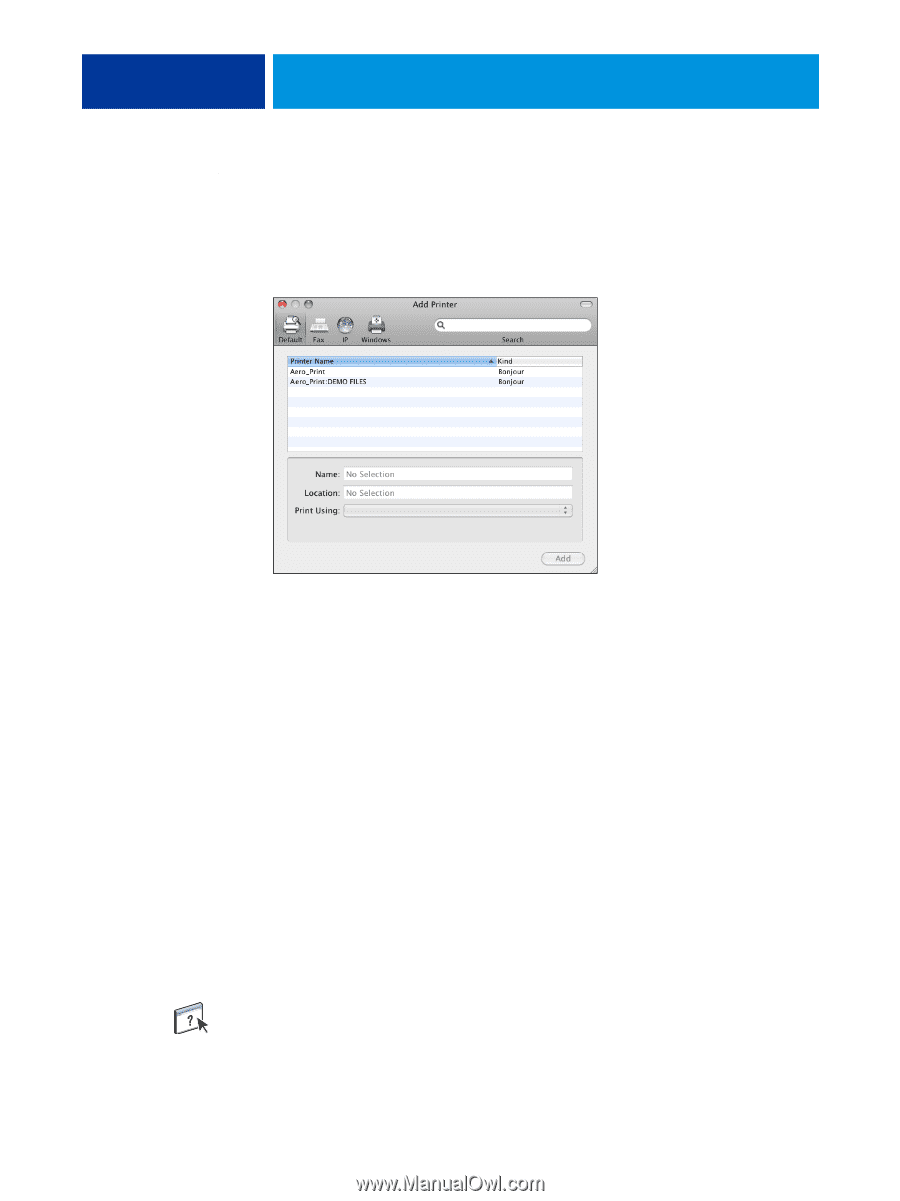
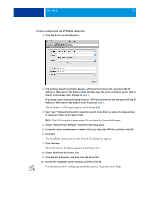
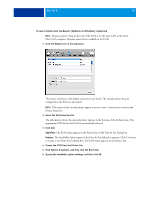
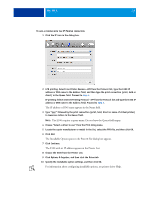
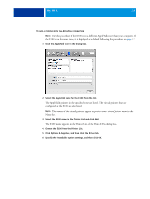
MAC OS X 14 TO ADD A PRINTER WITH THE DEFAULT (BONJOUR) CONNECTION NOTE: Bonjour printer setup works only if the E100 is on the same LAN as the client Mac OS X computer. Bonjour must also be enabled on the E100. 1 Click the Default icon in the dialog box. The names of printers with default connections are listed. The virtual printers that are configured at the E100 are also listed. NOTE: The names of the virtual printers appear as printer name:virtual printer name in the Printer Name list. 2 Select the E100 from the list. The information about the selected printer appears at the bottom of the Default pane. The appropriate PPD file for the E100 is automatically selected. If your administrator has configured the Secure Access printing at the E100, the PPD file for Secure Access printing is selected. 3 Click Add. The Installable Options pane in the Print & Fax dialog box appears. 4 Click Continue. The E100 name appears in the Printer List. 5 Choose E100 from the Printer List. 6 Click Options & Supplies, and then click the Driver tab. 7 Specify the installable option settings, and then click OK. For information about configuring installable options, see printer driver Help.
-
 1
1 -
2
-
3
-
4
-
5
-
6
-
7
-
8
-
 9
9 -
 10
10 -
 11
11 -
 12
12 -
 13
13 -
 14
14 -
 15
15 -
 16
16 -
 17
17 -
 18
18 -
 19
19 -
20
-
21
-
22
-
23
-
24
-
25
-
26
-
27
-
28
-
29
-
30
-
31
-
32
-
33
-
34
-
35
-
36
-
37
-
38
-
39
-
40
-
41
-
42
-
43
-
44
-
45
-
46
-
47
-
48
-
49
-
50
-
51
-
52
-
53
-
54
-
55
-
56
-
57
-
58
-
59
-
60
-
61
-
62
-
63
-
64
-
65
-
66
-
67
-
68
-
69
-
70
-
71
-
72
-
73
-
74
-
75
-
76
-
77
-
78
-
79
-
80
-
81
-
82
-
83
-
84
-
85
-
86
-
87
-
88
-
89
-
90
-
91
-
92
-
93
-
94
-
95
-
96
-
97
-
98
-
99
-
100
-
101
-
102
-
103
-
104
-
105
-
106
-
107
-
108
-
109
-
110
 |
 |