Kyocera TASKalfa 3051ci Printing System (11),(12),(13),(14) Printing Guide (Fi - Page 35
Windows Server 2003: Click Start, choose Control Panel, and then choose Printers and Faxes.
 |
View all Kyocera TASKalfa 3051ci manuals
Add to My Manuals
Save this manual to your list of manuals |
Page 35 highlights
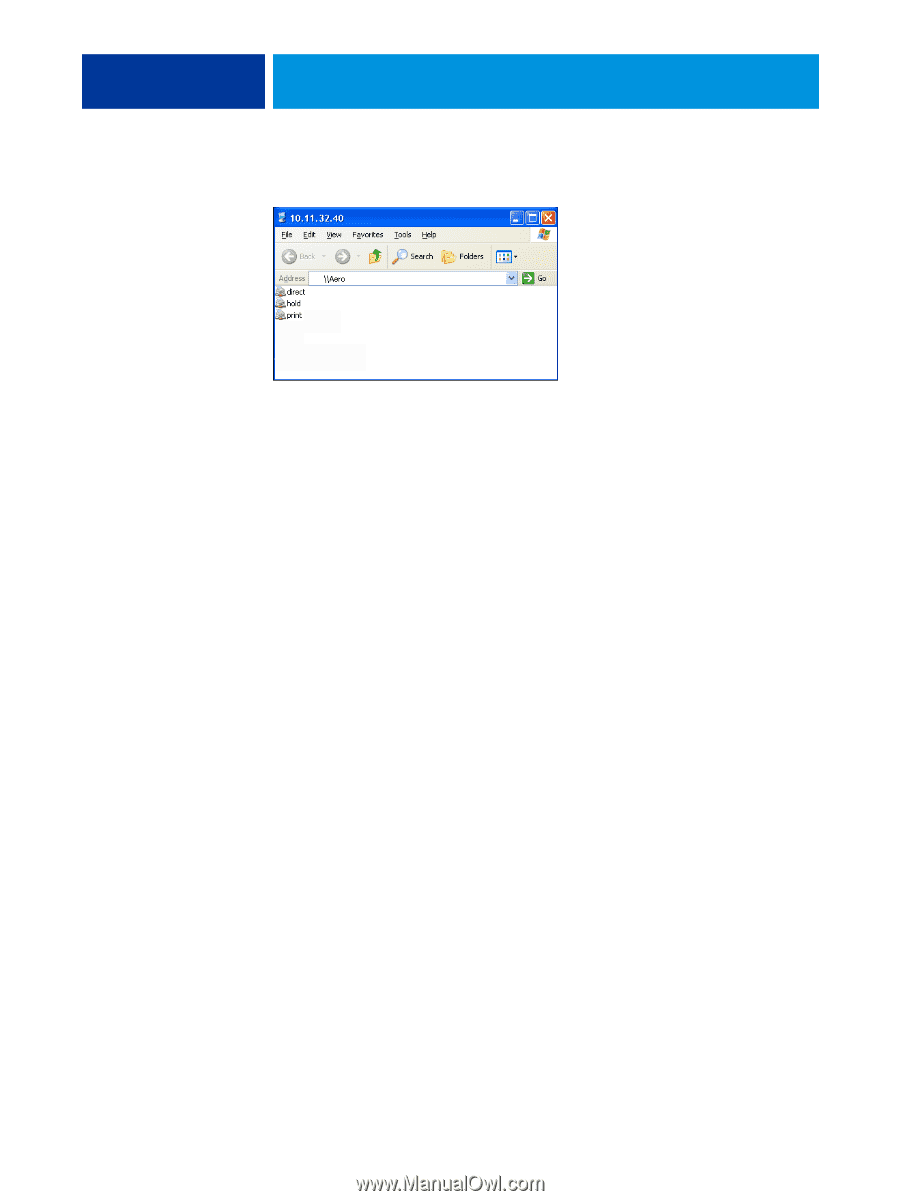
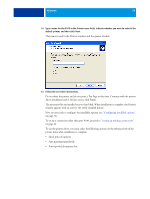
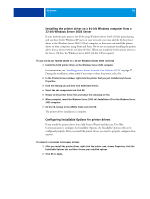
WINDOWS 35 NOTE: For a description of each print connection, see Configuration and Setup. You must now create a printer port and install the printer driver from the User Software DVD. NOTE: You cannot use Point and Print to install the driver and configure the printing connection to the E100 in a single procedure. 4 Windows 2000: Click Start, choose Settings, and then choose Printers. Windows XP: Click Start and choose Printers and Faxes. Windows Server 2003: Click Start, choose Control Panel, and then choose Printers and Faxes. Windows Vista: Click Start, choose Control Panel, and then double-click Printers. Windows Server 2008: Click Start, choose Control Panel, and under Classic View, double-click Printers. Windows 7/Server 2008 R2: Click Start and choose Devices and Printers. 5 On Windows XP: Double-click the Add Printer icon and click Next. On Windows Server 2003: Double-click the Add a printer icon and click Next. Windows Vista/Server 2008/Server2008 R2/Windows 7: Click Add a printer. 6 Click Local Printer, and then click Next. 7 Click Create a New Port, choose Local Port from the menu, and then click Next. 8 In the Port Name dialog box, type the name of the E100, followed by the printing connection, and then click OK. Enter the port name as follows: \\Aero\print where Aero is the name of the E100 and print is the printing connection. 9 In the dialog box displaying lists of manufacturers and printers, click Have Disk. You will now install the printer driver from the User Software DVD. 10 Type the name of the DVD drive and browse to the Prntdrvr\Ps_drvr\Win_2K_XP_VISTA folder. 11 Make sure "oemsetup.inf" or "oemsetup" is selected and click Open. 12 Verify the path is correct in the Install From Disk dialog box and click OK. 13 Follow the on-screen instructions.
-
 1
1 -
2
-
3
-
4
-
5
-
6
-
7
-
8
-
9
-
10
-
11
-
12
-
13
-
14
-
15
-
16
-
17
-
18
-
19
-
20
-
21
-
22
-
23
-
24
-
25
-
26
-
27
-
28
-
29
-
 30
30 -
 31
31 -
 32
32 -
 33
33 -
 34
34 -
 35
35 -
 36
36 -
 37
37 -
 38
38 -
 39
39 -
 40
40 -
41
-
42
-
43
-
44
-
45
-
46
-
47
-
48
-
49
-
50
-
51
-
52
-
53
-
54
-
55
-
56
-
57
-
58
-
59
-
60
-
61
-
62
-
63
-
64
-
65
-
66
-
67
-
68
-
69
-
70
-
71
-
72
-
73
-
74
-
75
-
76
-
77
-
78
-
79
-
80
-
81
-
82
-
83
-
84
-
85
-
86
-
87
-
88
-
89
-
90
-
91
-
92
-
93
-
94
-
95
-
96
-
97
-
98
-
99
-
100
-
101
-
102
-
103
-
104
-
105
-
106
-
107
-
108
-
109
-
110
 |
 |