Pioneer VSX-49TX Owner's Manual - Page 50
Press the LISTENING CH SEL. button
 |
View all Pioneer VSX-49TX manuals
Add to My Manuals
Save this manual to your list of manuals |
Page 50 highlights
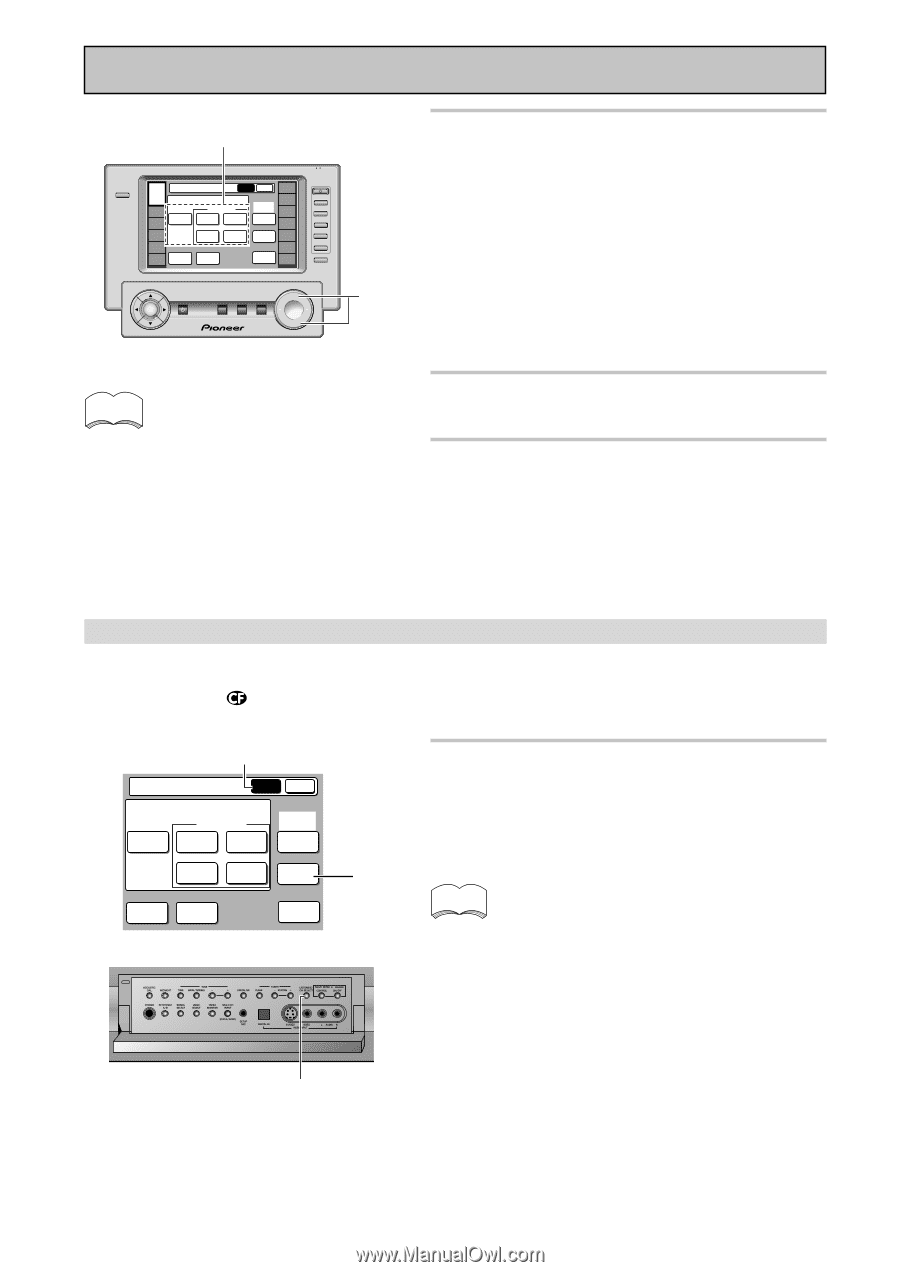
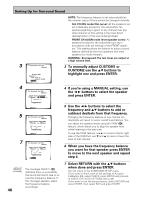
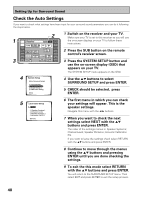
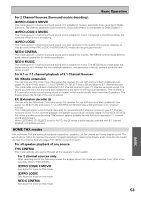
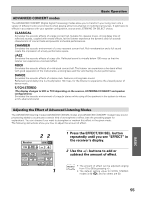
Basic Operation 6 LIGHT RECEIVER DVD/LD VCR1 /DVR VCR2 Receiver MAIN SUB REMOTE SETUP LISTENING MODE SURROUND STEREO /DIRECT THX STANDARD (DVD-A /SACD) MULTI CH IN CD CD-R/ TAPE1 TUNER ADVANCED ADVANCED CINEMA CONCERT LISTENING CH SEL. VIDEO VCR3 TV MIDNIGHT DIGITAL NR SAT ACOUSTIC CAL. TV CONTROL use lock TV CONTROL FUNCTION CH + CH - VOL + VOL - FUNCTION ENTER STANDBY/ON MULTI SYSTEM OPERATION OFF MUTING MASTER VOLUME + - 8 6 Choose a listening mode by pressing STEREO/DIRECT, THX, ADVANCED CINEMA, ADVANCED CONCERT, or STANDARD button. On the front panel, use the LISTENING MODE SELECTOR dial. Depending on whether your source is 2 channel, 5.1 channel or 7.1 channel and your speaker configuration you will get different options for each of these modes. Press the button (or dial) repeatedly to cycle through these options. See "Listening Modes," on p.52-55 for details on which modes are available and in which situations they are designed to be used. memo If the TAPE 2 indicator is visible in the display, it means the TAPE 2 MONITOR is on. Press TAPE 2 MONITOR on the RECEIVER sub screen or the front panel to turn it off unless you want to listen to the component hooked up to TAPE 2. 7 Start playback of the component you selected in step 3. 8 Adjust the volume by using the MASTER VOLUME buttons on the remote control. On the front panel use the MASTER VOLUME dial. Switching the channels used for playback (LISTENING CH SELECT) This button selects the number of channels used for playback, either 5.1 or 7.1 (includes 6.1). AUTO will choose the appropriate playback channels for the source, speaker configuration and listening mode you are using. The default setting is 7.1 ( ). MAIN Receiver MAIN SUB LISTENING MODE SURROUND STEREO /DIRECT THX STANDARD (DVD-A /SACD) MULTI CH IN ADVANCED ADVANCED LISTENING CINEMA CONCERT CH SEL. 1 MIDNIGHT DIGITAL NR ACOUSTIC CAL. 1 Press the LISTENING CH SEL. button on the remote control's RECEIVER MAIN screen. Each press switches LISTENING CH SELECT between 5.1, 7.1 and AUTO. memo • If you haven't set your system up with surround back speakers LISTENING CH SEL. is fixed on 5.1 and you won't be able to use this feature. • LISTENING CH SELECT options may change automatically if the SPEAKER SYSTEM settings are changed. (p.41). • LISTENING CH SELECT affects which listening modes will be available. • You can't select LISTENING CH SELECT in stereo mode. 1 50
-
 1
1 -
2
-
3
-
4
-
5
-
6
-
7
-
8
-
9
-
10
-
11
-
12
-
13
-
14
-
15
-
16
-
17
-
18
-
19
-
20
-
21
-
22
-
23
-
24
-
25
-
26
-
27
-
28
-
29
-
30
-
31
-
32
-
33
-
34
-
35
-
36
-
37
-
38
-
39
-
40
-
41
-
42
-
43
-
44
-
 45
45 -
 46
46 -
 47
47 -
 48
48 -
 49
49 -
 50
50 -
 51
51 -
 52
52 -
 53
53 -
 54
54 -
 55
55 -
56
-
57
-
58
-
59
-
60
-
61
-
62
-
63
-
64
-
65
-
66
-
67
-
68
-
69
-
70
-
71
-
72
-
73
-
74
-
75
-
76
-
77
-
78
-
79
-
80
-
81
-
82
-
83
-
84
-
85
-
86
-
87
-
88
-
89
-
90
-
91
-
92
-
93
-
94
-
95
-
96
-
97
-
98
-
99
-
100
-
101
-
102
-
103
-
104
-
105
-
106
-
107
-
108
-
109
-
110
-
111
-
112
-
113
-
114
-
115
-
116
-
117
-
118
-
119
-
120
 |
 |