Samsung SCH-I930 User Manual Ver.ll2_f2 (English) - Page 72
Shooting Videos, Camera and Camcorder Settings
 |
View all Samsung SCH-I930 manuals
Add to My Manuals
Save this manual to your list of manuals |
Page 72 highlights
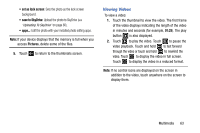
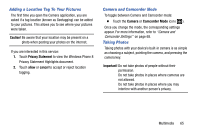
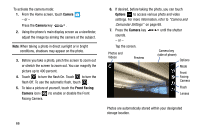
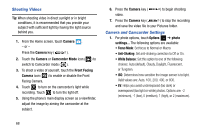
Shooting Videos Tip: When shooting video in direct sunlight or in bright conditions, it is recommended that you provide your subject with sufficient light by having the light source behind you. 1. From the Home screen, touch Camera . - or - Press the Camera key ( ). 2. Touch the Camera or Camcorder Mode icon ( ) to switch to Camcorder mode ( ). 3. To shoot a video of yourself, touch the Front Facing Camera icon ( ) to enable or disable the Front Facing Camera. 4. Touch to turn on the camcorder's light while recording. Touch to turn the light off. 5. Using the phone's main display screen as a viewfinder, adjust the image by aiming the camcorder at the subject. 6. Press the Camera key ( ) to begin shooting video. 7. Press the Camera key ( ) to stop the recording and save the video file to your Pictures folder. Camera and Camcorder Settings 1. For photo options, touch Options ➔ photo settings... The following options are available: • Focus Mode: Set focus to Normal or Macro. • Anti-Shaking: Set anti-shaking correction to Off or On. • White Balance: Set this option to one of the following choices: Auto (default), Cloudy, Daylight, Fluorescent, or Tungsten. • ISO: Determines how sensitive the image sensor is to light. Valid values are: Auto, 100, 200, 400, or 800. • EV: Helps you avoid underexposed (too dark) or overexposed (too light or white) photos. Options are: -2 (minimum), -1 (low), 0 (medium), 1 (high), or 2 (maximum). 68
-
 1
1 -
2
-
3
-
4
-
5
-
6
-
7
-
8
-
9
-
10
-
11
-
12
-
13
-
14
-
15
-
16
-
17
-
18
-
19
-
20
-
21
-
22
-
23
-
24
-
25
-
26
-
27
-
28
-
29
-
30
-
31
-
32
-
33
-
34
-
35
-
36
-
37
-
38
-
39
-
40
-
41
-
42
-
43
-
44
-
45
-
46
-
47
-
48
-
49
-
50
-
51
-
52
-
53
-
54
-
55
-
56
-
57
-
58
-
59
-
60
-
61
-
62
-
63
-
64
-
65
-
66
-
 67
67 -
 68
68 -
 69
69 -
 70
70 -
 71
71 -
 72
72 -
 73
73 -
 74
74 -
 75
75 -
 76
76 -
 77
77 -
78
-
79
-
80
-
81
-
82
-
83
-
84
-
85
-
86
-
87
-
88
-
89
-
90
-
91
-
92
-
93
-
94
-
95
-
96
-
97
-
98
-
99
-
100
-
101
-
102
-
103
-
104
-
105
-
106
-
107
-
108
-
109
-
110
-
111
-
112
-
113
-
114
-
115
-
116
-
117
-
118
-
119
-
120
-
121
-
122
-
123
-
124
-
125
-
126
-
127
-
128
-
129
-
130
-
131
-
132
-
133
-
134
-
135
-
136
-
137
-
138
-
139
-
140
-
141
-
142
-
143
-
144
-
145
-
146
-
147
-
148
-
149
-
150
-
151
-
152
-
153
-
154
-
155
-
156
-
157
-
158
-
159
-
160
-
161
-
162
-
163
-
164
-
165
-
166
-
167
-
168
-
169
-
170
-
171
-
172
-
173
-
174
-
175
-
176
-
177
-
178
-
179
-
180
-
181
-
182
-
183
-
184
-
185
-
186
-
187
-
188
-
189
-
190
-
191
-
192
-
193
-
194
 |
 |
