Dell OptiPlex Gs Reference and Installation Guide (.pdf) - Page 80
System Battery and Battery, Socket, See Using the System Setup Program
 |
View all Dell OptiPlex Gs manuals
Add to My Manuals
Save this manual to your list of manuals |
Page 80 highlights
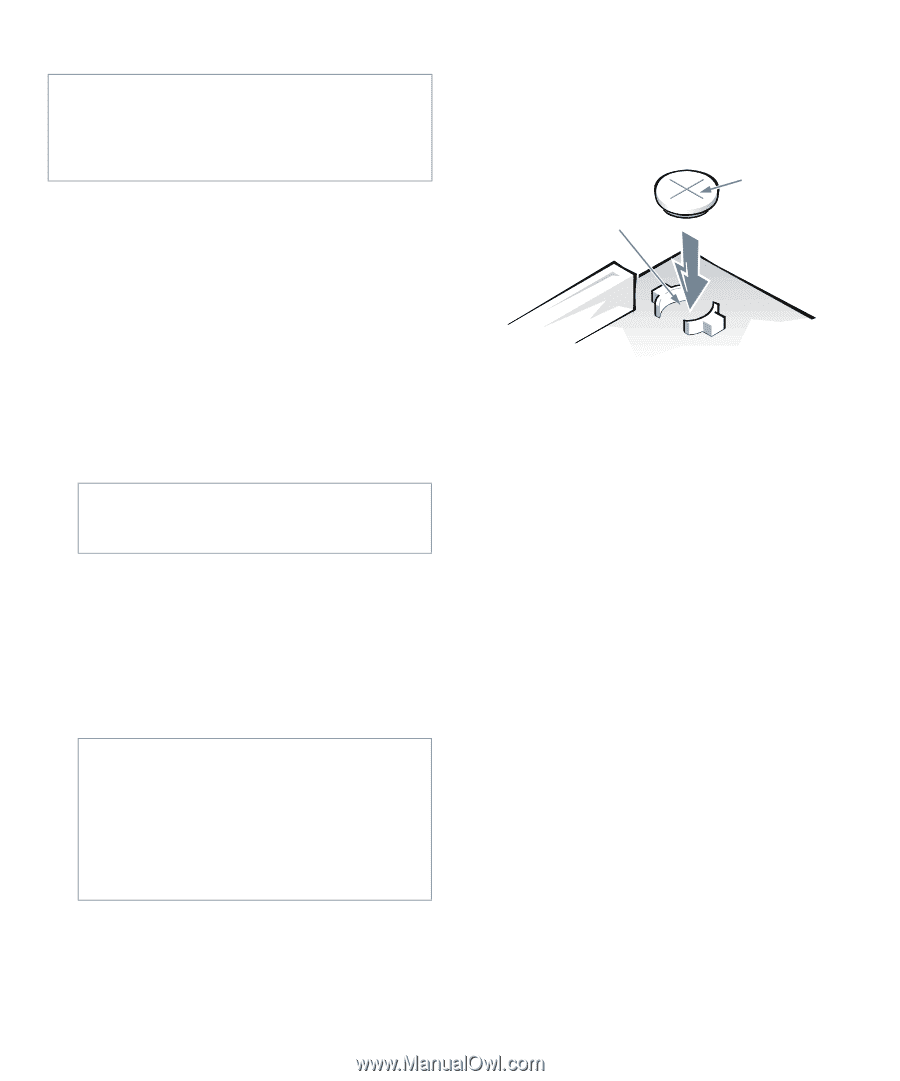
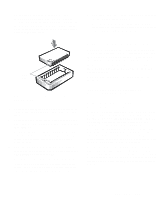
WARNING: There is a danger of the new battery exploding if it is incorrectly installed. Replace the battery only with the same or equivalent type recommended by the manufacturer. Discard used batteries according to the manufacturer's instructions. Use the following procedure to replace the system battery with another CR2032 coin-cell battery: 1. If you have not already done so, make a copy of your system configuration information in the System Setup program. If the settings are lost while you are replacing the battery, refer to your written or printed copy of the system configuration information to restore the correct settings. See Chapter 2, "Using the System Setup Program," for instructions. 2. Remove the computer cover according to the instructions in "Removing the Computer Cover" in Chapter 5. CAUTION: See "Protecting Against Electrostatic Discharge" in the safety instructions at the front of this guide. 3. To access the battery on the system board, remove the expansion-card cage as described in "Removing the Expansion-Card Cage" in Chapter 5. 4. Locate the battery and remove it. The battery (see Figure 6-1) is mounted in a socket labeled "BATTERY" on the back left corner of the system board. CAUTION: If you pry the battery out of its socket with a blunt object, be careful not to touch the system board with the object. Make certain that the object is inserted between the battery and the socket before attempting to pry out the battery. Otherwise, you may damage the system board by prying off the socket or by breaking circuit traces on the system board. Pry the battery out of its socket with your fingers or with a blunt, nonconductive object, such as a plastic screwdriver. 5. Install the new battery. Orient the battery with the side labeled "+" facing up (see Figure 6-15). Then insert the battery into the socket, and snap it into place. battery BATTERY socket Figure 6-15. System Battery and Battery Socket 6. Replace the expansion-card cage as described in "Replacing the Expansion-Card Cage" in Chapter 5. 7. Replace the computer cover, reconnect your computer and peripherals to their power sources, and turn them on. 8. Enter the System Setup program, and confirm that the battery is operating properly. See Chapter 2, "Using the System Setup Program," for information on running the System Setup program. Enter the correct time and date through the System Setup program's TIME and DATE categories. Also, use the copy you made in step 1 to restore the correct settings for the other system configuration information. Then exit the System Setup program. 9. Turn off your computer, and unplug it for at least ten minutes. 10. After ten minutes, plug in the computer, turn it on, and enter the System Setup program. If the time and date are still incorrect, see the chapter titled "Getting Help" in your Diagnostics and Troubleshooting Guide for instructions on obtaining technical assistance. 6-12 Dell OptiPlex Gs and Gs+ Low-Profile Systems Reference and Installation Guide
-
 1
1 -
2
-
3
-
4
-
5
-
6
-
7
-
8
-
9
-
10
-
11
-
12
-
13
-
14
-
15
-
16
-
17
-
18
-
19
-
20
-
21
-
22
-
23
-
24
-
25
-
26
-
27
-
28
-
29
-
30
-
31
-
32
-
33
-
34
-
35
-
36
-
37
-
38
-
39
-
40
-
41
-
42
-
43
-
44
-
45
-
46
-
47
-
48
-
49
-
50
-
51
-
52
-
53
-
54
-
55
-
56
-
57
-
58
-
59
-
60
-
61
-
62
-
63
-
64
-
65
-
66
-
67
-
68
-
69
-
70
-
71
-
72
-
73
-
74
-
 75
75 -
 76
76 -
 77
77 -
 78
78 -
 79
79 -
 80
80 -
 81
81 -
 82
82 -
 83
83 -
 84
84 -
 85
85 -
86
-
87
-
88
-
89
-
90
-
91
-
92
-
93
-
94
-
95
-
96
-
97
-
98
-
99
-
100
-
101
-
102
-
103
-
104
-
105
-
106
-
107
-
108
-
109
-
110
-
111
-
112
-
113
-
114
-
115
-
116
-
117
-
118
-
119
-
120
-
121
 |
 |