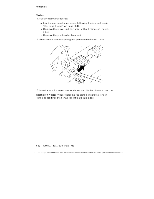
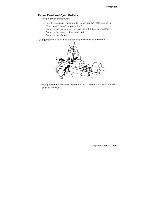
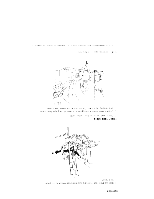
Lexmark 4079 colorjet printer plus Service Manual - Page 155
Paper, Pinch, Roller, instructions
 |
View all Lexmark 4079 colorjet printer plus manuals
Add to My Manuals
Save this manual to your list of manuals |
Page 155 highlights
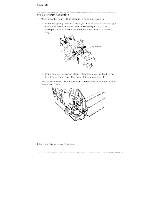
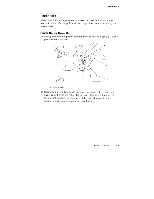
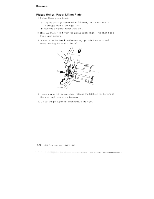
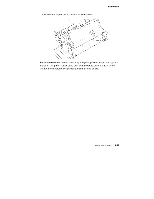
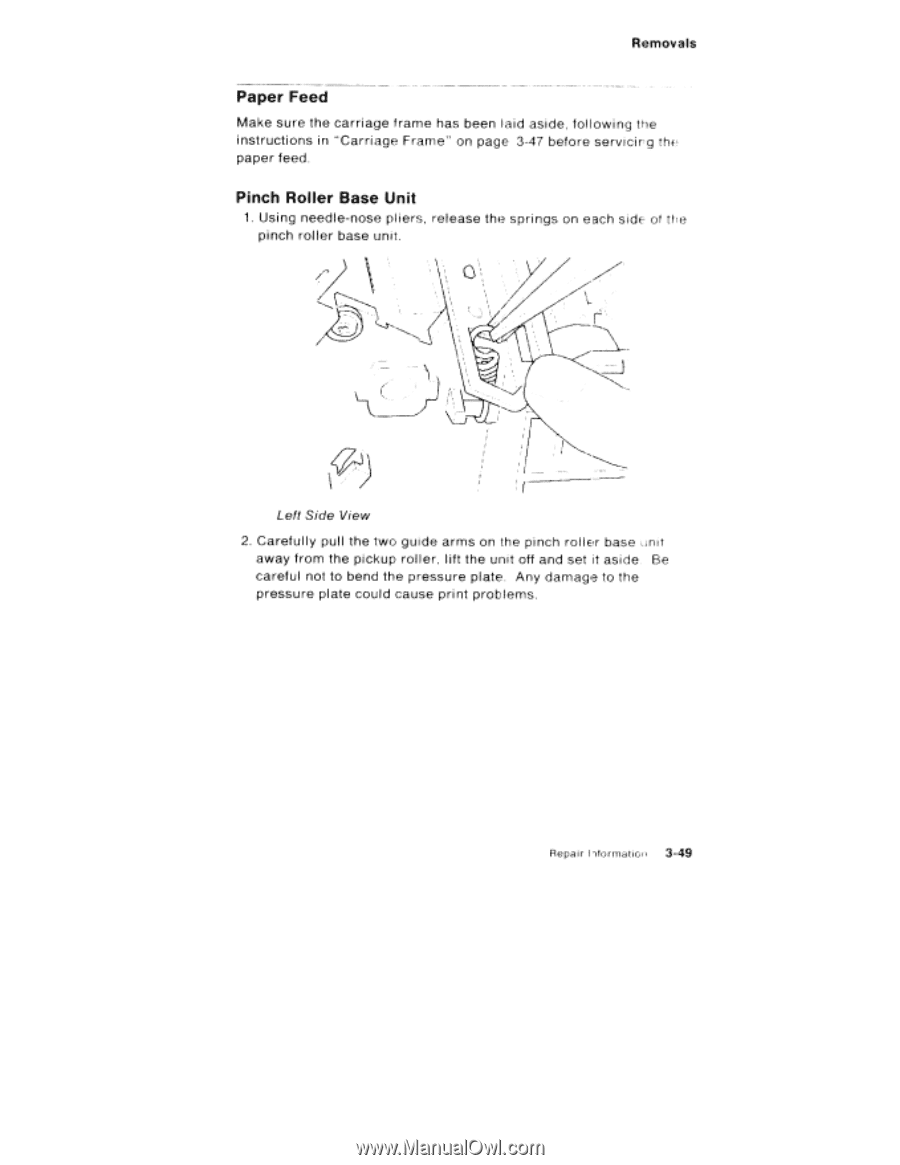
Removals Paper Feed Make sure the carriage frame has been laid aside, following the instructions in "Carriage Frame" on page 3-47 before servicirg the paper feed. Pinch Roller Base Unit 1. Using needle-nose pliers, release the springs on each side of the pinch roller base unit. Left Side View 2. Carefully pull the two guide arms on the pinch roller base .snit away from the pickup roller, lift the unit off and set it aside. Be careful not to bend the pressure plate. Any damage to the pressure plate could cause print problems. Repair liformatioa 3-49
-
 1
1 -
2
-
3
-
4
-
5
-
6
-
7
-
8
-
9
-
10
-
11
-
12
-
13
-
14
-
15
-
16
-
17
-
18
-
19
-
20
-
21
-
22
-
23
-
24
-
25
-
26
-
27
-
28
-
29
-
30
-
31
-
32
-
33
-
34
-
35
-
36
-
37
-
38
-
39
-
40
-
41
-
42
-
43
-
44
-
45
-
46
-
47
-
48
-
49
-
50
-
51
-
52
-
53
-
54
-
55
-
56
-
57
-
58
-
59
-
60
-
61
-
62
-
63
-
64
-
65
-
66
-
67
-
68
-
69
-
70
-
71
-
72
-
73
-
74
-
75
-
76
-
77
-
78
-
79
-
80
-
81
-
82
-
83
-
84
-
85
-
86
-
87
-
88
-
89
-
90
-
91
-
92
-
93
-
94
-
95
-
96
-
97
-
98
-
99
-
100
-
101
-
102
-
103
-
104
-
105
-
106
-
107
-
108
-
109
-
110
-
111
-
112
-
113
-
114
-
115
-
116
-
117
-
118
-
119
-
120
-
121
-
122
-
123
-
124
-
125
-
126
-
127
-
128
-
129
-
130
-
131
-
132
-
133
-
134
-
135
-
136
-
137
-
138
-
139
-
140
-
141
-
142
-
143
-
144
-
145
-
146
-
147
-
148
-
149
-
 150
150 -
 151
151 -
 152
152 -
 153
153 -
 154
154 -
 155
155 -
 156
156 -
 157
157 -
 158
158 -
 159
159 -
 160
160 -
161
-
162
-
163
-
164
-
165
-
166
-
167
-
168
-
169
-
170
-
171
-
172
-
173
-
174
-
175
-
176
-
177
-
178
-
179
-
180
-
181
-
182
-
183
-
184
-
185
-
186
-
187
-
188
-
189
-
190
-
191
-
192
-
193
-
194
-
195
-
196
-
197
-
198
-
199
-
200
-
201
-
202
-
203
-
204
-
205
-
206
-
207
-
208
-
209
-
210
-
211
-
212
-
213
-
214
-
215
-
216
-
217
-
218
-
219
-
220
-
221
-
222
-
223
-
224
-
225
-
226
-
227
-
228
-
229
-
230
-
231
-
232
 |
 |
Removals
Paper
Feed
Make
sure
the
carriage
frame
has
been
laid
aside,
fol
lowing
the
instructions
in
"Carriage
Frame"
on
page
3-47
before
servicirg
the
paper
feed.
Pinch
Roller
Base
Unit
1.
Using
needle
-nose
pl
iers,
release
the
springs
on
each
side
of
the
pinch
roller
base
unit.
Left
Side
View
2.
Careful
ly
pull
the
two
guide
arms
on
the
pinch
rol
ler
base
.snit
away
from
the
pickup
roller,
lift
the
unit
off
and
set
it
aside.
Be
careful
not
to
bend
the
pressure
plate.
Any
damage
to
the
pressure
plate
could
cause
print
problems.
Repair
liformatioa
3-49