Sony PDWHD1500 User Manual (PDW-HD1500 / PDW-F1600 Operation Manual for Firmwa - Page 33
Initial Setup
 |
View all Sony PDWHD1500 manuals
Add to My Manuals
Save this manual to your list of manuals |
Page 33 highlights
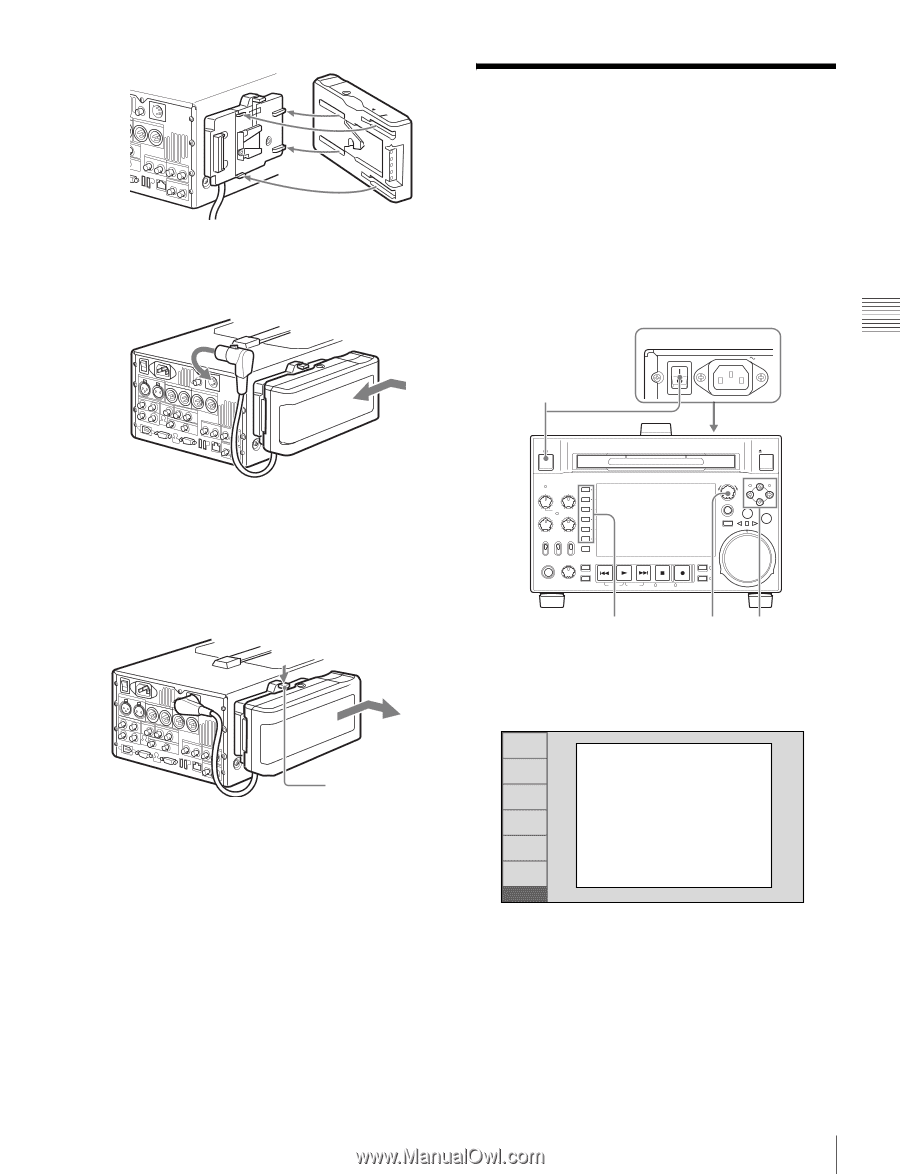
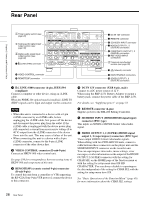
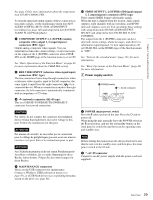
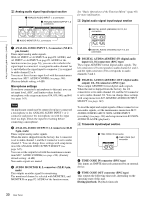
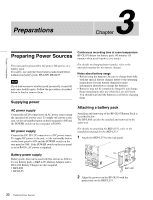
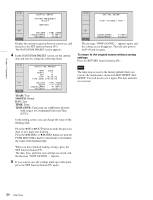
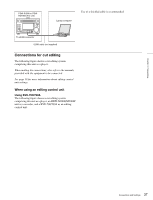
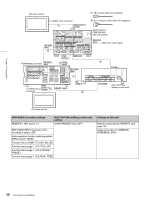
Chapter 3 Preparations BP-GL95 3 Slide the BP-GL95 as shown below so that the connectors on the BP-GL95 and the BKP-L551 are connected. Initial Setup This unit is shipped with the area of use, system frequency, recording format, and current date and time still unset. Therefore, you need to make initial setup settings before using the unit. (You cannot use the unit without setting it up.) Once the unit has been set up, the settings are retained even when the unit is powered off. Use the following procedures. POWER AC IN 1 4 Connect the DC cable of the BKP-L551 to the DC IN 12V connector. Removing the battery pack With the lever pushed in, slide the BP-GL95 out as shown below. EJECT ACCESS CH-1 CH-3 PUSH SET(S.SEL) MARK1 IN OUT ALL CH CH-2 CH-4 CHAPTER NET LOCAL REMOTE VARIABLE KEY INHI REC ON PRE- SET OFF PB EXPAND PAGE HOME PHONES LEVEL DISPLAY PREV PLAY NEXT STOP REC THUMBNAIL MENU RESET SHTL/JOG MARK2 VAR/JOG RETURN SHIFT TOP F REV SUB CLIP F FWD END STANDBY REC INHI DISC MENU 5,6 2,3,4 5 Lever Checking the remaining battery power You can use the LEDs on the side panel of the battery to check the remaining power of the battery. 1 Power the unit on. The INITIAL SETUP screen appears on the display. RETURN INITIAL SETUP UC/J MODEL SELECT NONE SET INC/DEC : CTRL.KNOB CANCEL&PREV : F1(RET) SET&NEXT : F5(SET) INIT 2 Turn the PUSH SET(S.SEL) knob to select the area of use. Display UC (for regions outside Japan) or J (for Japan), and then press the SET function button (F5). The system frequency screen appears. 3 Turn the PUSH SET(S.SEL) knob to select the system frequency. 33 Initial Setup
-
 1
1 -
2
-
3
-
4
-
5
-
6
-
7
-
8
-
9
-
10
-
11
-
12
-
13
-
14
-
15
-
16
-
17
-
18
-
19
-
20
-
21
-
22
-
23
-
24
-
25
-
26
-
27
-
 28
28 -
 29
29 -
 30
30 -
 31
31 -
 32
32 -
 33
33 -
 34
34 -
 35
35 -
 36
36 -
 37
37 -
 38
38 -
39
-
40
-
41
-
42
-
43
-
44
-
45
-
46
-
47
-
48
-
49
-
50
-
51
-
52
-
53
-
54
-
55
-
56
-
57
-
58
-
59
-
60
-
61
-
62
-
63
-
64
-
65
-
66
-
67
-
68
-
69
-
70
-
71
-
72
-
73
-
74
-
75
-
76
-
77
-
78
-
79
-
80
-
81
-
82
-
83
-
84
-
85
-
86
-
87
-
88
-
89
-
90
-
91
-
92
-
93
-
94
-
95
-
96
-
97
-
98
-
99
-
100
-
101
-
102
-
103
-
104
-
105
-
106
-
107
-
108
-
109
-
110
-
111
-
112
-
113
-
114
-
115
-
116
-
117
-
118
-
119
-
120
-
121
-
122
-
123
-
124
-
125
-
126
-
127
-
128
-
129
-
130
-
131
-
132
-
133
-
134
-
135
-
136
-
137
-
138
-
139
-
140
-
141
-
142
-
143
-
144
-
145
-
146
-
147
-
148
-
149
-
150
-
151
-
152
-
153
-
154
-
155
-
156
-
157
-
158
-
159
-
160
-
161
-
162
-
163
-
164
-
165
-
166
-
167
-
168
-
169
-
170
-
171
-
172
-
173
-
174
-
175
-
176
-
177
-
178
-
179
-
180
-
181
-
182
-
183
-
184
-
185
-
186
-
187
-
188
-
189
-
190
-
191
-
192
-
193
-
194
-
195
-
196
-
197
-
198
 |
 |