Brother International DreamWeaver„ VQ3000 Users Manual - English - Page 134
Eyelet
 |
View all Brother International DreamWeaver„ VQ3000 manuals
Add to My Manuals
Save this manual to your list of manuals |
Page 134 highlights
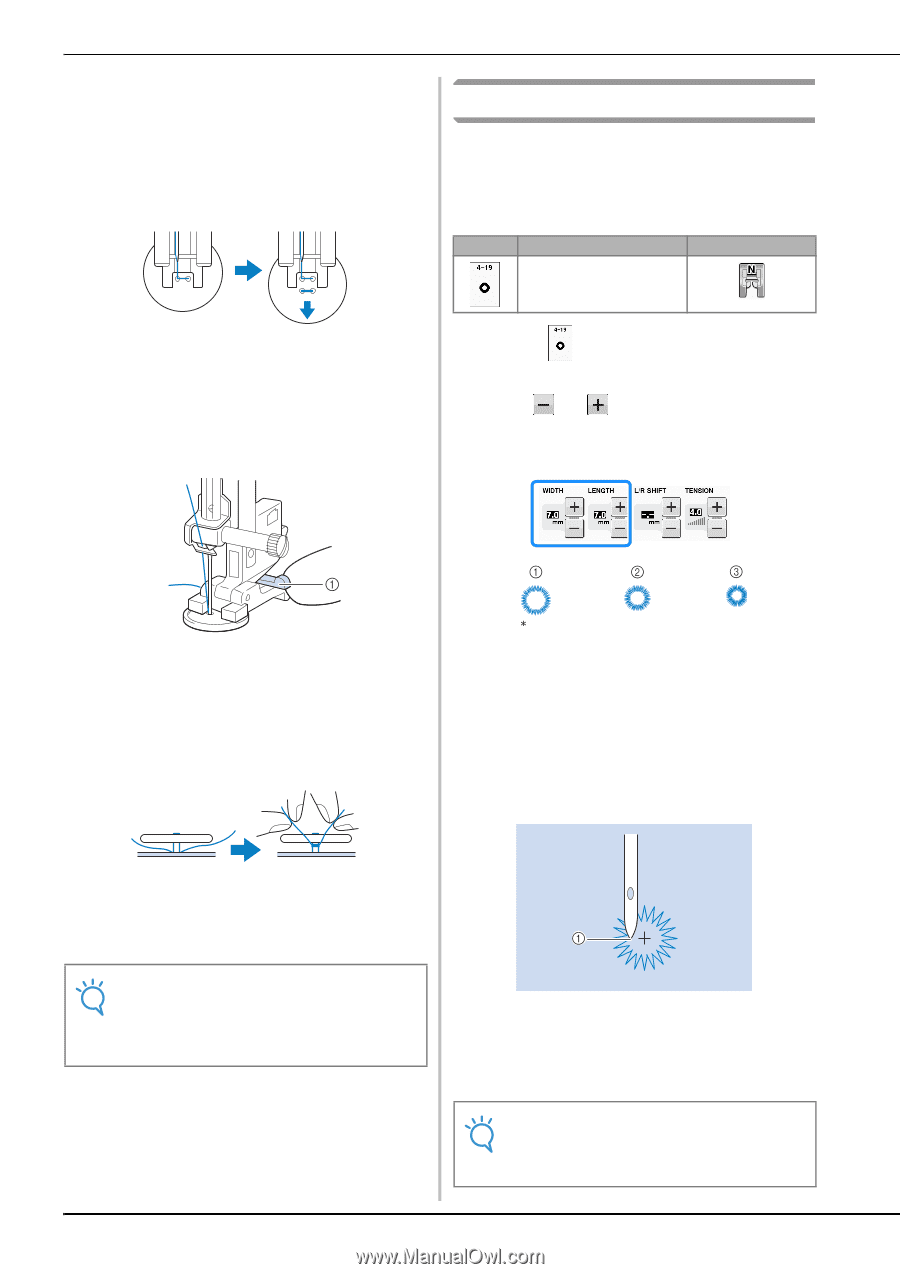
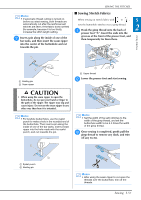
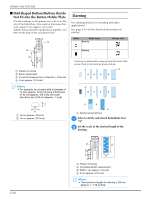
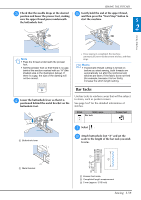
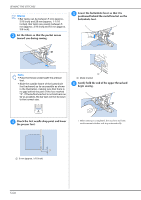
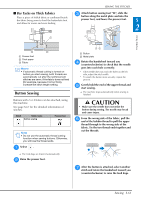
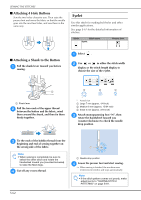
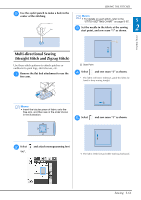
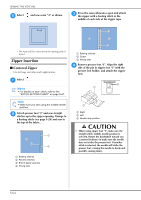
SEWING THE STITCHES ■ Attaching 4 Hole Buttons Sew the two holes closest to you. Then raise the presser foot and move the fabric so that the needle goes into the next two holes, and sew them in the same way. Eyelet Use this stitch for making belt holes and other similar applications. See page S-67 for the detailed information of stitches. Stitch Stitch name Eyelet Presser foot ■ Attaching a Shank to the Button a Pull the sewing. shank lever toward you before a Select . b Use or in either the stitch width display or the stitch length display to choose the size of the eyelet. a Shank lever b Pull the two ends of the between the button and upper thread the fabric, wind them around the shank, and then tie them firmly together. * Actual size a Large 7 mm (approx. 1/4 inch) b Medium 6 mm (approx. 15/64 inch) c Small 5 mm (approx. 3/16 inch) c Attach monogramming foot "N", then rotate the handwheel toward you (counterclockwise) to check the needle drop position. c Tie the ends of the beginning and end bobbin thread from the of sewing together on the wrong side of the fabric. Note • When sewing is completed, be sure to select the other stitch and rotate the handwheel toward you (counterclockwise) to raise the feed dogs. d Cut off any excess thread. a Needle drop position d Lower the presser foot and start sewing. → When sewing is finished, the machine sews reinforcement stitches and stops automatically. Note • If the stitch pattern comes out poorly, make adjustments to "SEWING STITCH PATTERNS" on page S-81. S-62
-
 1
1 -
2
-
3
-
4
-
5
-
6
-
7
-
8
-
9
-
10
-
11
-
12
-
13
-
14
-
15
-
16
-
17
-
18
-
19
-
20
-
21
-
22
-
23
-
24
-
25
-
26
-
27
-
28
-
29
-
30
-
31
-
32
-
33
-
34
-
35
-
36
-
37
-
38
-
39
-
40
-
41
-
42
-
43
-
44
-
45
-
46
-
47
-
48
-
49
-
50
-
51
-
52
-
53
-
54
-
55
-
56
-
57
-
58
-
59
-
60
-
61
-
62
-
63
-
64
-
65
-
66
-
67
-
68
-
69
-
70
-
71
-
72
-
73
-
74
-
75
-
76
-
77
-
78
-
79
-
80
-
81
-
82
-
83
-
84
-
85
-
86
-
87
-
88
-
89
-
90
-
91
-
92
-
93
-
94
-
95
-
96
-
97
-
98
-
99
-
100
-
101
-
102
-
103
-
104
-
105
-
106
-
107
-
108
-
109
-
110
-
111
-
112
-
113
-
114
-
115
-
116
-
117
-
118
-
119
-
120
-
121
-
122
-
123
-
124
-
125
-
126
-
127
-
128
-
 129
129 -
 130
130 -
 131
131 -
 132
132 -
 133
133 -
 134
134 -
 135
135 -
 136
136 -
 137
137 -
 138
138 -
 139
139 -
140
-
141
-
142
-
143
-
144
-
145
-
146
-
147
-
148
-
149
-
150
-
151
-
152
-
153
-
154
-
155
-
156
-
157
-
158
-
159
-
160
-
161
-
162
-
163
-
164
-
165
-
166
-
167
-
168
-
169
-
170
-
171
-
172
-
173
-
174
-
175
-
176
-
177
-
178
-
179
-
180
-
181
-
182
-
183
-
184
-
185
-
186
-
187
-
188
-
189
-
190
-
191
-
192
-
193
-
194
-
195
-
196
-
197
-
198
-
199
-
200
-
201
-
202
-
203
-
204
-
205
-
206
-
207
-
208
-
209
-
210
-
211
-
212
-
213
-
214
-
215
-
216
-
217
-
218
-
219
-
220
-
221
-
222
-
223
-
224
 |
 |