HP 2605dn HP Color LaserJet 2605/2605dn/2605dtn - User Guide - Page 108
To print on both sides automatically, Finishing
 |
View all HP 2605dn manuals
Add to My Manuals
Save this manual to your list of manuals |
Page 108 highlights
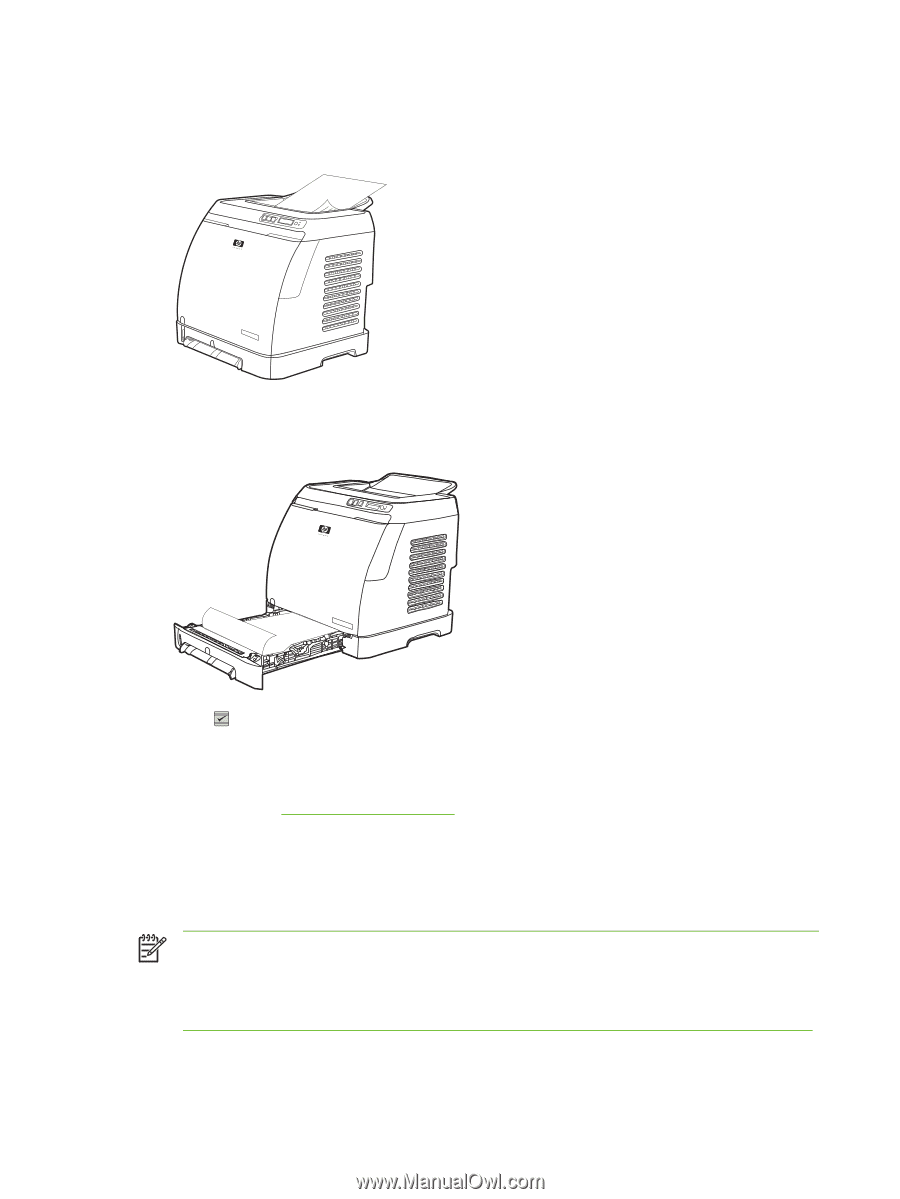
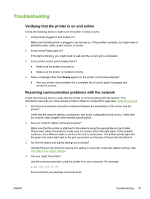
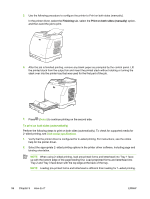
2. Use the following procedure to configure the printer to Print on both sides (manually). In the printer driver, select the Finishing tab, select the Print on both sides (manually) option, and then send the job to print. 3. After the job is finished printing, remove any blank paper as prompted by the control panel. Lift the printed stack from the output bin and insert the printed stack without rotating or turning the stack over into the printer tray that was used for the first part of the job. A 4. Press (Select) to continue printing on the second side. To print on both sides (automatically) Perform the following steps to print on both sides (automatically). To check for supported media for 2-sided printing, see Print-media specifications. 1. Verify that the printer driver is configured for 2-sided printing. For instructions, see the online help for the printer driver. 2. Select the appropriate 2-sided printing options in the printer driver software, including page and binding orientation. NOTE When using 2-sided printing, load pre-printed forms and letterhead into Tray 1 faceup with the bottom edge of the page feeding first. Load preprinted forms and letterhead into Tray 2 and Tray 3 face-down with the top edge at the back of the tray. NOTE Loading pre-printed forms and letterhead is different than loading for 1-sided printing. 96 Chapter 9 How do I? ENWW
-
 1
1 -
2
-
3
-
4
-
5
-
6
-
7
-
8
-
9
-
10
-
11
-
12
-
13
-
14
-
15
-
16
-
17
-
18
-
19
-
20
-
21
-
22
-
23
-
24
-
25
-
26
-
27
-
28
-
29
-
30
-
31
-
32
-
33
-
34
-
35
-
36
-
37
-
38
-
39
-
40
-
41
-
42
-
43
-
44
-
45
-
46
-
47
-
48
-
49
-
50
-
51
-
52
-
53
-
54
-
55
-
56
-
57
-
58
-
59
-
60
-
61
-
62
-
63
-
64
-
65
-
66
-
67
-
68
-
69
-
70
-
71
-
72
-
73
-
74
-
75
-
76
-
77
-
78
-
79
-
80
-
81
-
82
-
83
-
84
-
85
-
86
-
87
-
88
-
89
-
90
-
91
-
92
-
93
-
94
-
95
-
96
-
97
-
98
-
99
-
100
-
101
-
102
-
 103
103 -
 104
104 -
 105
105 -
 106
106 -
 107
107 -
 108
108 -
 109
109 -
 110
110 -
 111
111 -
 112
112 -
 113
113 -
114
-
115
-
116
-
117
-
118
-
119
-
120
-
121
-
122
-
123
-
124
-
125
-
126
-
127
-
128
-
129
-
130
-
131
-
132
-
133
-
134
-
135
-
136
-
137
-
138
-
139
-
140
-
141
-
142
-
143
-
144
-
145
-
146
-
147
-
148
-
149
-
150
-
151
-
152
-
153
-
154
-
155
-
156
-
157
-
158
-
159
-
160
-
161
-
162
-
163
-
164
-
165
-
166
-
167
-
168
-
169
-
170
-
171
-
172
-
173
-
174
-
175
-
176
-
177
-
178
-
179
-
180
-
181
-
182
-
183
-
184
-
185
-
186
-
187
-
188
-
189
-
190
-
191
-
192
-
193
-
194
-
195
-
196
-
197
-
198
-
199
-
200
-
201
-
202
-
203
-
204
-
205
-
206
-
207
-
208
-
209
-
210
-
211
-
212
-
213
-
214
-
215
-
216
-
217
-
218
-
219
-
220
-
221
-
222
-
223
-
224
-
225
-
226
-
227
-
228
 |
 |