HP 5550dn HP Color LaserJet 5550 series - User Guide - Page 95
Tray X <TYPE> <SIZE>
 |
UPC - 829160126913
View all HP 5550dn manuals
Add to My Manuals
Save this manual to your list of manuals |
Page 95 highlights
1. Open the tray. 2. Remove any paper that is in the tray. 3. Move the side guides all the way out. 4. Load paper in the tray with the side to be printed on facing down, and the top of the paper on the left. Make sure that the stack height of the paper does not exceed the maximum stack height mark in the tray. Note If you are duplexing, see Two-sided (duplex) printing for load instructions. 5. Move the side guides to the correct position so that they will lightly touch the paper stack but will not bend the paper. ENWW 6. Look at the display within a few seconds of loading the paper (reinsert the paper if the time has already elapsed). If the printer does not display the Tray X message, the tray is ready for use. Configuring input trays 81
-
 1
1 -
2
-
3
-
4
-
5
-
6
-
7
-
8
-
9
-
10
-
11
-
12
-
13
-
14
-
15
-
16
-
17
-
18
-
19
-
20
-
21
-
22
-
23
-
24
-
25
-
26
-
27
-
28
-
29
-
30
-
31
-
32
-
33
-
34
-
35
-
36
-
37
-
38
-
39
-
40
-
41
-
42
-
43
-
44
-
45
-
46
-
47
-
48
-
49
-
50
-
51
-
52
-
53
-
54
-
55
-
56
-
57
-
58
-
59
-
60
-
61
-
62
-
63
-
64
-
65
-
66
-
67
-
68
-
69
-
70
-
71
-
72
-
73
-
74
-
75
-
76
-
77
-
78
-
79
-
80
-
81
-
82
-
83
-
84
-
85
-
86
-
87
-
88
-
89
-
 90
90 -
 91
91 -
 92
92 -
 93
93 -
 94
94 -
 95
95 -
 96
96 -
 97
97 -
 98
98 -
 99
99 -
 100
100 -
101
-
102
-
103
-
104
-
105
-
106
-
107
-
108
-
109
-
110
-
111
-
112
-
113
-
114
-
115
-
116
-
117
-
118
-
119
-
120
-
121
-
122
-
123
-
124
-
125
-
126
-
127
-
128
-
129
-
130
-
131
-
132
-
133
-
134
-
135
-
136
-
137
-
138
-
139
-
140
-
141
-
142
-
143
-
144
-
145
-
146
-
147
-
148
-
149
-
150
-
151
-
152
-
153
-
154
-
155
-
156
-
157
-
158
-
159
-
160
-
161
-
162
-
163
-
164
-
165
-
166
-
167
-
168
-
169
-
170
-
171
-
172
-
173
-
174
-
175
-
176
-
177
-
178
-
179
-
180
-
181
-
182
-
183
-
184
-
185
-
186
-
187
-
188
-
189
-
190
-
191
-
192
-
193
-
194
-
195
-
196
-
197
-
198
-
199
-
200
-
201
-
202
-
203
-
204
-
205
-
206
-
207
-
208
-
209
-
210
-
211
-
212
-
213
-
214
-
215
-
216
-
217
-
218
-
219
-
220
-
221
-
222
-
223
-
224
-
225
-
226
-
227
-
228
-
229
-
230
-
231
-
232
-
233
-
234
-
235
-
236
-
237
-
238
-
239
-
240
-
241
-
242
-
243
-
244
-
245
-
246
-
247
-
248
-
249
-
250
-
251
-
252
-
253
-
254
-
255
-
256
-
257
-
258
-
259
-
260
-
261
-
262
-
263
-
264
-
265
-
266
-
267
-
268
-
269
-
270
-
271
-
272
-
273
-
274
-
275
-
276
-
277
-
278
-
279
-
280
-
281
-
282
-
283
-
284
-
285
-
286
-
287
-
288
-
289
-
290
-
291
-
292
-
293
-
294
 |
 |
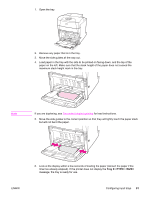
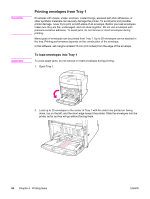
1.
Open the tray.
2.
Remove any paper that is in the tray.
3.
Move the side guides all the way out.
4.
Load paper in the tray with the side to be printed on facing down, and the top of the
paper on the left. Make sure that the stack height of the paper does not exceed the
maximum stack height mark in the tray.
Note
If you are duplexing, see
Two-sided
(duplex)
printing
for load instructions.
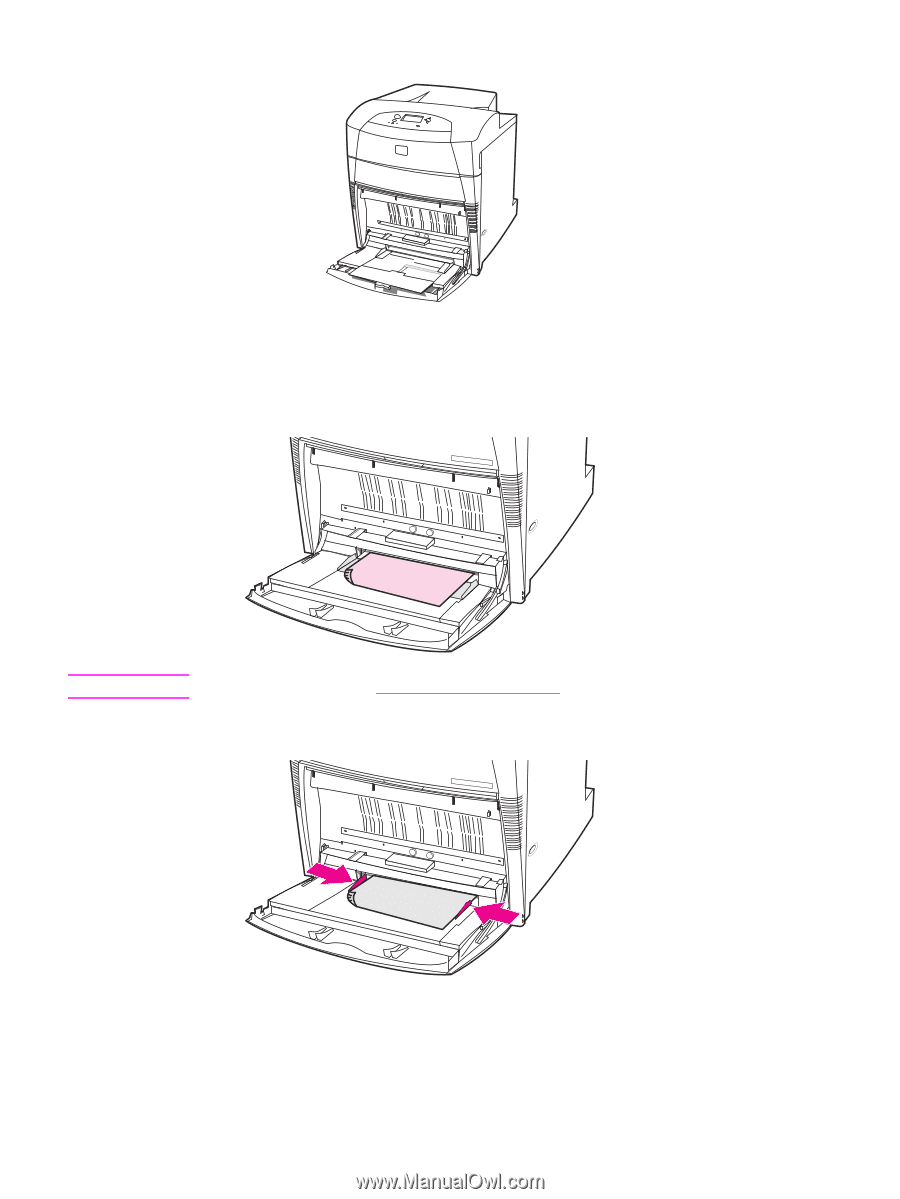
5.
Move the side guides to the correct position so that they will lightly touch the paper stack
but will not bend the paper.
6.
Look at the display within a few seconds of loading the paper (reinsert the paper if the
time has already elapsed). If the printer does not display the
Tray X <TYPE> <SIZE>
message, the tray is ready for use.
ENWW
Configuring input trays
81