Lexmark 16Z0000 User's Guide - Page 124
Glossy photo paper or transparencies stick together, prints with different fonts
 |
UPC - 734646046657
View all Lexmark 16Z0000 manuals
Add to My Manuals
Save this manual to your list of manuals |
Page 124 highlights
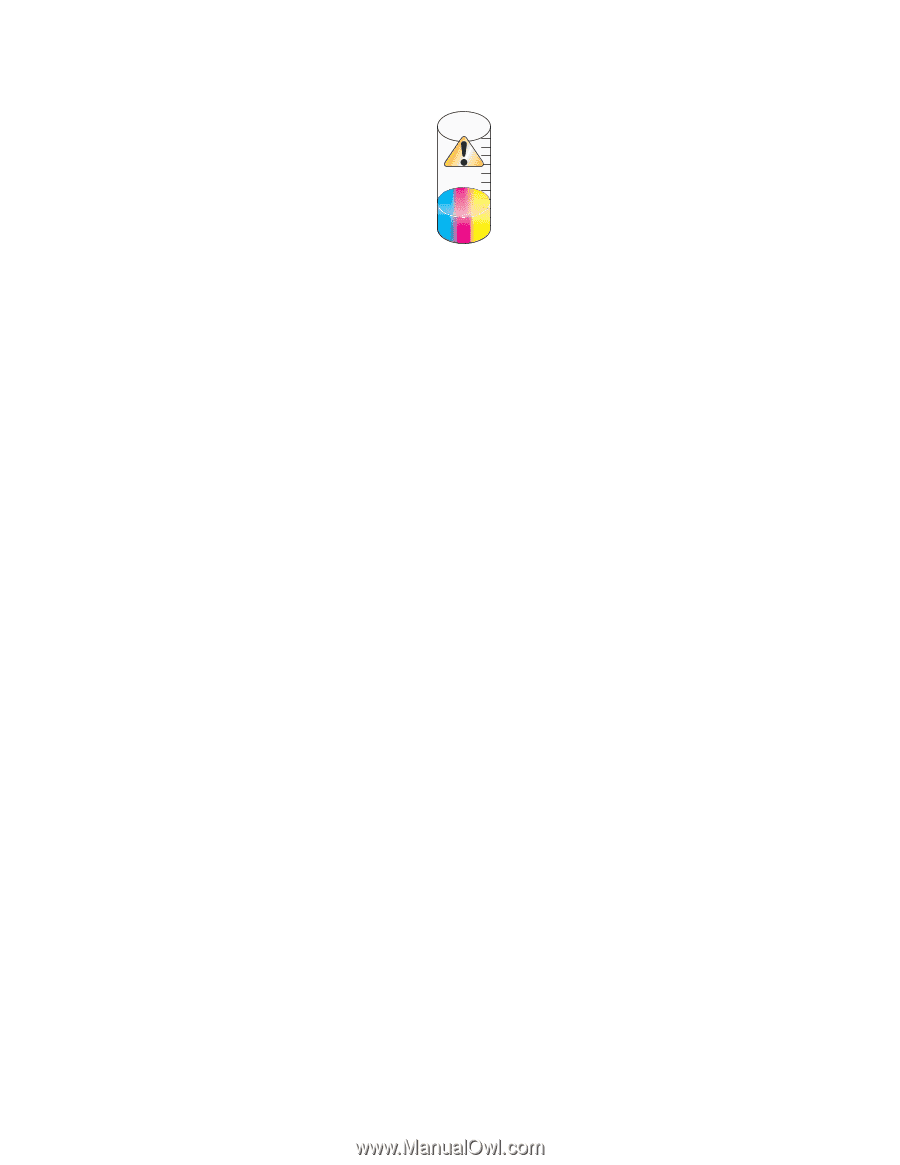
3 Click Solution Center. 4 If an exclamation point (!) appears on either of the print cartridges, the ink level is low. Install a new cartridge. Glossy photo paper or transparencies stick together Do photos or transparencies dry and stick together on the paper exit tray? Remove the photos or transparencies from the paper exit tray as they exit the printer. Allow them to dry before stacking. It takes longer for the ink to dry on the surface of photo paper or transparencies than it does on most printouts. Are you using a transparency or photo paper designed for an inkjet printer? For information on ordering supplies, see "Choosing compatible specialty paper types" on page 50. Page prints with different fonts Make sure the correct printer is selected When printing from an application, make sure the selected printer is the correct printer you want to use to print your job. It is useful to have the default printer set to be the printer you use most often for printing. Make sure the TrueType font is available on the computer The font you are trying to print may not be available in the program font selection box. Not all fonts are designed to be printed; make sure the font is a TrueType font. See the program documentation for more information. Make sure the fonts are applied correctly in the program Most programs do not print a stretched or resized font. Print is too dark or smudged These are possible solutions. Try one or more of the following: Make sure the ink dry before handling the paper Remove the paper as it exits, and let the ink dry before handling. Make sure the Quality/Speed setting is appropriate for the paper type loaded in the printer The Photo Quality/Speed setting may cause smearing if used with plain paper. If you are using plain paper, try using the Normal setting. Make sure the print cartridge nozzles are clean You may need to clean the print cartridge nozzles. 124
-
 1
1 -
2
-
3
-
4
-
5
-
6
-
7
-
8
-
9
-
10
-
11
-
12
-
13
-
14
-
15
-
16
-
17
-
18
-
19
-
20
-
21
-
22
-
23
-
24
-
25
-
26
-
27
-
28
-
29
-
30
-
31
-
32
-
33
-
34
-
35
-
36
-
37
-
38
-
39
-
40
-
41
-
42
-
43
-
44
-
45
-
46
-
47
-
48
-
49
-
50
-
51
-
52
-
53
-
54
-
55
-
56
-
57
-
58
-
59
-
60
-
61
-
62
-
63
-
64
-
65
-
66
-
67
-
68
-
69
-
70
-
71
-
72
-
73
-
74
-
75
-
76
-
77
-
78
-
79
-
80
-
81
-
82
-
83
-
84
-
85
-
86
-
87
-
88
-
89
-
90
-
91
-
92
-
93
-
94
-
95
-
96
-
97
-
98
-
99
-
100
-
101
-
102
-
103
-
104
-
105
-
106
-
107
-
108
-
109
-
110
-
111
-
112
-
113
-
114
-
115
-
116
-
117
-
118
-
 119
119 -
 120
120 -
 121
121 -
 122
122 -
 123
123 -
 124
124 -
 125
125 -
 126
126 -
 127
127 -
 128
128 -
 129
129 -
130
-
131
-
132
-
133
-
134
-
135
-
136
-
137
-
138
-
139
-
140
-
141
-
142
-
143
-
144
-
145
-
146
-
147
-
148
-
149
-
150
-
151
-
152
-
153
-
154
-
155
-
156
-
157
-
158
-
159
-
160
-
161
-
162
-
163
-
164
-
165
-
166
-
167
-
168
-
169
-
170
-
171
-
172
-
173
-
174
-
175
-
176
 |
 |