Lexmark 16Z0000 User's Guide - Page 34
Printing a network setup Sharing a printer in a Windows environment, Setup, Network Setup
 |
UPC - 734646046657
View all Lexmark 16Z0000 manuals
Add to My Manuals
Save this manual to your list of manuals |
Page 34 highlights
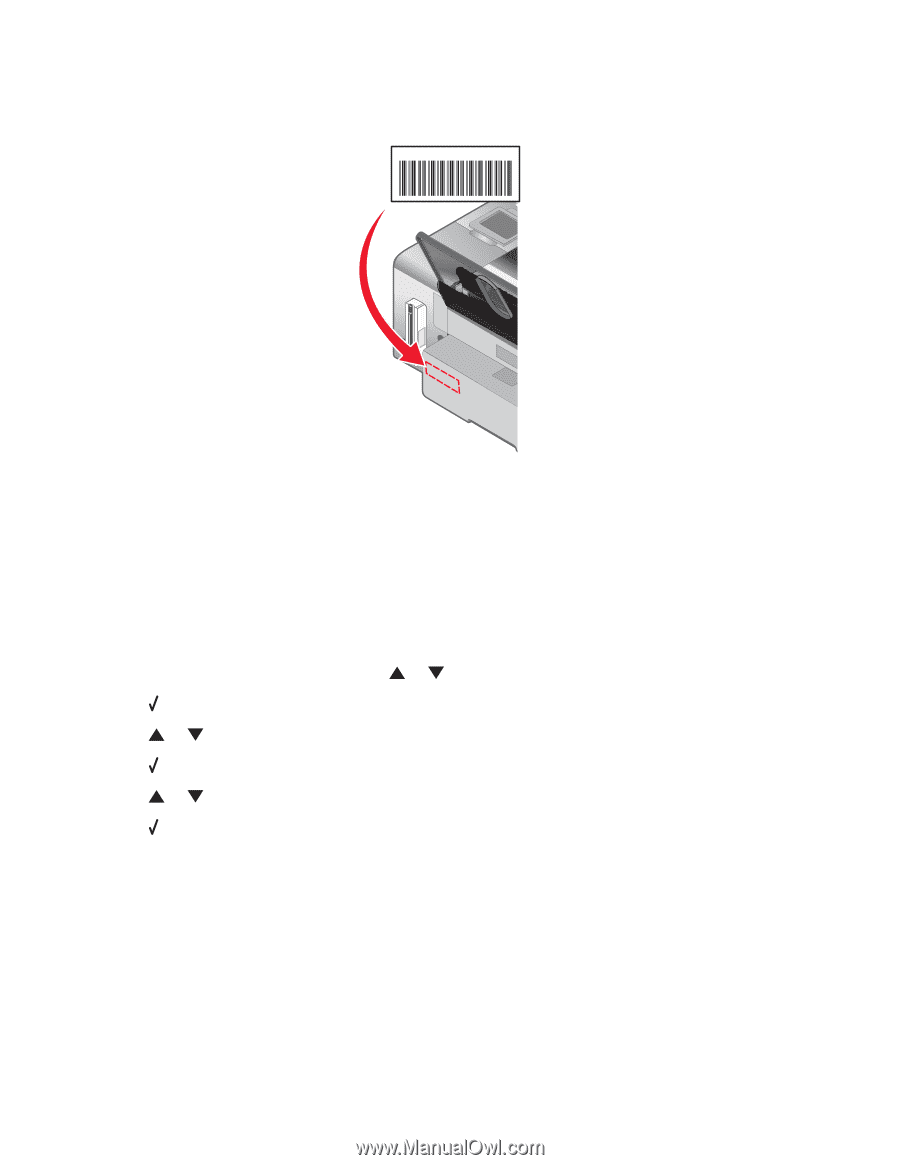
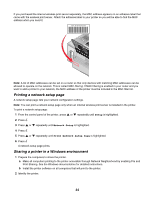
If you purchased the internal wireless print server separately, the MAC address appears on an adhesive label that came with the wireless print server. Attach the adhesive label to your printer so you will be able to find the MAC address when you need it. UAA: XX XX XX XX XX XX Note: A list of MAC addresses can be set on a router so that only devices with matching MAC addresses can be allowed to operate on the network. This is called MAC filtering. If MAC filtering is enabled in your router and you want to add a printer to your network, the MAC address of the printer must be included in the MAC filter list. Printing a network setup page A network setup page lists your network configuration settings. Note: You can print a network setup page only when an internal wireless print server is installed in the printer. To print a network setup page: 1 From the control panel of the printer, press or repeatedly until Setup is highlighted. 2 Press . 3 Press or repeatedly until Network Setup is highlighted. 4 Press . 5 Press or repeatedly until Print Network Setup Page is highlighted. 6 Press A network setup page prints. Sharing a printer in a Windows environment 1 Prepare the computers to share the printer. a Make all computers printing to the printer accessible through Network Neighborhood by enabling File and Print Sharing. See the Windows documentation for detailed instructions. b Install the printer software on all computers that will print to the printer. 2 Identify the printer. 34
-
 1
1 -
2
-
3
-
4
-
5
-
6
-
7
-
8
-
9
-
10
-
11
-
12
-
13
-
14
-
15
-
16
-
17
-
18
-
19
-
20
-
21
-
22
-
23
-
24
-
25
-
26
-
27
-
28
-
 29
29 -
 30
30 -
 31
31 -
 32
32 -
 33
33 -
 34
34 -
 35
35 -
 36
36 -
 37
37 -
 38
38 -
 39
39 -
40
-
41
-
42
-
43
-
44
-
45
-
46
-
47
-
48
-
49
-
50
-
51
-
52
-
53
-
54
-
55
-
56
-
57
-
58
-
59
-
60
-
61
-
62
-
63
-
64
-
65
-
66
-
67
-
68
-
69
-
70
-
71
-
72
-
73
-
74
-
75
-
76
-
77
-
78
-
79
-
80
-
81
-
82
-
83
-
84
-
85
-
86
-
87
-
88
-
89
-
90
-
91
-
92
-
93
-
94
-
95
-
96
-
97
-
98
-
99
-
100
-
101
-
102
-
103
-
104
-
105
-
106
-
107
-
108
-
109
-
110
-
111
-
112
-
113
-
114
-
115
-
116
-
117
-
118
-
119
-
120
-
121
-
122
-
123
-
124
-
125
-
126
-
127
-
128
-
129
-
130
-
131
-
132
-
133
-
134
-
135
-
136
-
137
-
138
-
139
-
140
-
141
-
142
-
143
-
144
-
145
-
146
-
147
-
148
-
149
-
150
-
151
-
152
-
153
-
154
-
155
-
156
-
157
-
158
-
159
-
160
-
161
-
162
-
163
-
164
-
165
-
166
-
167
-
168
-
169
-
170
-
171
-
172
-
173
-
174
-
175
-
176
 |
 |