HP 4300 Service Manual - Page 280
System Is Full, Eio Disk X
 |
UPC - 808736312264
View all HP 4300 manuals
Add to My Manuals
Save this manual to your list of manuals |
Page 280 highlights
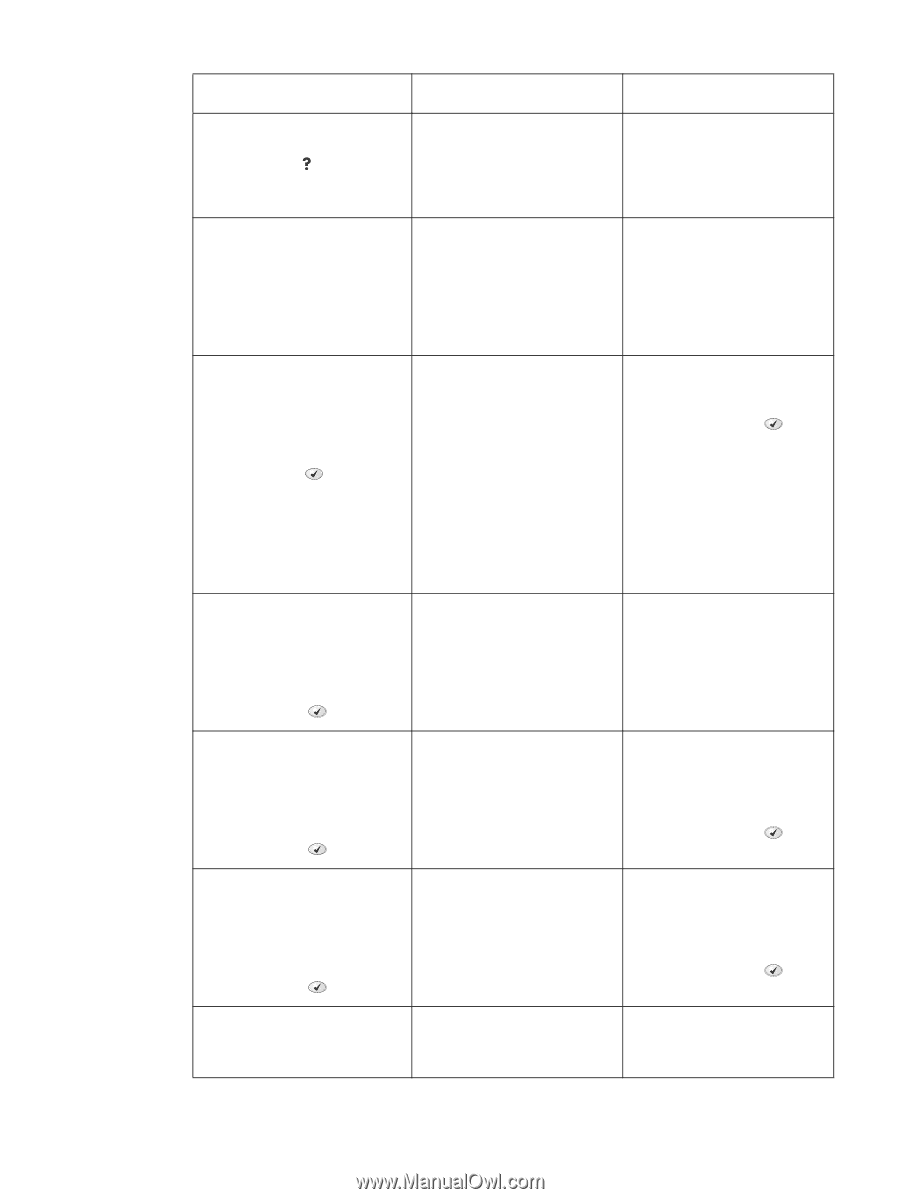
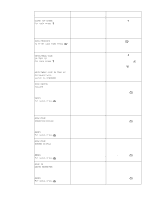
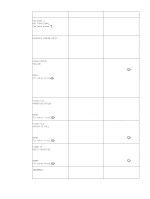
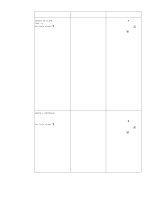
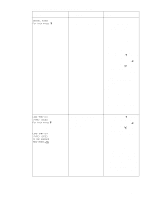
Table 41. Alphabetical printer messages (continued) Message Description Action EIO DISK X NOT FUNCTIONAL For help press The EIO disk in slot X is not working correctly. 1. Remove the EIO disk from the indicated slot and reinstall it. 2. If the error persists, replace the EIO disk drive ENVELOPE FEEDER EMPTY The envelope feeder is empty. 1. Refill the envelope feeder. 2. Turn off the printer. 3. Remove and then reinstall the accessory. Turn the printer on. 4. If the error persists, replace the envelope feeder. FLASH DEVICE FAILURE alternates with READY For menus press A flash DIMM is installed in one of 1. Printing can continue for jobs the formatter slots. that do not require the flash DIMM. 2. Press the SELECT ( ) button to continue. 3. If the message persists, remove and reinstall the flash DIMM. See "Firmware DIMM" on page 160. 4. If the message persists, replace the flash DIMM. See "Firmware DIMM" on page 160. FLASH FILE OPERATION FAILED alternates with READY For menus press The printer received a PJL file system command that attempted to perform an illogical operation (for example, a command to download a file to a non-existent directory). 1. Printing can continue. 2. Turn the printer off and then back on to delete the message from the display. 3. If the message reappears, a problem might exist with the software application. FLASH FILE SYSTEM IS FULL alternates with READY For menus press The printer received a PJL file system command that attempted to store something on the file system. The attempt was unsuccessful because the file system is full. 1. Use HP Web Jetadmin Device Storage Manager software to delete files from the flash memory and try again. 2. Press the SELECT ( ) button to continue. FLASH IS WRITE PROTECTED alternates with READY For menus press The file system device is 1. To enable writing to the flash protected and no new files can be memory, turn off the write written to it. protection by using the device storage manager in HP Web Jetadmin. 2. Press the SELECT ( ) button to continue. INCORRECT The wrong personal identification Type the correct PIN code. After number (PIN) was typed. three incorrect PIN entries, the printer returns to the Ready state. 260 Troubleshooting Q2431-90912
-
 1
1 -
2
-
3
-
4
-
5
-
6
-
7
-
8
-
9
-
10
-
11
-
12
-
13
-
14
-
15
-
16
-
17
-
18
-
19
-
20
-
21
-
22
-
23
-
24
-
25
-
26
-
27
-
28
-
29
-
30
-
31
-
32
-
33
-
34
-
35
-
36
-
37
-
38
-
39
-
40
-
41
-
42
-
43
-
44
-
45
-
46
-
47
-
48
-
49
-
50
-
51
-
52
-
53
-
54
-
55
-
56
-
57
-
58
-
59
-
60
-
61
-
62
-
63
-
64
-
65
-
66
-
67
-
68
-
69
-
70
-
71
-
72
-
73
-
74
-
75
-
76
-
77
-
78
-
79
-
80
-
81
-
82
-
83
-
84
-
85
-
86
-
87
-
88
-
89
-
90
-
91
-
92
-
93
-
94
-
95
-
96
-
97
-
98
-
99
-
100
-
101
-
102
-
103
-
104
-
105
-
106
-
107
-
108
-
109
-
110
-
111
-
112
-
113
-
114
-
115
-
116
-
117
-
118
-
119
-
120
-
121
-
122
-
123
-
124
-
125
-
126
-
127
-
128
-
129
-
130
-
131
-
132
-
133
-
134
-
135
-
136
-
137
-
138
-
139
-
140
-
141
-
142
-
143
-
144
-
145
-
146
-
147
-
148
-
149
-
150
-
151
-
152
-
153
-
154
-
155
-
156
-
157
-
158
-
159
-
160
-
161
-
162
-
163
-
164
-
165
-
166
-
167
-
168
-
169
-
170
-
171
-
172
-
173
-
174
-
175
-
176
-
177
-
178
-
179
-
180
-
181
-
182
-
183
-
184
-
185
-
186
-
187
-
188
-
189
-
190
-
191
-
192
-
193
-
194
-
195
-
196
-
197
-
198
-
199
-
200
-
201
-
202
-
203
-
204
-
205
-
206
-
207
-
208
-
209
-
210
-
211
-
212
-
213
-
214
-
215
-
216
-
217
-
218
-
219
-
220
-
221
-
222
-
223
-
224
-
225
-
226
-
227
-
228
-
229
-
230
-
231
-
232
-
233
-
234
-
235
-
236
-
237
-
238
-
239
-
240
-
241
-
242
-
243
-
244
-
245
-
246
-
247
-
248
-
249
-
250
-
251
-
252
-
253
-
254
-
255
-
256
-
257
-
258
-
259
-
260
-
261
-
262
-
263
-
264
-
265
-
266
-
267
-
268
-
269
-
270
-
271
-
272
-
273
-
274
-
 275
275 -
 276
276 -
 277
277 -
 278
278 -
 279
279 -
 280
280 -
 281
281 -
 282
282 -
 283
283 -
 284
284 -
 285
285 -
286
-
287
-
288
-
289
-
290
-
291
-
292
-
293
-
294
-
295
-
296
-
297
-
298
-
299
-
300
-
301
-
302
-
303
-
304
-
305
-
306
-
307
-
308
-
309
-
310
-
311
-
312
-
313
-
314
-
315
-
316
-
317
-
318
-
319
-
320
-
321
-
322
-
323
-
324
-
325
-
326
-
327
-
328
-
329
-
330
-
331
-
332
-
333
-
334
-
335
-
336
-
337
-
338
-
339
-
340
-
341
-
342
-
343
-
344
-
345
-
346
-
347
-
348
-
349
-
350
-
351
-
352
-
353
-
354
-
355
-
356
-
357
-
358
-
359
-
360
-
361
-
362
-
363
-
364
-
365
-
366
-
367
-
368
-
369
-
370
-
371
-
372
-
373
-
374
-
375
-
376
-
377
-
378
-
379
-
380
-
381
-
382
-
383
-
384
-
385
-
386
-
387
-
388
-
389
-
390
-
391
-
392
-
393
-
394
-
395
-
396
-
397
-
398
-
399
-
400
-
401
-
402
-
403
-
404
-
405
-
406
-
407
-
408
-
409
-
410
-
411
-
412
-
413
-
414
-
415
-
416
-
417
-
418
-
419
-
420
-
421
-
422
-
423
-
424
-
425
-
426
-
427
-
428
-
429
-
430
-
431
-
432
-
433
-
434
-
435
-
436
-
437
-
438
-
439
-
440
-
441
-
442
-
443
-
444
-
445
-
446
-
447
-
448
-
449
-
450
-
451
-
452
 |
 |