HP 7110 HP Officejet 7100 series all-in-one - (English) Reference Guide - Page 46
print all photos, print individual photos, Photo Card Functions, Save Photos to PC?, Photos on Card
 |
View all HP 7110 manuals
Add to My Manuals
Save this manual to your list of manuals |
Page 46 highlights
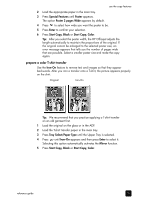
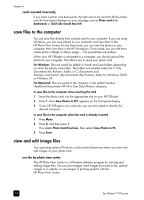
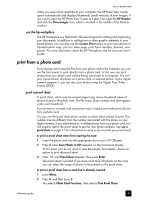
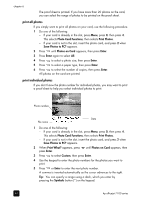
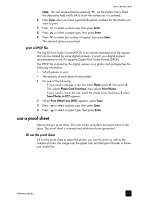
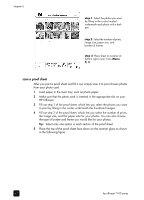
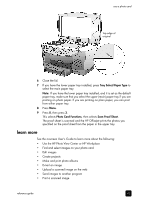
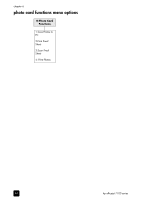
chapter 6 The proof sheet is printed. If you have more than 20 photos on the card, you can select the range of photos to be printed on the proof sheet. print all photos If you simply want to print all photos on your card, use the following procedure. 1 Do one of the following: - If your card is already in the slot, press Menu, press 0, then press 4. This selects Photo Card Functions, then selects Print Photos. - If your card is not in the slot, insert the photo card, and press 2 when Save Photos to PC? appears. 2 Press until Photos on Card appears, then press Enter. 3 Press Enter again to select All. 4 Press to select a photo size, then press Enter. 5 Press to select a paper type, then press Enter. 6 Press to select the number of copies, then press Enter. All photos on the card are printed. print individual photos If you don't know the photo number for individual photos, you may want to print a proof sheet to help you select individual photos to print. Photo number File name Date 1 Do one of the following: - If your card is already in the slot, press Menu, press 0, then press 4. This selects Photo Card Functions, then selects Print Photos. - If your card is not in the slot, insert the photo card, and press 2 when Save Photos to PC? appears. 2 When Print What? appears, press press Enter. until Photos on Card appears, then 3 Press to select Custom, then press Enter. 4 Use the keypad to enter the photo numbers for the photos you want to print. 5 Press or Enter to enter the next photo number. A comma is inserted automatically as the cursor advances to the right. Tip: You can specify a range using a dash, which you enter by pressing the Symbols button (*) on the keypad. 40 hp officejet 7100 series
-
 1
1 -
2
-
3
-
4
-
5
-
6
-
7
-
8
-
9
-
10
-
11
-
12
-
13
-
14
-
15
-
16
-
17
-
18
-
19
-
20
-
21
-
22
-
23
-
24
-
25
-
26
-
27
-
28
-
29
-
30
-
31
-
32
-
33
-
34
-
35
-
36
-
37
-
38
-
39
-
40
-
 41
41 -
 42
42 -
 43
43 -
 44
44 -
 45
45 -
 46
46 -
 47
47 -
 48
48 -
 49
49 -
 50
50 -
 51
51 -
52
-
53
-
54
-
55
-
56
-
57
-
58
-
59
-
60
-
61
-
62
-
63
-
64
-
65
-
66
-
67
-
68
-
69
-
70
-
71
-
72
-
73
-
74
-
75
-
76
-
77
-
78
-
79
-
80
-
81
-
82
-
83
-
84
-
85
-
86
-
87
-
88
-
89
-
90
-
91
-
92
-
93
-
94
-
95
-
96
 |
 |
