HP Photosmart R717 HP Photosmart R717 Digital Camera with HP Instant Share - U - Page 17
Set the Region, 8. Set the Date and Time - video
 |
View all HP Photosmart R717 manuals
Add to My Manuals
Save this manual to your list of manuals |
Page 17 highlights
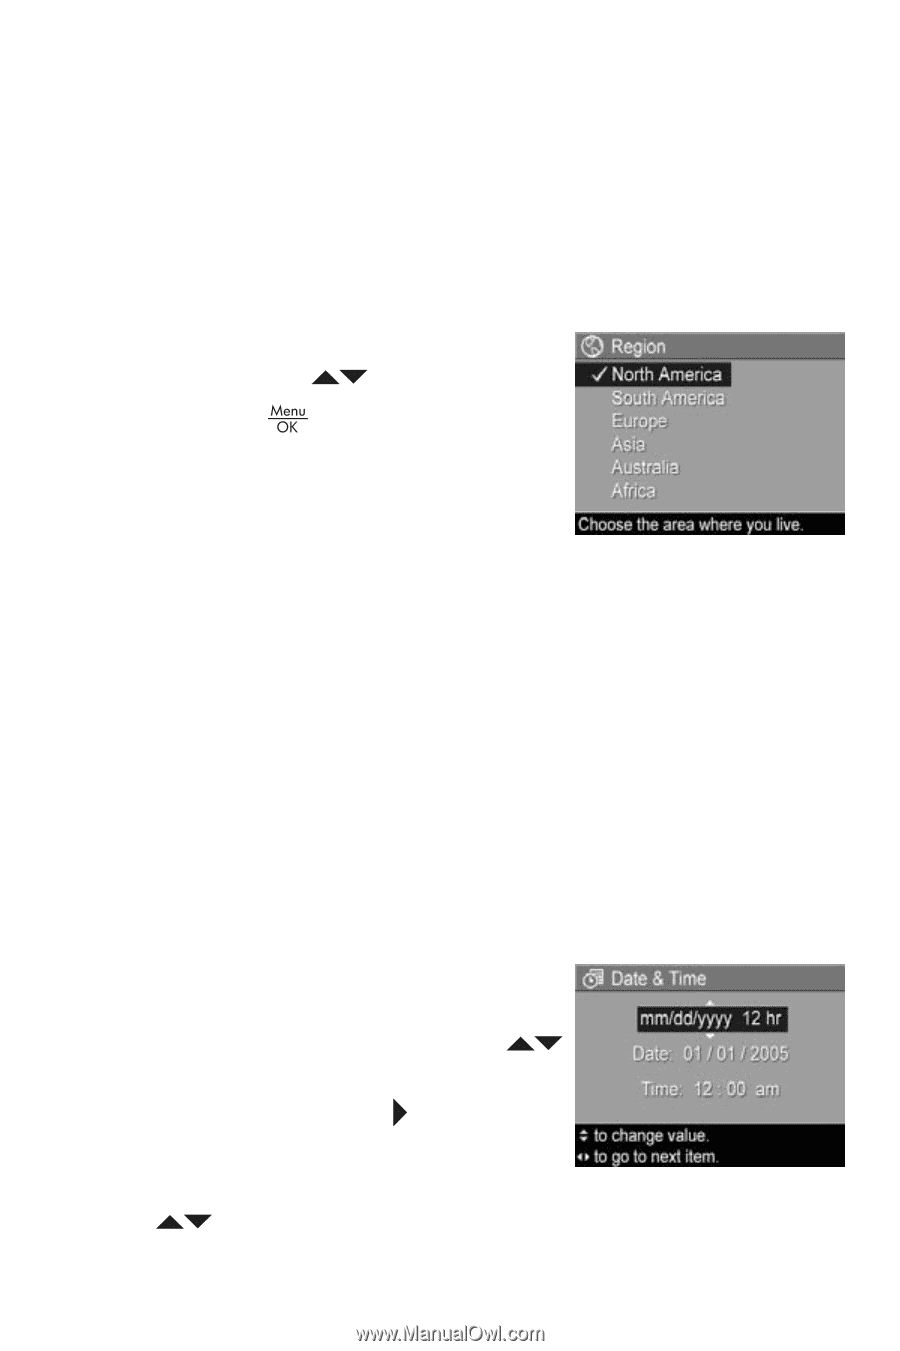
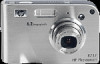
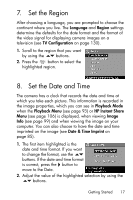
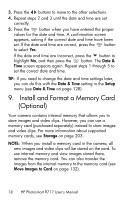
7. Set the Region After choosing a language, you are prompted to choose the continent where you live. The Language and Region settings determine the defaults for the date format and the format of the video signal for displaying camera images on a television (see TV Configuration on page 130). 1. Scroll to the region that you want by using the buttons. 2. Press the button to select the highlighted region. 8. Set the Date and Time The camera has a clock that records the date and time at which you take each picture. This information is recorded in the image properties, which you can see in Playback Mode when the Playback Menu (see page 93) or HP Instant Share Menu (see page 106) is displayed, when viewing Image Info (see page 99) and when viewing the image on your computer. You can also choose to have the date and time imprinted on the image (see Date & Time Imprint on page 85). 1. The first item highlighted is the date and time format. If you want to change the format, use the buttons. If the date and time format is correct, press the button to move to the Date. 2. Adjust the value of the highlighted selection by using the buttons. Getting Started 17
-
 1
1 -
2
-
3
-
4
-
5
-
6
-
7
-
8
-
9
-
10
-
11
-
 12
12 -
 13
13 -
 14
14 -
 15
15 -
 16
16 -
 17
17 -
 18
18 -
 19
19 -
 20
20 -
 21
21 -
 22
22 -
23
-
24
-
25
-
26
-
27
-
28
-
29
-
30
-
31
-
32
-
33
-
34
-
35
-
36
-
37
-
38
-
39
-
40
-
41
-
42
-
43
-
44
-
45
-
46
-
47
-
48
-
49
-
50
-
51
-
52
-
53
-
54
-
55
-
56
-
57
-
58
-
59
-
60
-
61
-
62
-
63
-
64
-
65
-
66
-
67
-
68
-
69
-
70
-
71
-
72
-
73
-
74
-
75
-
76
-
77
-
78
-
79
-
80
-
81
-
82
-
83
-
84
-
85
-
86
-
87
-
88
-
89
-
90
-
91
-
92
-
93
-
94
-
95
-
96
-
97
-
98
-
99
-
100
-
101
-
102
-
103
-
104
-
105
-
106
-
107
-
108
-
109
-
110
-
111
-
112
-
113
-
114
-
115
-
116
-
117
-
118
-
119
-
120
-
121
-
122
-
123
-
124
-
125
-
126
-
127
-
128
-
129
-
130
-
131
-
132
-
133
-
134
-
135
-
136
-
137
-
138
-
139
-
140
-
141
-
142
-
143
-
144
-
145
-
146
-
147
-
148
-
149
-
150
-
151
-
152
-
153
-
154
-
155
-
156
-
157
-
158
-
159
-
160
-
161
-
162
-
163
-
164
-
165
-
166
-
167
-
168
-
169
-
170
-
171
-
172
-
173
-
174
-
175
-
176
-
177
-
178
-
179
-
180
-
181
-
182
-
183
-
184
-
185
-
186
-
187
-
188
-
189
-
190
-
191
-
192
-
193
-
194
-
195
-
196
-
197
-
198
-
199
-
200
-
201
-
202
-
203
-
204
-
205
-
206
-
207
-
208
-
209
-
210
-
211
-
212
-
213
-
214
-
215
-
216
-
217
 |
 |