HP Photosmart R717 HP Photosmart R717 Digital Camera with HP Instant Share - U - Page 43
Using Manual Focus
 |
View all HP Photosmart R717 manuals
Add to My Manuals
Save this manual to your list of manuals |
Page 43 highlights
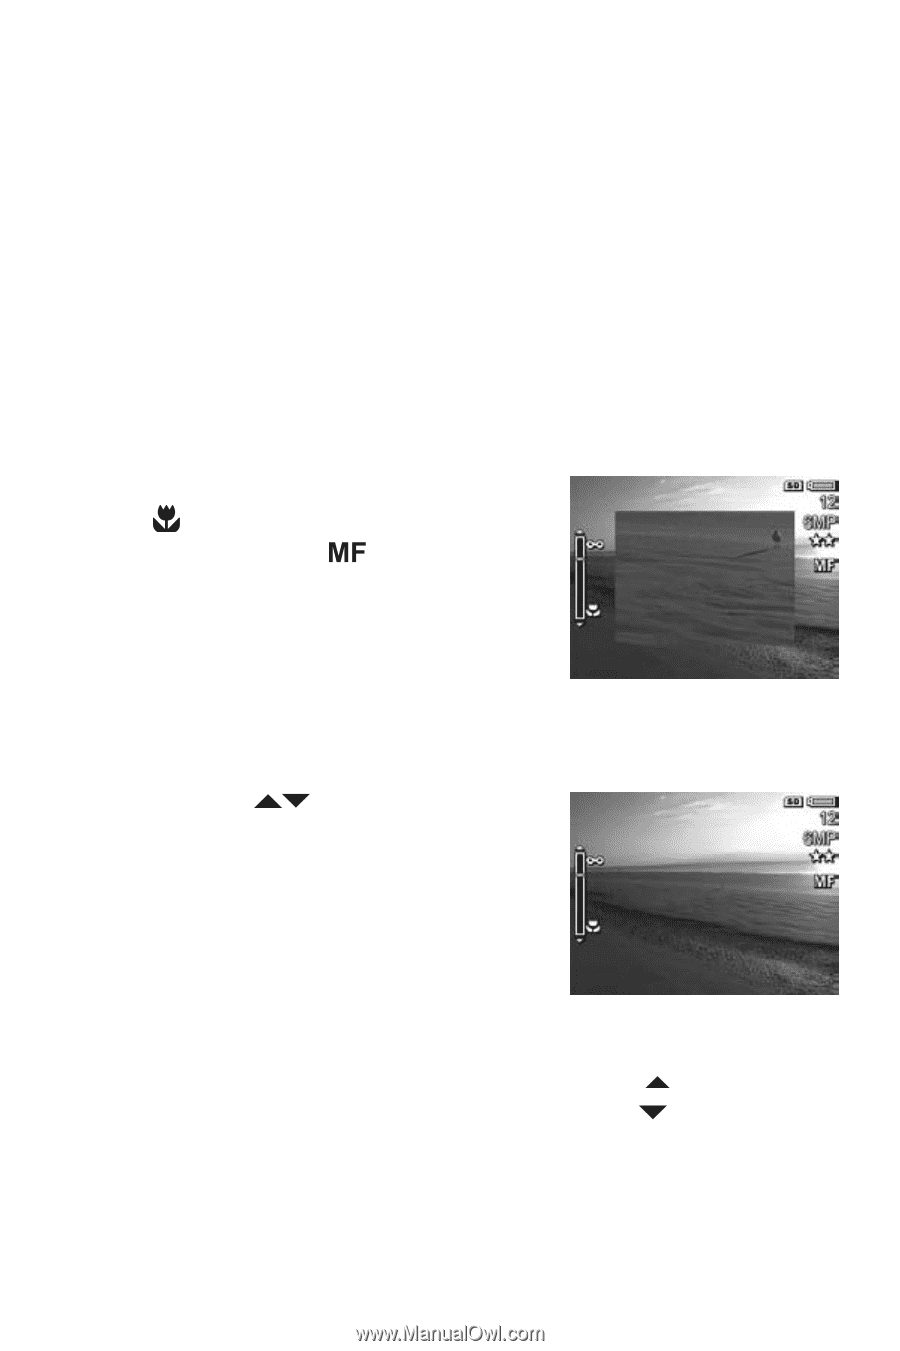
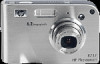
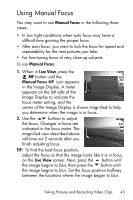
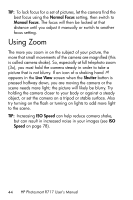
Using Manual Focus You may want to use Manual Focus in the following three cases: • In low light conditions when auto focus may have a difficult time gaining the proper focus. • After auto focus, you want to lock the focus for speed and repeatability for the next pictures you take. • For fine-tuning focus of very close-up subjects. To use Manual Focus: 1. When in Live View, press the MF button until the Manual Focus icon appears in the Image Display. A meter appears on the left side of the Image Display to indicate the focus meter setting, and the center of the Image Display is shown magnified to help you determine when the image is in focus. 2. Use the buttons to adjust the focus. Changes in focus are indicated in the focus meter. The magnified view described above will time out 2 seconds after you finish adjusting focus. TIP: To find the best focus position, adjust the focus so that the image looks like it is in focus on the Live View screen. Next, press the button until the image begins to blur, then press the button until the image begins to blur. Set the focus position halfway between the locations where the image began to blur. Taking Pictures and Recording Video Clips 43
-
 1
1 -
2
-
3
-
4
-
5
-
6
-
7
-
8
-
9
-
10
-
11
-
12
-
13
-
14
-
15
-
16
-
17
-
18
-
19
-
20
-
21
-
22
-
23
-
24
-
25
-
26
-
27
-
28
-
29
-
30
-
31
-
32
-
33
-
34
-
35
-
36
-
37
-
 38
38 -
 39
39 -
 40
40 -
 41
41 -
 42
42 -
 43
43 -
 44
44 -
 45
45 -
 46
46 -
 47
47 -
 48
48 -
49
-
50
-
51
-
52
-
53
-
54
-
55
-
56
-
57
-
58
-
59
-
60
-
61
-
62
-
63
-
64
-
65
-
66
-
67
-
68
-
69
-
70
-
71
-
72
-
73
-
74
-
75
-
76
-
77
-
78
-
79
-
80
-
81
-
82
-
83
-
84
-
85
-
86
-
87
-
88
-
89
-
90
-
91
-
92
-
93
-
94
-
95
-
96
-
97
-
98
-
99
-
100
-
101
-
102
-
103
-
104
-
105
-
106
-
107
-
108
-
109
-
110
-
111
-
112
-
113
-
114
-
115
-
116
-
117
-
118
-
119
-
120
-
121
-
122
-
123
-
124
-
125
-
126
-
127
-
128
-
129
-
130
-
131
-
132
-
133
-
134
-
135
-
136
-
137
-
138
-
139
-
140
-
141
-
142
-
143
-
144
-
145
-
146
-
147
-
148
-
149
-
150
-
151
-
152
-
153
-
154
-
155
-
156
-
157
-
158
-
159
-
160
-
161
-
162
-
163
-
164
-
165
-
166
-
167
-
168
-
169
-
170
-
171
-
172
-
173
-
174
-
175
-
176
-
177
-
178
-
179
-
180
-
181
-
182
-
183
-
184
-
185
-
186
-
187
-
188
-
189
-
190
-
191
-
192
-
193
-
194
-
195
-
196
-
197
-
198
-
199
-
200
-
201
-
202
-
203
-
204
-
205
-
206
-
207
-
208
-
209
-
210
-
211
-
212
-
213
-
214
-
215
-
216
-
217
 |
 |